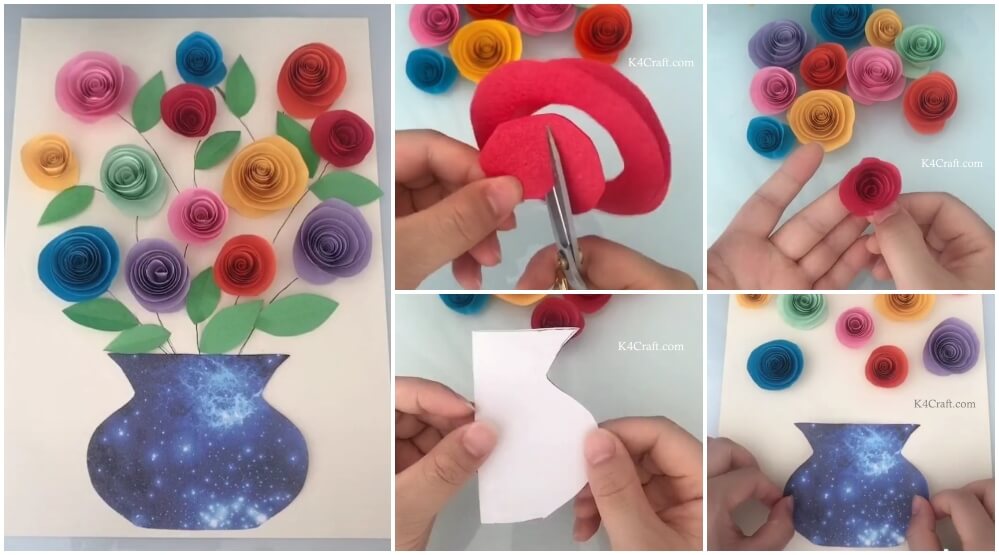
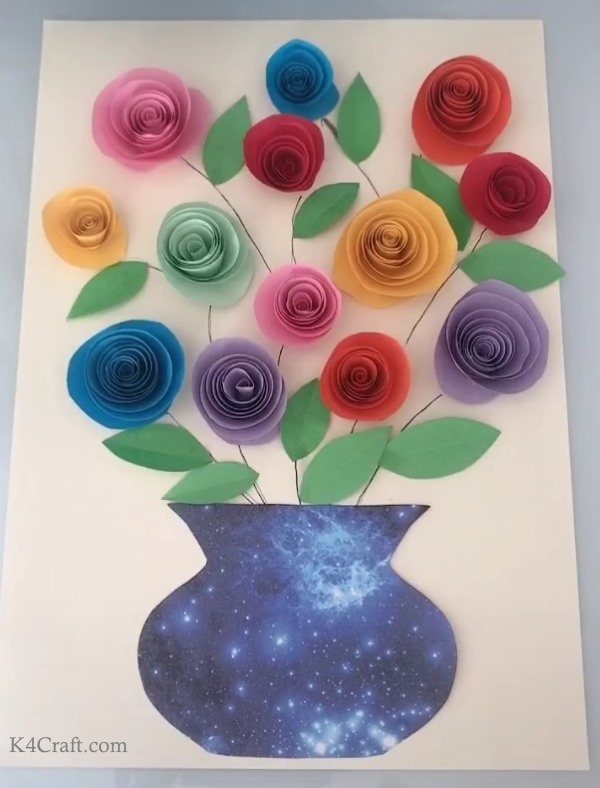
Paper rose flowers vase card are an easy-to-make craft that’s perfect for a variety of holidays and occasions. Kids love this Paper Rose Flower Vase Card. The materials required are easy to find. Here we learn how to make flower vase card with paper.
Flowers can brighten up anyone’s day at any time of the day. Roses are one of the widely accepted flowers to be the best. Fresh flowers are a beauty but the perish away too quick. You get fresh flowers, put them in a vase and the next day they are not as fresh as they were when you got them. So we have a solution for this problem. You can make some paper flowers to beautify your home.
Paper flowers are easy to make. Different sizes of paper flowers can be used to adorn different things. Larger flowers are suited for walls and fences whereas smaller paper flowers find use in decorating card, crafts, etc. These paper rose flowers are easy to make. Your kids will surely have fun making this rosy craft. So let’s start and create a beautiful paper rose vase card design.
DIY Paper Rose Flowers Vase Craft Tutorial
You may like: Paper Fox Craft for Kids – Step by Step Tutorial
Materials Required
- Colored paper; green, purple, red, blue, pink, yellow, orange, etc.
- Textured paper
- A pair of scissors
- Glue
- Black sharpie pen
- Pencil
- A hard white paper for the base.
Procedure:
✨ Step 1: Cutting Circles for the flowers
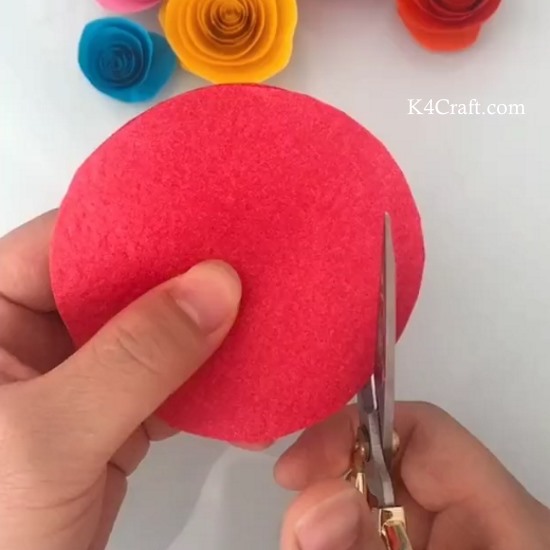
- First of all, we need to choose the colors for our rose craft.
- We can make our roses in a range of colors.
- Now cut out different sizes of circle from these colored sheets.
- Different sizes of circle give different sizes of rose flowers.
- When you have cut the circles, keep them aside.
✨ Step 2: Making a spiral cut
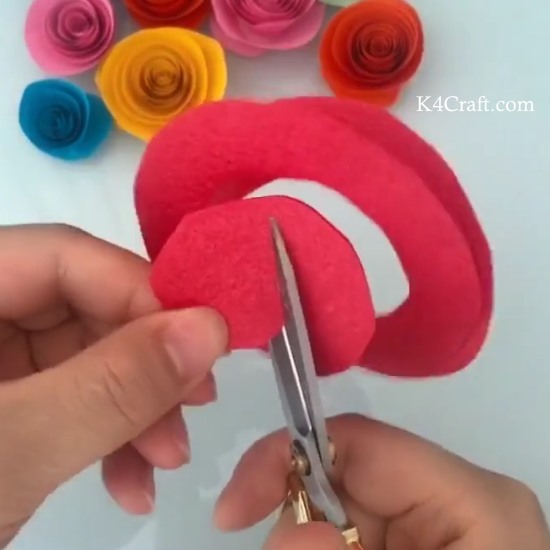
- Now take up one circle which has been already cut.
- now start cutting from one point on the circle.
- Cut inwards.
- Giving rise to a spiral cut on this circle.
- You have to make a smooth spiral cut on this circle.
- Make sure you cut smoothly.
✨ Step 3: Folding the spiral circle
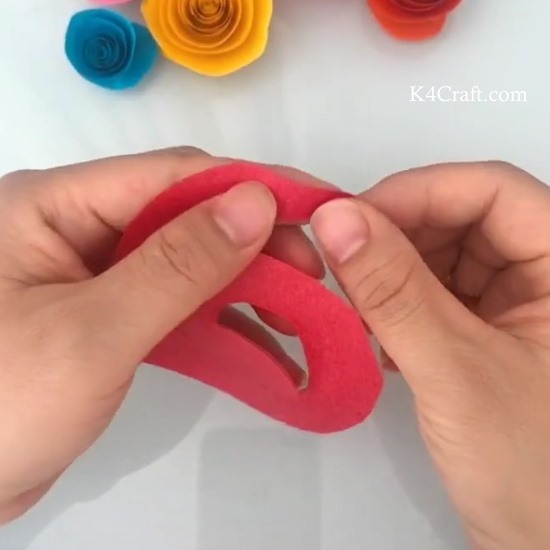
- Stop cutting when you reach the centre
- Now start rolling from the outermost edge of this spiral.
- This seems easy at the start but gets harder when more and more spiral has been rolled.
- The spirals made from smaller circles are easier to roll and form into roses.
✨ Step 4: Securing the flower roll
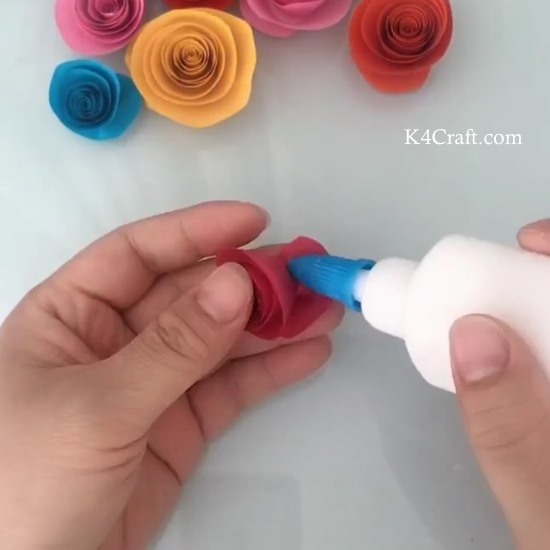
- Once you have rolled all the spiral, use some glue to secure the last strip in place.
- This prevents the flower from opening up.
✨ Step 5: Making multiple roses
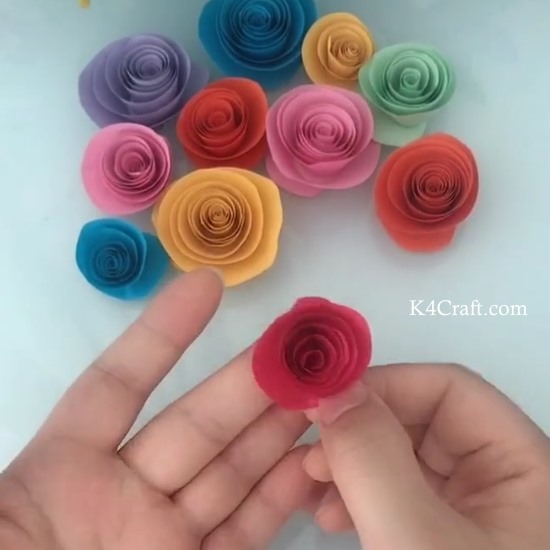
- A single rose would look empty.
- So we will require many such beautiful roses.
- So make plenty of such roses following the same technique.
✨ Step 6: Drawing a vase on patterned paper
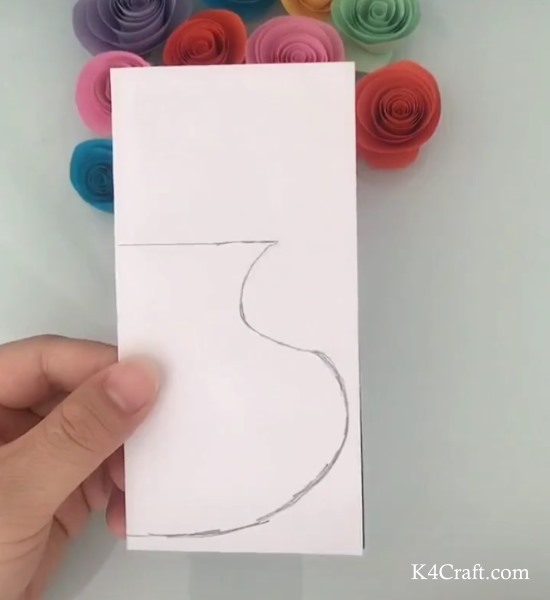
- Now take a patterned sheet of paper.
- Fold this sheet in half.
- Draw a vase shape along the rib of the fold.
- Use a pencil to draw the vase drawing, si that you can erase and redraw whenever required.
✨ Step 7: Cutting out the vase shape
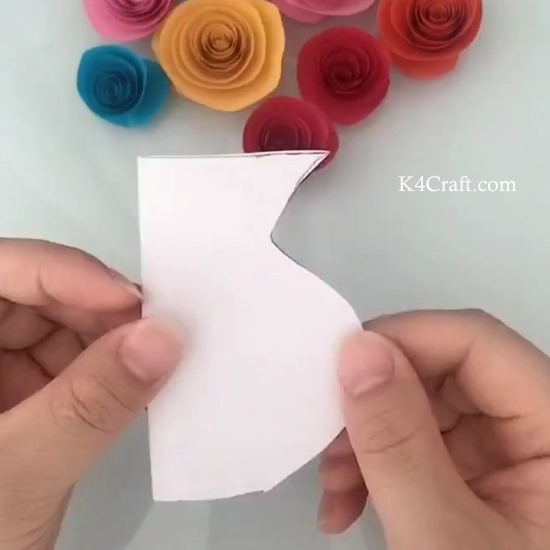
- We have our vase drawing ready.
- Now use a pair of scissors to cut this shape out.
✨ Step 8: Ready Vase shape
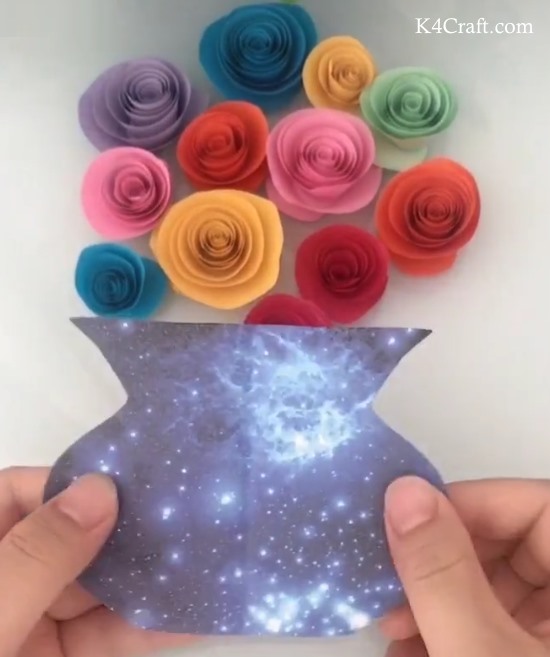
- Open up the fold of the vase cut to find a beautifully patterned base for your roses.
✨ Step 9: Making the DIY front
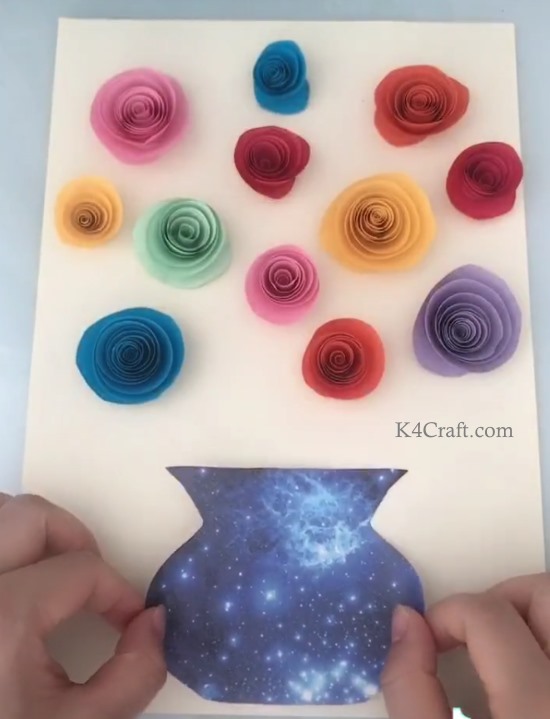
- Lay down your roses on a white base sheet.
- Now stick your vase in place.
- Arrange and rearrange the roses until you are satisfied with the arrangement of flowers.
- Now stick the roses in places chosen for them.
- Now we will move to detailing the roses and the vase.
✨ Step 10: Adding details to the paper rose craft

- Now we need green paper and a black sharpie pen.
- Make lines from the vase brim to the rose bases with the help of black sharpie pen.
- This becomes the sticks on which the roses grow.
- Take some green paper.
- Make small leave and big leaves on the green paper with the help of a pencil.
- Now cut these leaves out.
- Stick these leaves along the black lines drawn from the vase brim to the flower base.
- This completes your DIY paper rose flowers vase craft for kids.
We hope you and your kids enjoyed making this pretty DIY paper rose craft. We are sure this craft must have brought a smile to your face. You can check out more such articles on K4 Craft. We would love to hear from you. Share your stories and experience with us in the comments section given below. We will come up with more such useful articles for you. Until then keep smiling and creating with K4 Craft.
You’ll also like:
- DIY Pink Felt Rose Flower Wind Chimes for Home Décor
- How to make a ribbon rosettes, ribbon roses (Tutorial)
- How To Make Paper Apple Card Craft – Step by Step Tutorial
- Paper Bird Card Craft for Kids – Step by Step Tutorial
- Paper Bear Card Craft for Kids – Step by Step Tutorial


