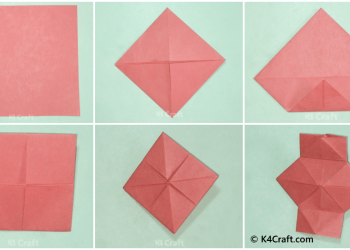
Cinderella is a distinct character of the fairy tales and is immense popularity among the kids, the changing point of her story lies in her sandals and thus it is a very special one. In today’s tutorial, we will be learning to make those special sandals of Cinderella by the ancient technique of paper folding and paper cutting which is also popularly known as Kirigami. We will be performing this craft with some basic stationery requirements. So, without any further delay let us get started with today’s craft tutorial!!
How to Make An Kirigami Sandal (Cinderella Version)
Step 1: Paper Selection
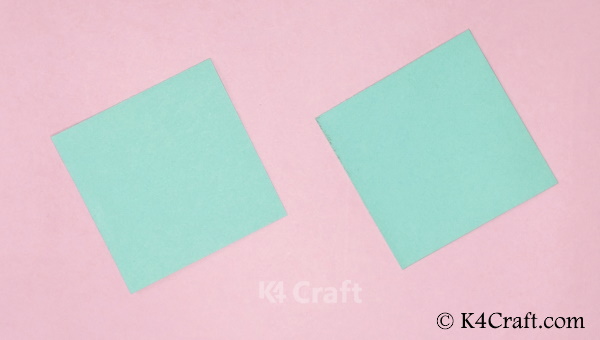
- Selected two square-shaped pieces of paper.
- Make the colour choice according to your personal preference.
Step 2: Take A Square Shaped Paper
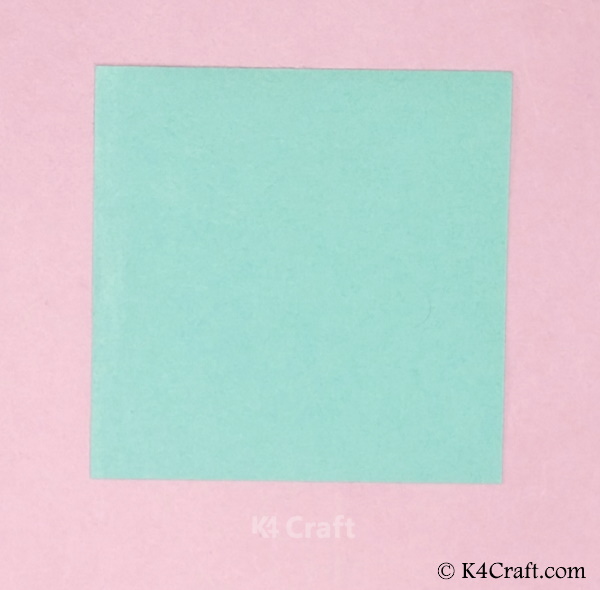
- We will proceed with a single piece of paper in the beginning.
Step 3: The Diagonal Fold
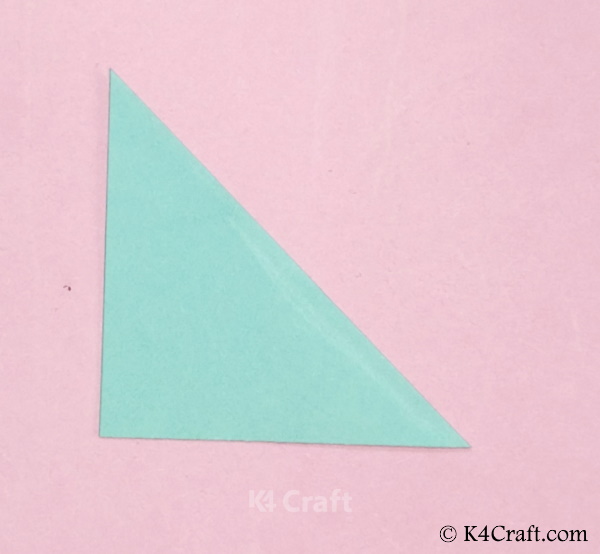
- Fold the square paper along any one of its two diagonals.
- This will yield you a triangular folded paper.
Step 4: The Double Layered Triangular Fold
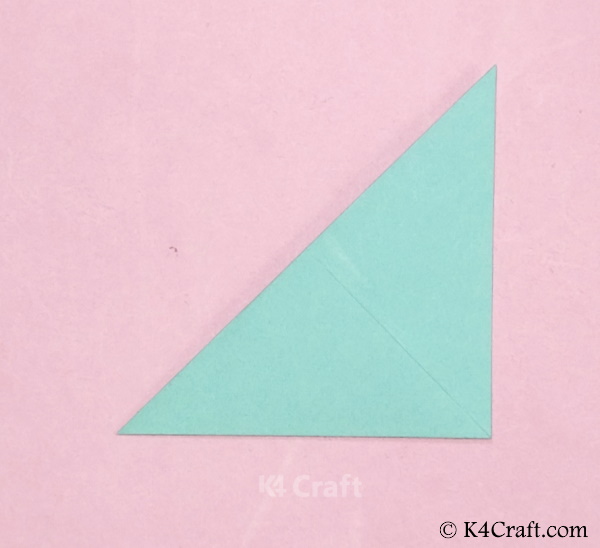
- Open the previous diagonal fold.
- With the help of your finger insert a fold along the diagonal crease.
- This will yield you a double-layered triangular structure.
Step 5: The Kite Shaped Fold
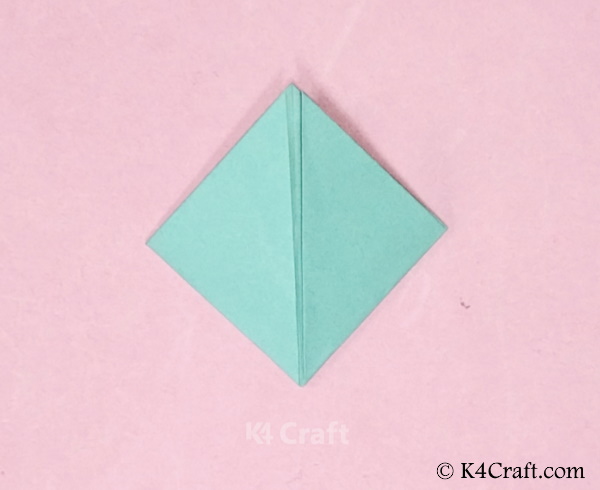
- Fold the two vertexes of the upper flap in an inner ward triangular fold, this will form a kite shape.
- Follow the same step with the flap lying in the opposite side.
Step 6: The Diamond Shape Like Fold
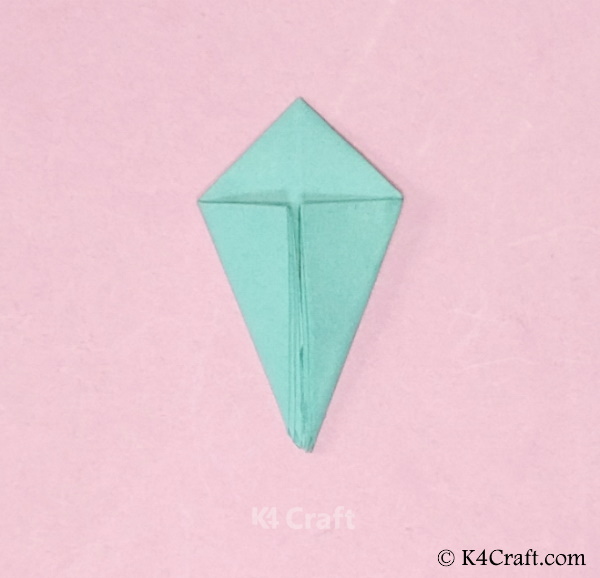
- Hold one of the flap of the kite and further fold it in a triangular fold, perform the same with the flap on the other side.
- Likewise, perform the same thing with the two flaps lying on the opposite side.
- This will yield you a diamond-like fold.
Step 7: Making The Desired Shape

- Open the two sub-triangular folds lying on the back side.
- Insert your finger inside the crease created and flatten it, follow the same with the other flap.
- Now place them forward.
Must Read: How To Make An Origami Lantern
Step 8: The Triangular Bend
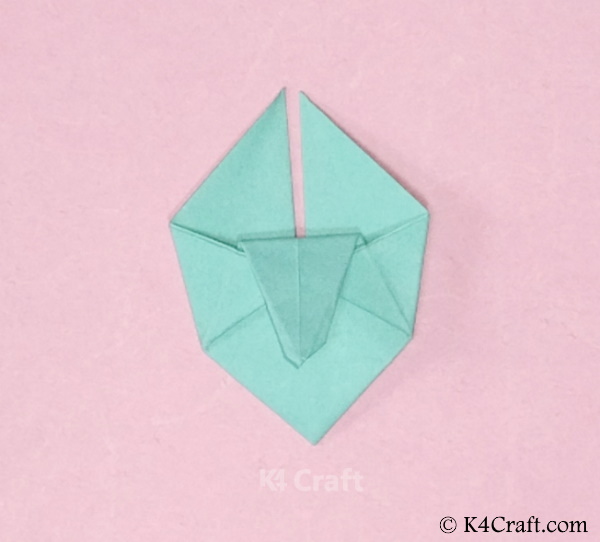
- Fold the pointing triangular flap in a downward fold as shown below.
Step 9: Insertion And Locking The Fold
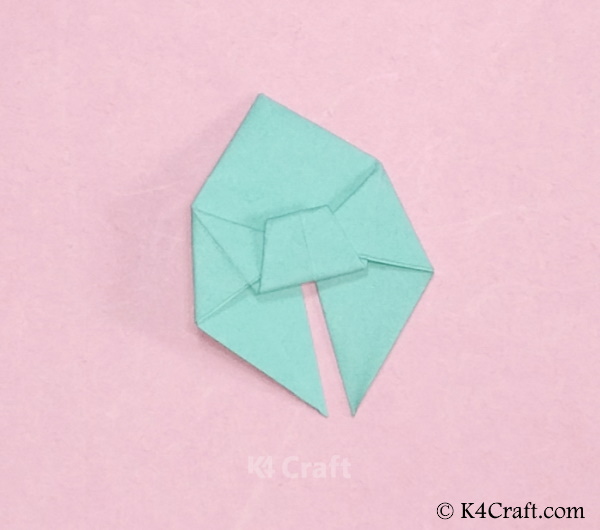
- Insert the triangular tip in the pocket like space just below it.
- This will secure the fold.
Step 10: Making The Base
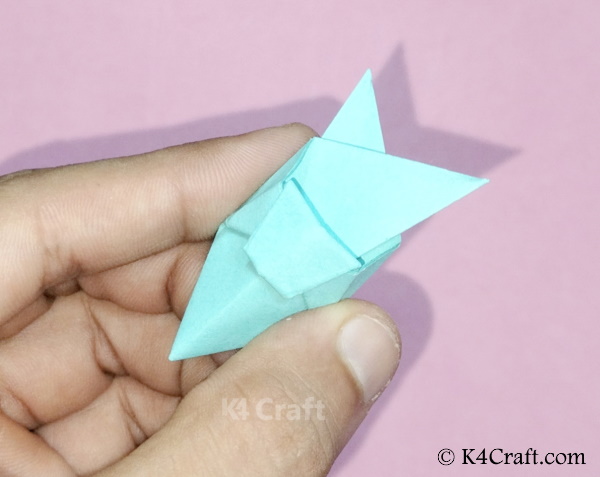
- Fold the pointed triangular tip to make the base.
- Criss-cross the two triangular flaps lying in the backside.
Step 11: Placing The Triangular Flaps
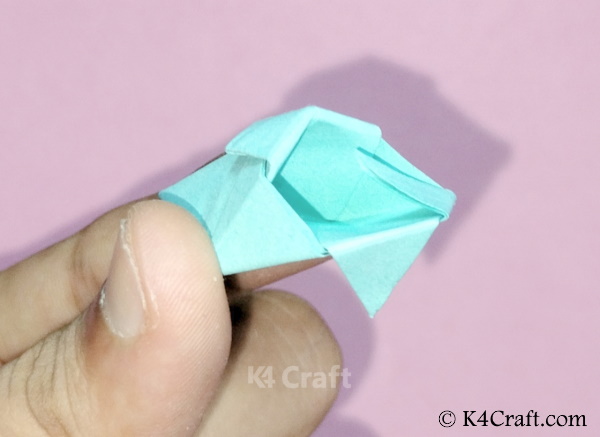
- Fold one triangular flap in a backward motion.
- Fold the other triangular flap in forward motion.
Step 12: Making A Crease
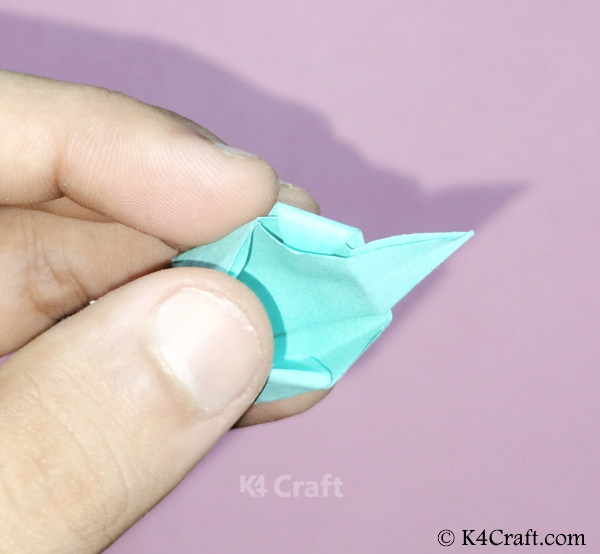
- Release the upper triangular flap folding.
- This will create a crease line.
Step 13: Inserting The Triangular Flap
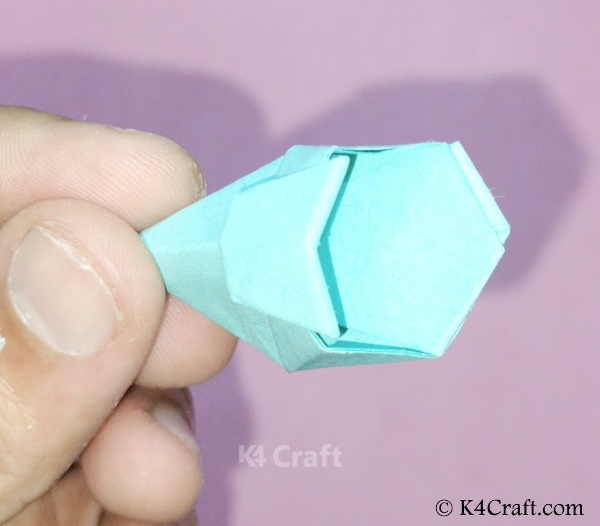
- Insert the triangular flap below between the folds.
Step 14: The Designer Body Of The Shoe
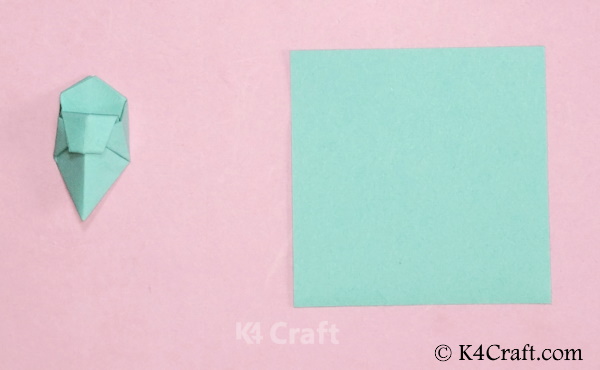
- The designer body of the shoe is ready.
- Now we will start our work with the sole of the shoe.
- Take the other square shaped paper.
Step 15: The First Diagonal Fold
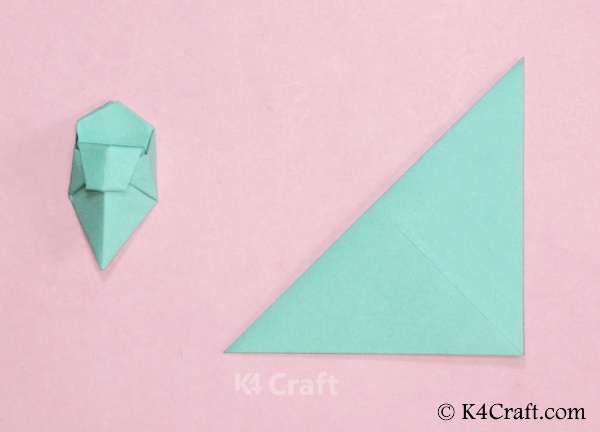
- Fold the paper in half along any one of the diagonals.
Step 16: The Second Diagonal Fold
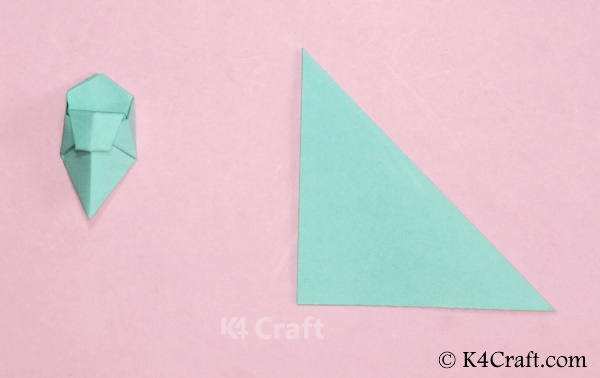
- Unfold the first diagonal fold.
- This will yield you a diagonal crease line.
- Now fold the paper in half along the second diagonal.
Step 17: The Triangular Fold
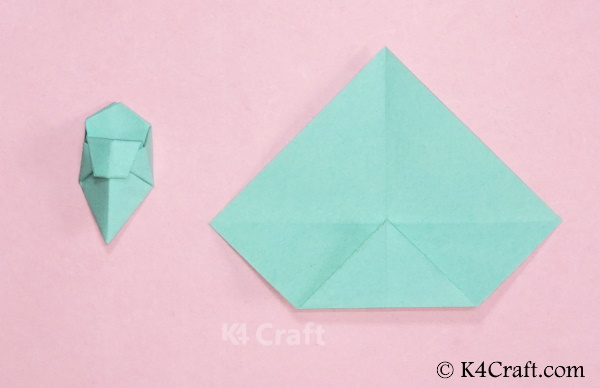
- Hold any tip of the square sheet and fold it into a triangular fold such that its tip touches the intersection point of the two diagonal crease lines.
Step 18: The Sub-diagonal Fold
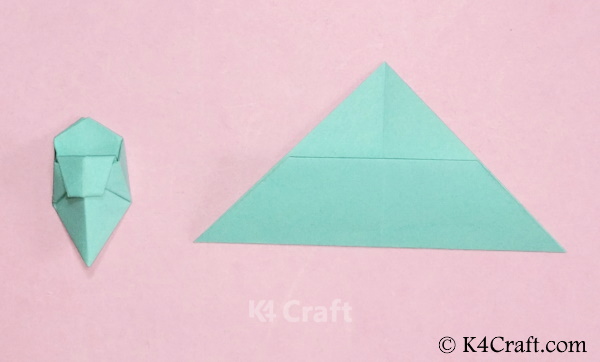
- Along with the small triangular fold, fold the paper along the diagonal crease line along the same base as shown.
- This will yield you a triangular-shaped folded piece.
Step 19: The Kite Shaped Fold
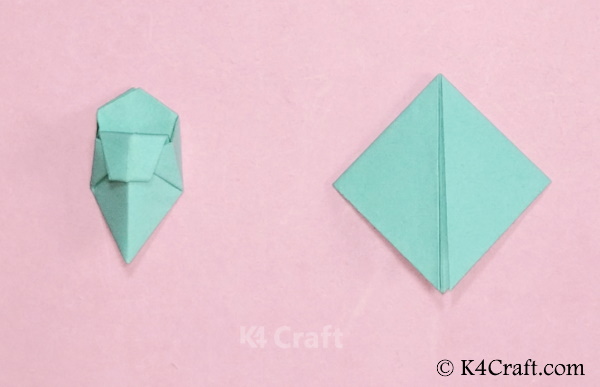
- Fold both the vertex of the triangle into inner ward triangular folds.
- This will yield you a kite-shaped folded piece.
Step 20: The Sub-triangular Fold
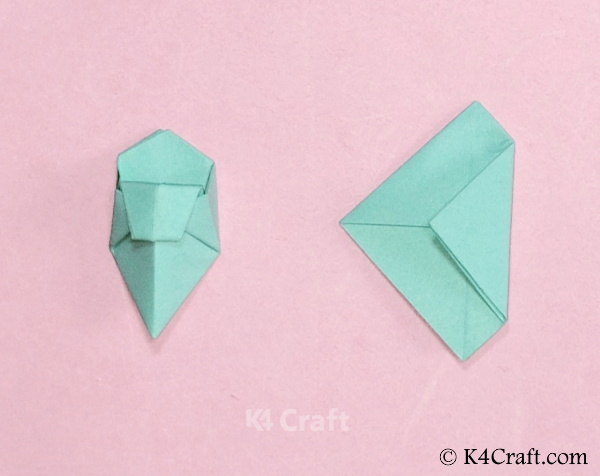
- Fold any one vertex of the kite into a triangular fold in such a way that its tip just crosses the diagonal as shown.
Step 21: The Overlap
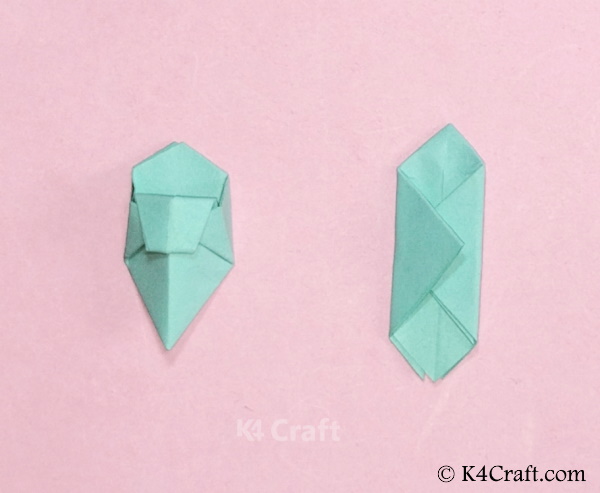
- Fold the opposite vertex into a triangular fold such that it overlaps the previous triangular fold.
Step 22: Securing The Overlap
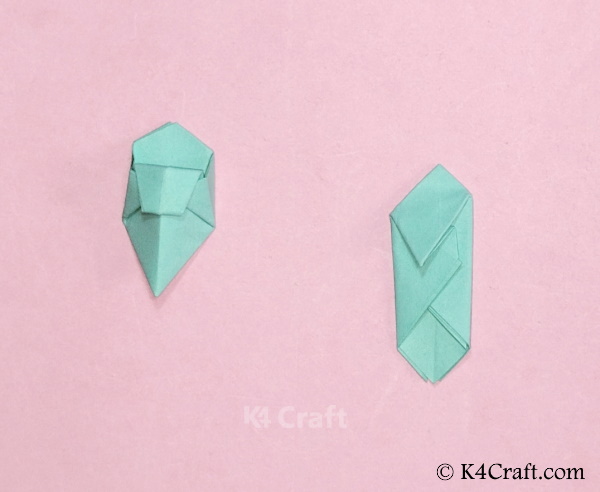
- Pull up and fold back a small triangular tip from the top part to secure the triangular overlapping.
Step 23: Turn And Make The Desired Shape
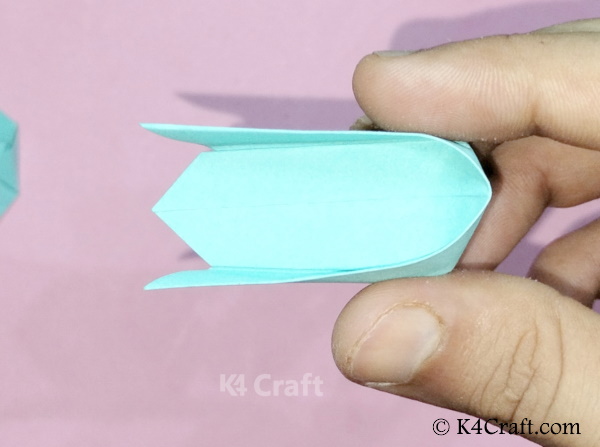
- Turn the shape upside down.
- Lift the sides and flatten them with your finger.
Step 24: The Insertion
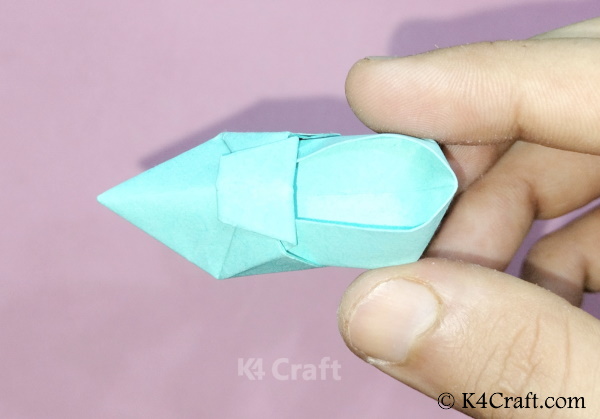
- Insert the sole into the designer body of the shoe.
The Magical Cinderella Shoes
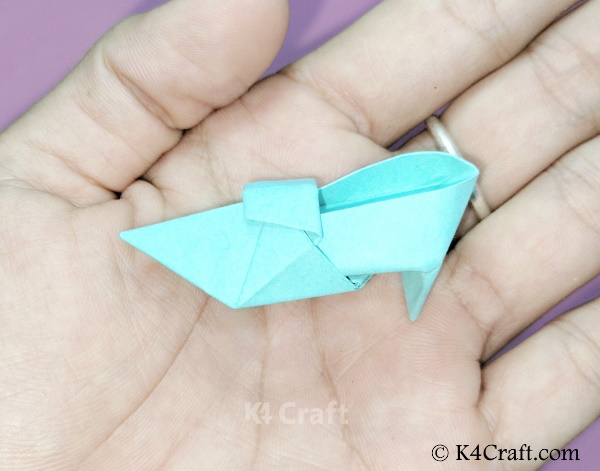
Prepare a pair of these magical Cinderella shoes and enjoy, you can even improvise on the same using glossy paint and other decorative. Children will be absolutely mesmerized with this craft so go ahead and make your own pair of magical sandals. What are you waiting for? Hurry up and make your own pair of Cinderella Sandal today! And be sure to follow on Pinterest for more ideas!


