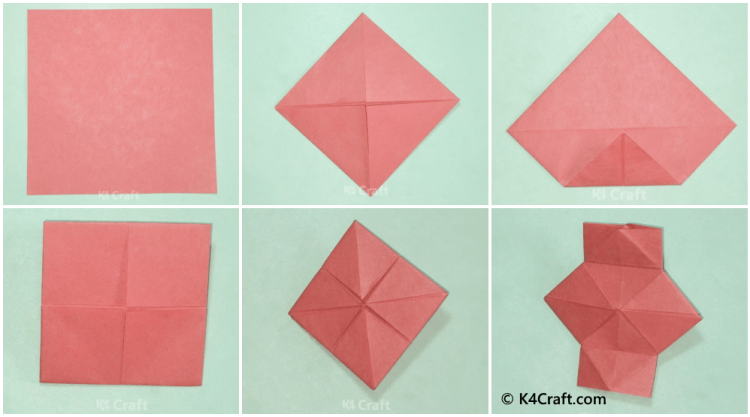
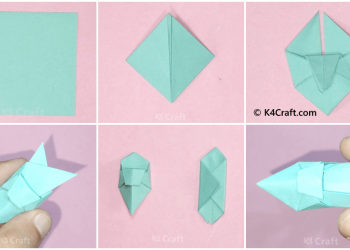
In this article, you will learn how to make an origami lantern. We are presenting step by step image tutorial to make origami lantern. Enjoy art of origami!
Today we are going to learn a very interesting and innovative hanging craft which is named Origami Lantern, by the name it is quite understandable that we are going to use the ancient art of paper folding also popularly known as Origami to carry on this craft work. As because it is an origami craft thus we will be requiring minimum materials for the same. So without any further delay let us begin with today’s tutorial on Origami Lantern. Let’s get started!!
Must Read: DIY : Origami Flowers Step by Step Tutorials
How To Make An Origami Lantern
Step-1: Paper Selection
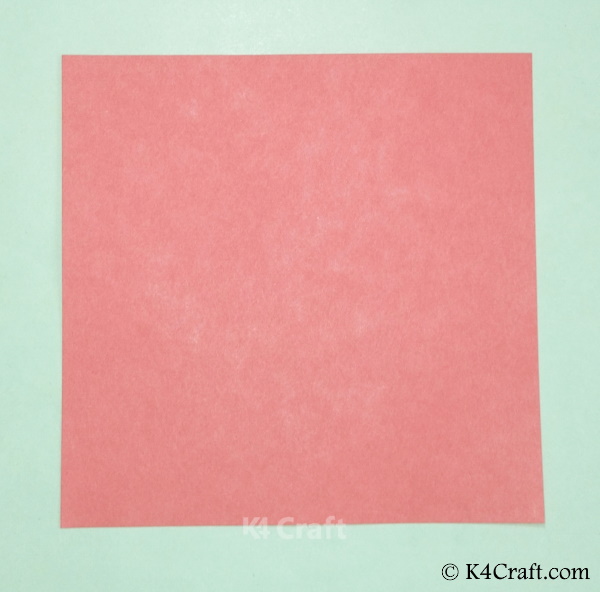
- Select any color paper of what you want your Origami lantern to be.
- Make sure that the paper is square in shape.
Step-2: The Vertical Fold

- Fold the paper into half along the vertical axis.
Step-3: The Horizontal Fold
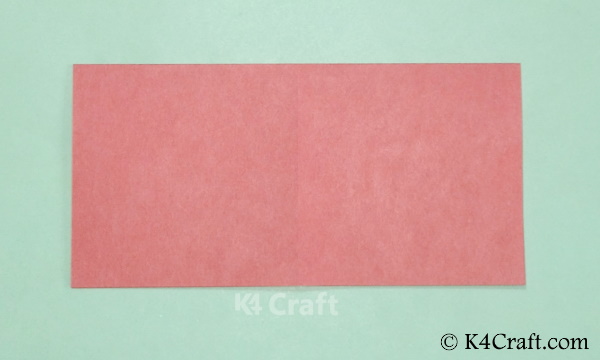
- Unfold the previous vertical fold.
- This will give you a vertical crease line.
- Now fold the paper into half along the horizontal axis
Step-4: Unfold
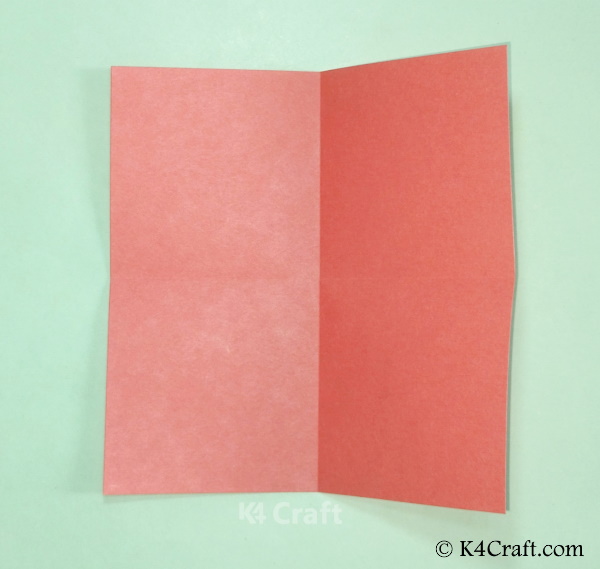
- Unfold the horizontal fold.
- This will yield you another horizontal crease line.
Step- 5: The Triangular Fold
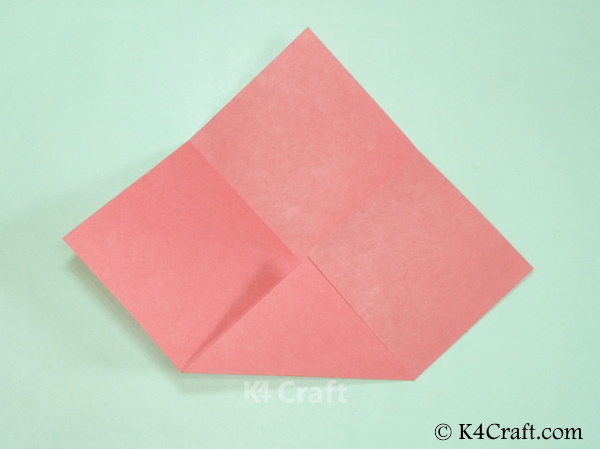
- Get hold of one of the vertex of the square.
- Fold it inner wards in a triangular pattern in such a way that its tip coincides with the center.
Step-6: Fold The Rest Of The Vertex
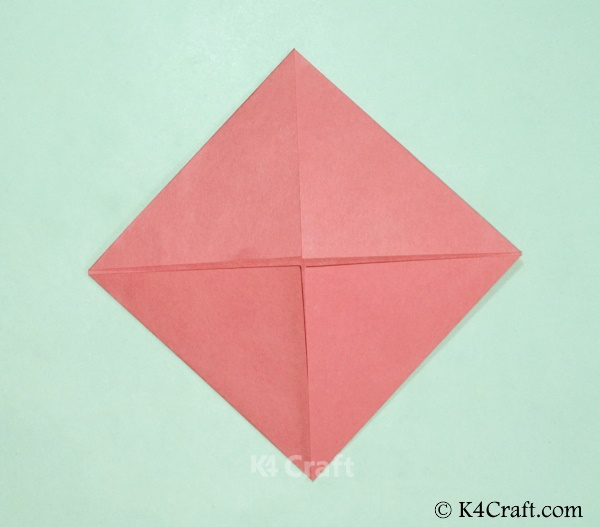
- In a similar manner fold all the remaining vertex into triangular folds in such a way that their tip coincides with the center.
- This will yield you a square folded paper.
Step-7: Turn And Fold

- Turn the figure backside.
- Get hold of one vertex and fold it in backward motion.
- Make the fold in a triangular shape such that its tip coincides with the center.
Step-8 Fold The Remaining Vertex
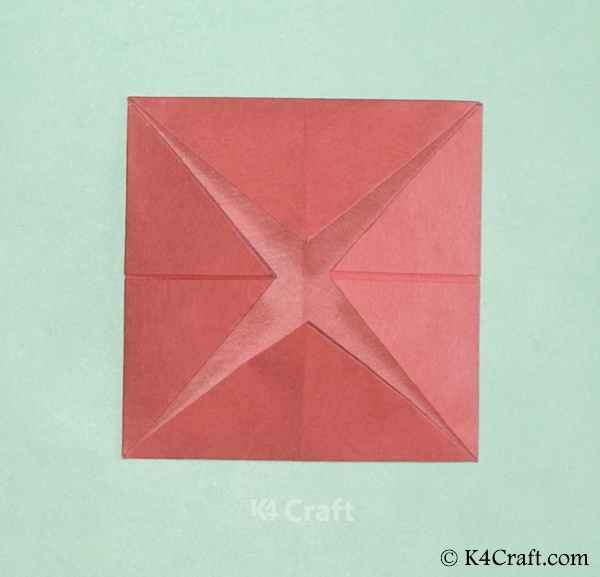
- In a similar manner fold all the remaining vertex into triangular folds in such a way that their tip coincides with the center.
- This will again yield you a smaller square folded paper.
Must Read: How To Make Origami Tulip Flower – Step by step
Step-9: Turn
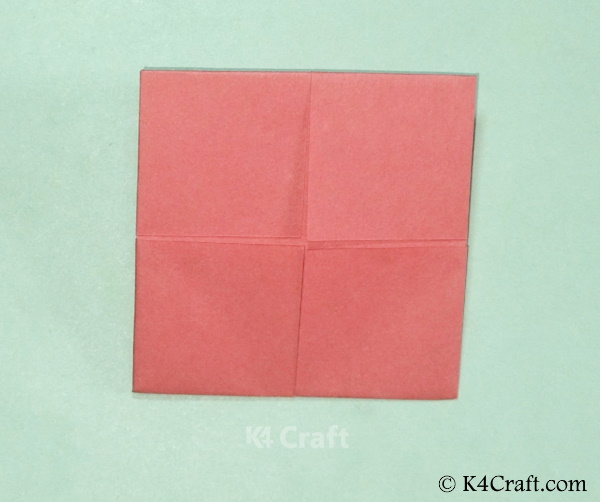
- TURN THE FIGURE ALTOGETHER
Step-10: Yet Another Triangular Fold
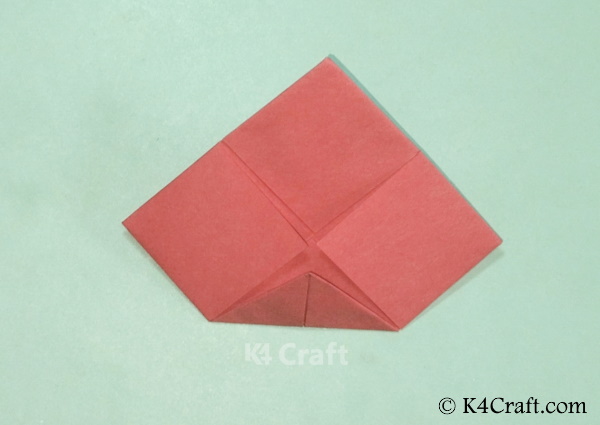
- Get hold of one vertex and fold it in backward motion.
- Make the fold in a triangular shape such that its tip coincides with the center.
Step-11: Again Fold Rest Of The Vertex
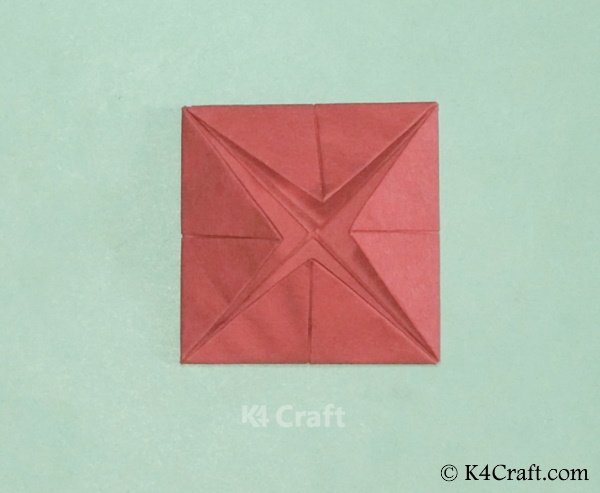
- In a similar manner fold all the remaining vertex into triangular folds in such a way that their tip coincides with the center.
- This will again yield you yet another smaller square folded paper.
Step-12: Turn
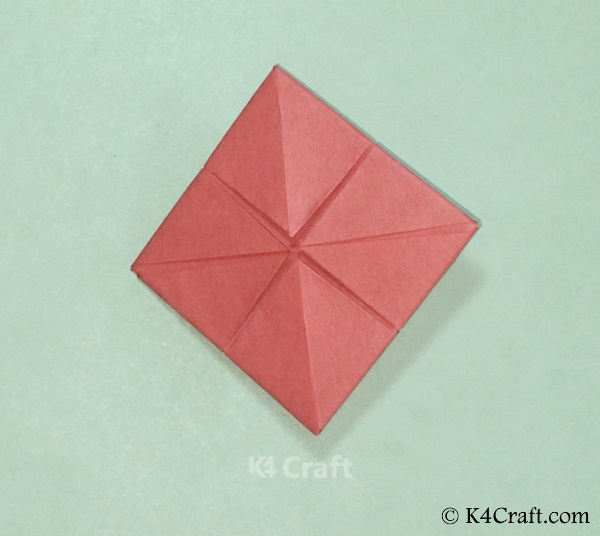
- Turn the figure backward to obtain the required structure,
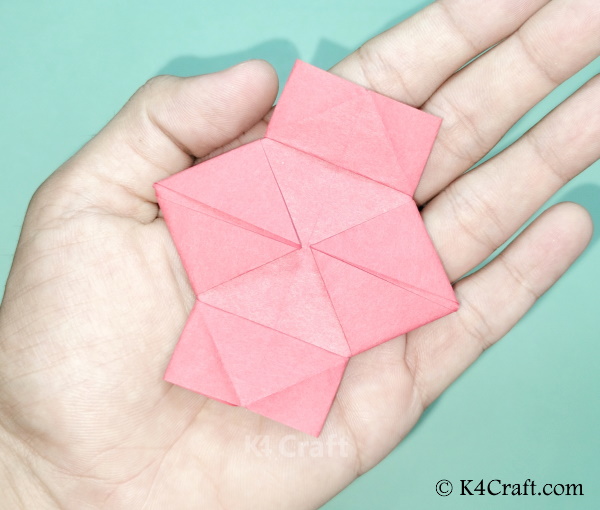
Step-13: Open One Fold
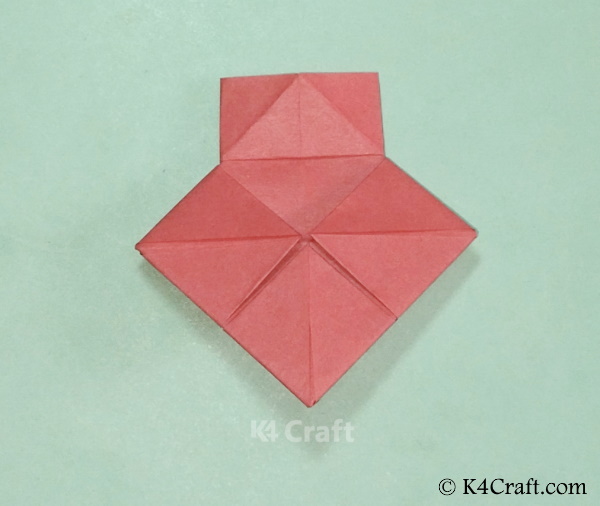
- Un fold one top rhombic shape and flatten it.
- This will yield triangular crease lines on a rectangular base.
Step-14: Repeat On The Opposite Side
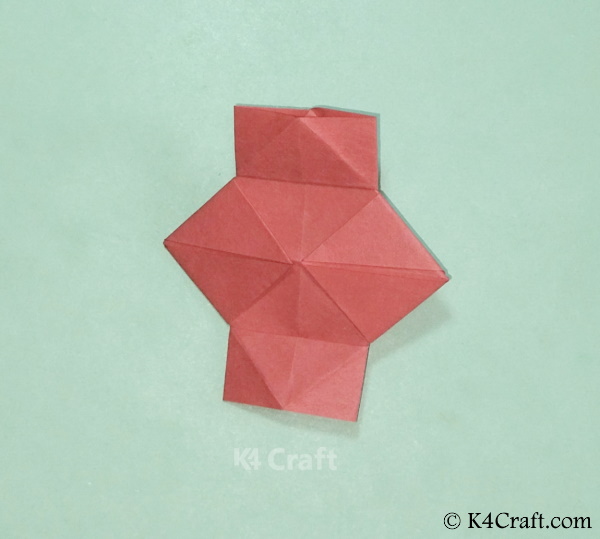
- Repeat the exact same previous step with the opposite rhombic shape.
- Thus you will yield the required shape.
Step-15: Securing The Folds
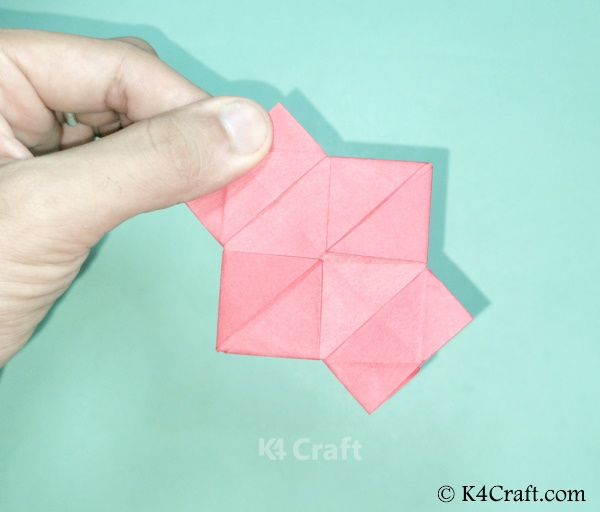
- Press the folds with your finger to secure them.
The Origami Lantern!!
Your origami lantern is ready!! This craft consists of numerous fold so make sure to press and secure them properly. Make a couple of them using various color papers. You can put inside fairy lights or any other luminous object to give this craft a more realistic look. What are you waiting for? Hurry up and make your own Origami Lantern today! And be sure to follow on Pinterest for more ideas!
You may also like:
- How To Make 8 Pointed Transforming Ninja Star – Step by Step Origami Tutorial
- Easy Origami Paper Crafts For Kids (Step By Step Instructions)
- POKEMON GO: Easy origami Pikachu tutorial for kids
- Easy Origami Yamaguchi Dahlia Flower Tutorial
- 35+ DIY Easy Origami Paper Craft Tutorials (Step by Step)


