Subscribe
K4 Craft
No Result
View All Result
  • DIY
    • Decorations
    • Home Decor
  • Art & Craft
    • Kids Craft
    • Simple Art
  • Celebrations
    • Christmas
    • Women’s Day
    • Easter
    • Mother’s Day
    • Father’s Day
    • 4th of July Crafts
    • Halloween
    • Diwali
  • Paper Crafts
    • Origami
    • Quilling
  • Painting & Drawing
  • Best Out Of Waste
    • Cardboard Crafts
  • Tutorials
    • Video Tutorials
    • Step by Step
No Result
View All Result
K4 Craft
Home Origami

How to Make A Kirigami Iris Flower – Step by Step Tutorial

Anushree Ray by Anushree Ray
November 3, 2021
in Origami
A A
0
228
SHARES
2.5k
VIEWS
Share on FacebookShare on Whatsapp
Free printables Free printables Free printables

Related articles

How To Make A Origami Hat – Step by Step Tutorial

December 10, 2021

How to Make A Kirigami Sandal (Cinderella Version) – Step by Step Tutorial

October 6, 2021

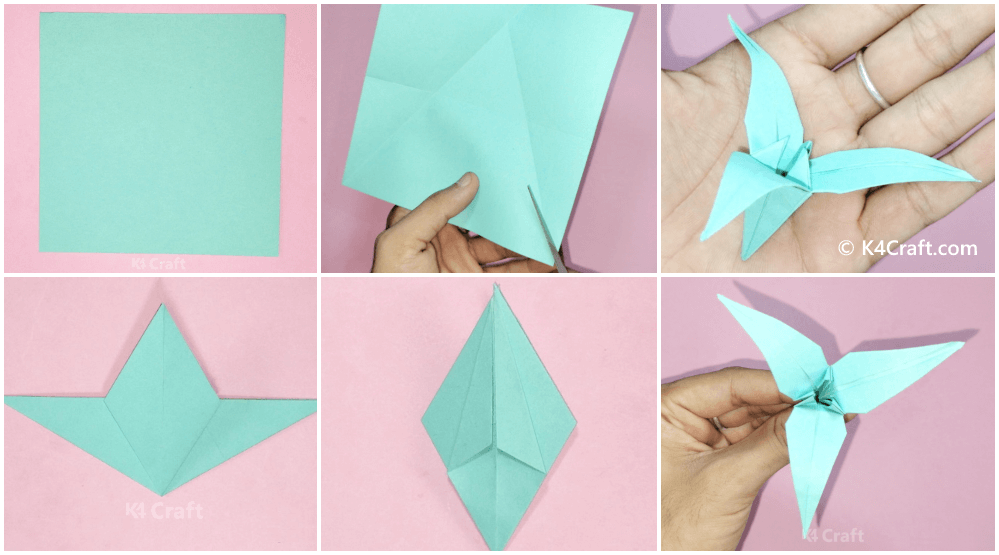
Flowers can be your mood lifter no matter what happens. Flowers are one of the most beautiful creations of god blessed with colour and fragrance. Today we will be learning to make a special kind of flower which is also known as Iris flower and we will be making it with the ancient technique of Kirigami that is the art of folding and cutting paper and making creative stuff out of it. We will require some basic stationaries such as paper, glue and a pair of scissors to prepare this craft. So, without any further delay let us get started with today’s tutorial.

How to Make A Kirigami Iris Flower

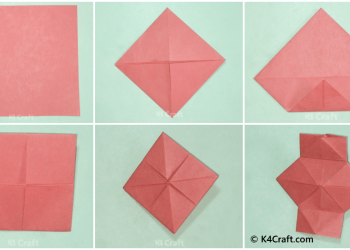
Step 1: Paper Selection

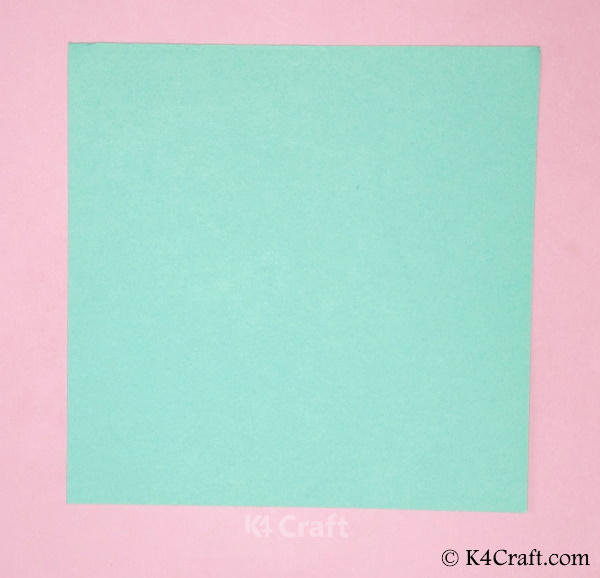
  • Select any colour paper of what you want your Kirigami flower to be.
  • Make sure that the paper is square in shape.

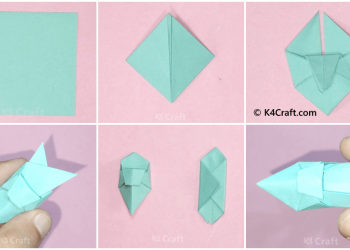
Step 2: The Horizontal Fold

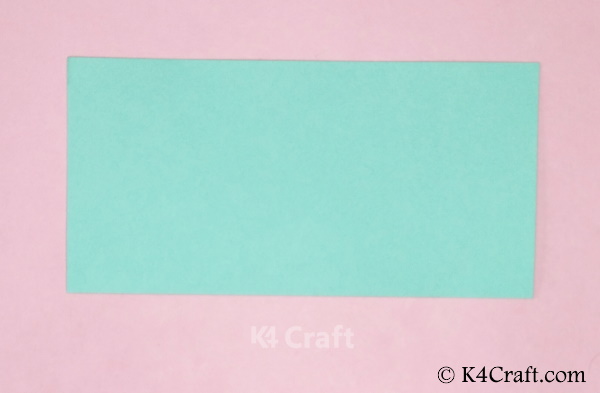
  • Fold the paper in half along the horizontal axis.
  • This will yield you a rectangular piece of folded paper.

Step 3: The Triangular Flap

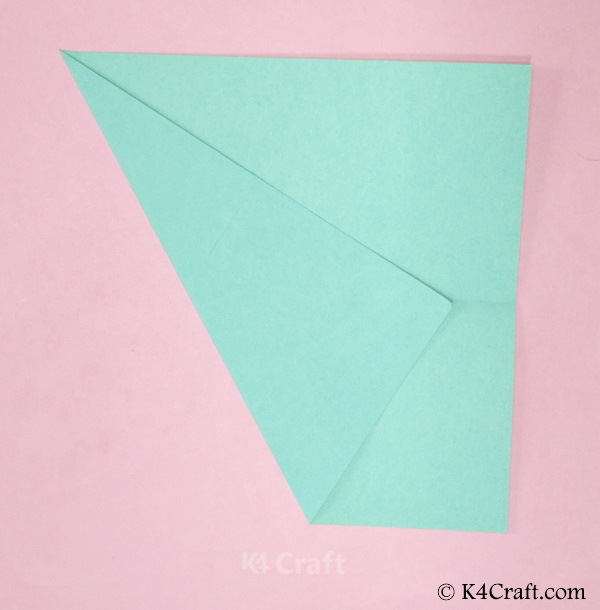
  • Unfold the previous horizontal fold.
  • This will yield you a horizontal crease line.
  • Now make a triangular flap along with any one of the vertexes as shown.

Step 4: The Second Triangular Flap

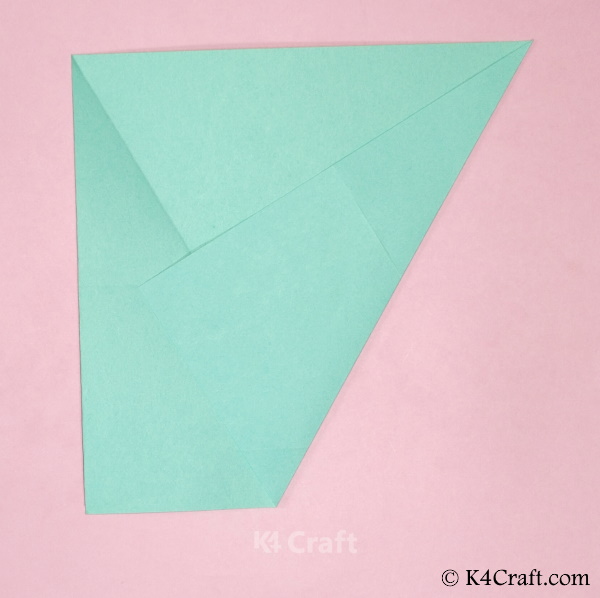
  • Unfold the previous Triangular flap-fold.
  • This will yield you a horizontal crease line.
  • Now make a triangular flap along the opposite vertex just as the one shown earlier.

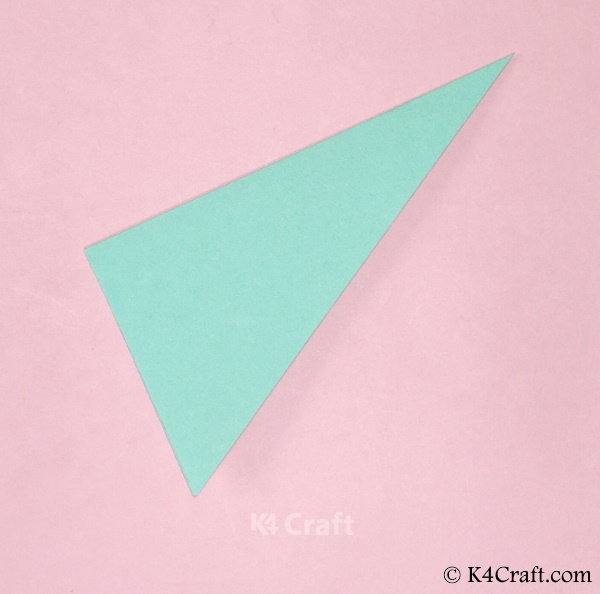
Step 5: Cut Out The Triangle

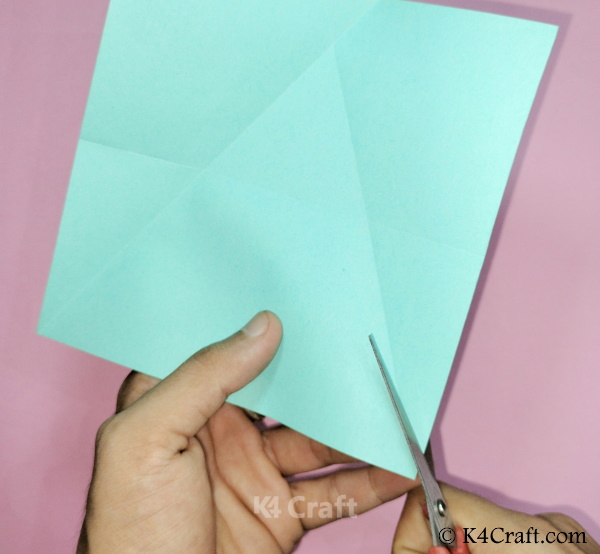
  • Unfold all the folds to obtain the various crease lines.
  • Now use a pair of scissors to cut out along the triangular crease obtained.

Step 6: The Triangular Cut Out

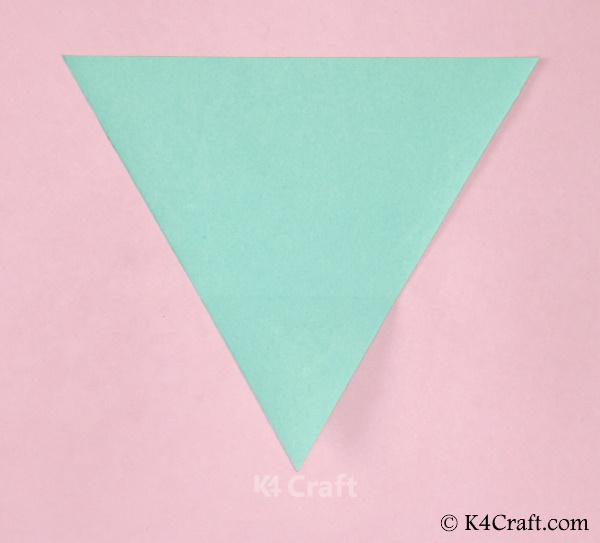
  • Make sure that the triangle is cut evenly.
  • If not do the same using a pair of scissors.

Step 7: The Vertical Fold

  • Fold the triangular cut-out into half along the vertical axis.
  • This will yield you another triangular fold.

Step 8: Unfold

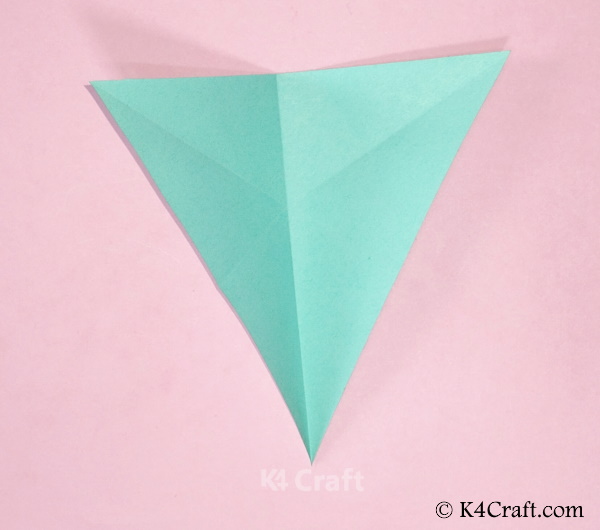
  • Unfold the vertical fold on the triangle.
  • This will yield you a crease line along with the triangle.

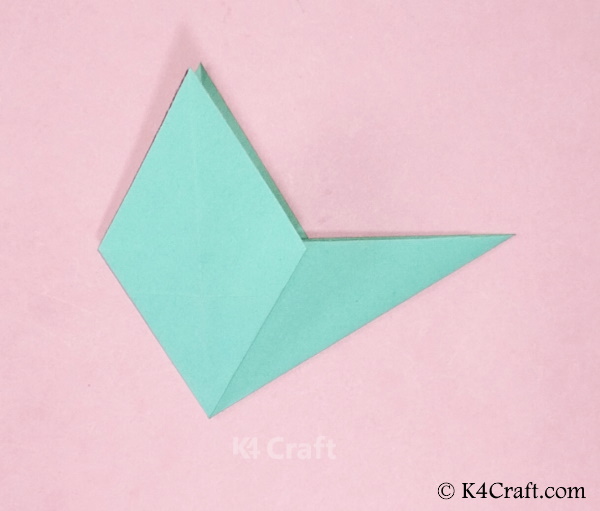
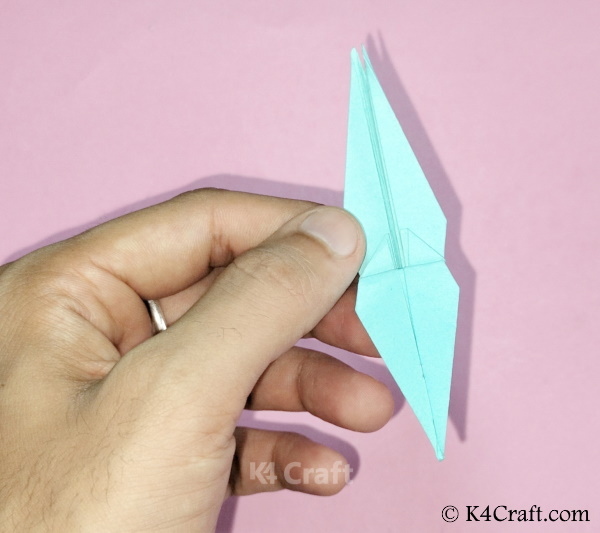
Step 9: The Twisted Fold

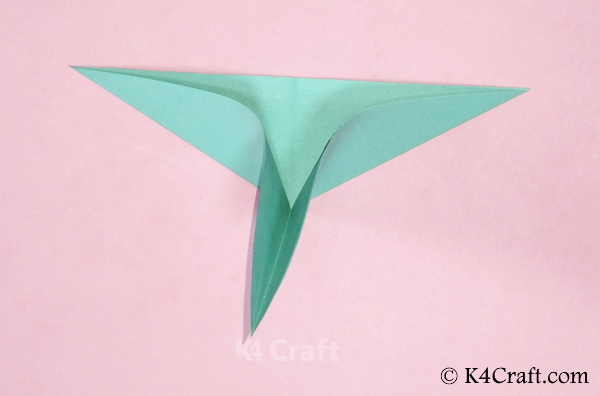
  • With the help of your fingers fold along the vertical crease as a base.

Step 10: Flatten The Fold

  • Flatten the fold, this will yield you a rhombic shape on a triangular base.

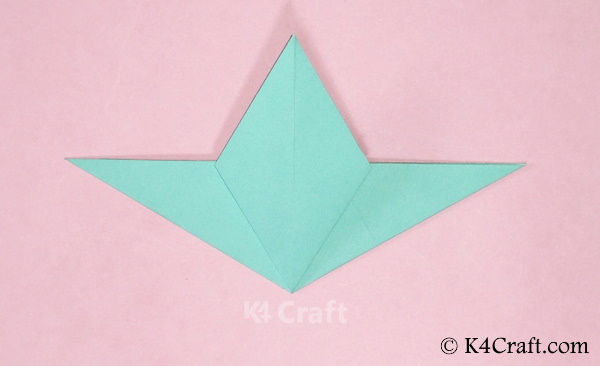
Step 11: Cut One Triangular Flap

  • With the help of a pair of scissors cut one of the triangular flap of the figure.

Step 12: Cut Out The Other Triangular Flap

  • With the help of a pair of scissors cut out the other triangular flap of the figure.

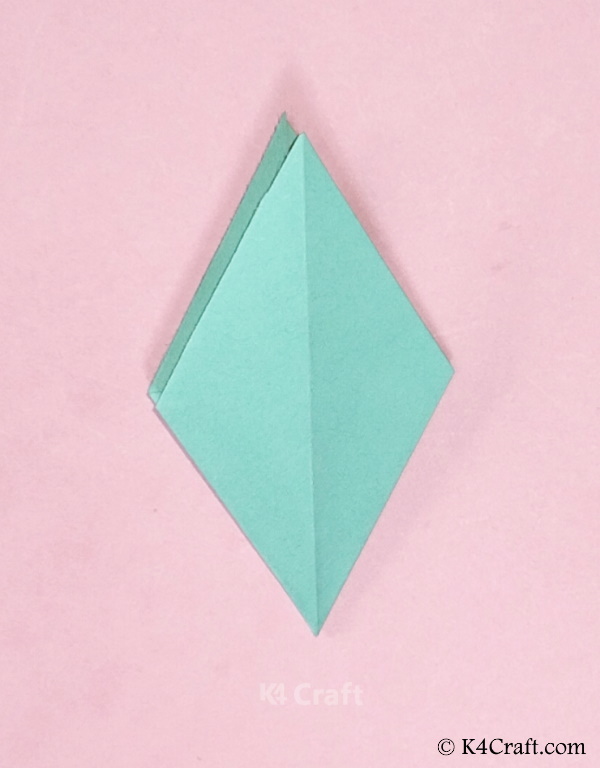
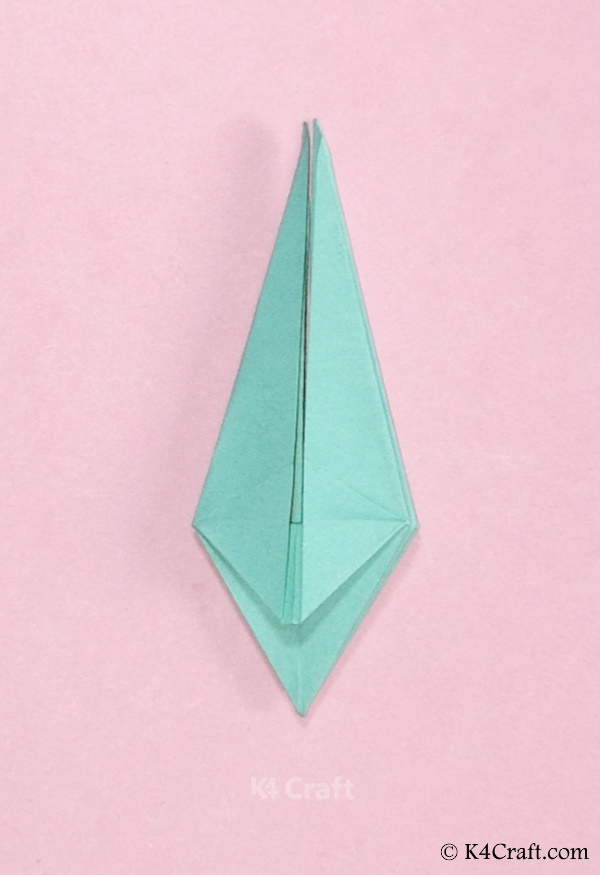
Step 13:  Folding The Top Layer

  • Fold the flaps into the triangular shape of the top layer of the rhombic-shaped structure.
  • Make sure that the folds are even and equal.

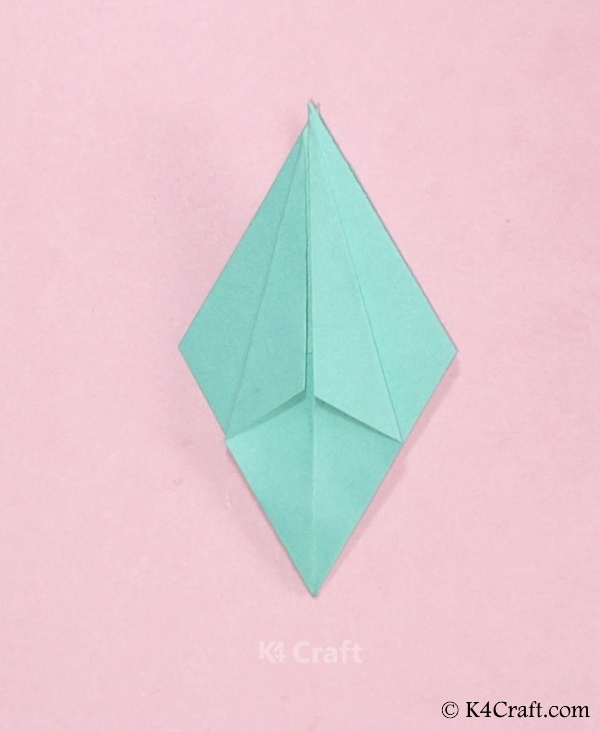
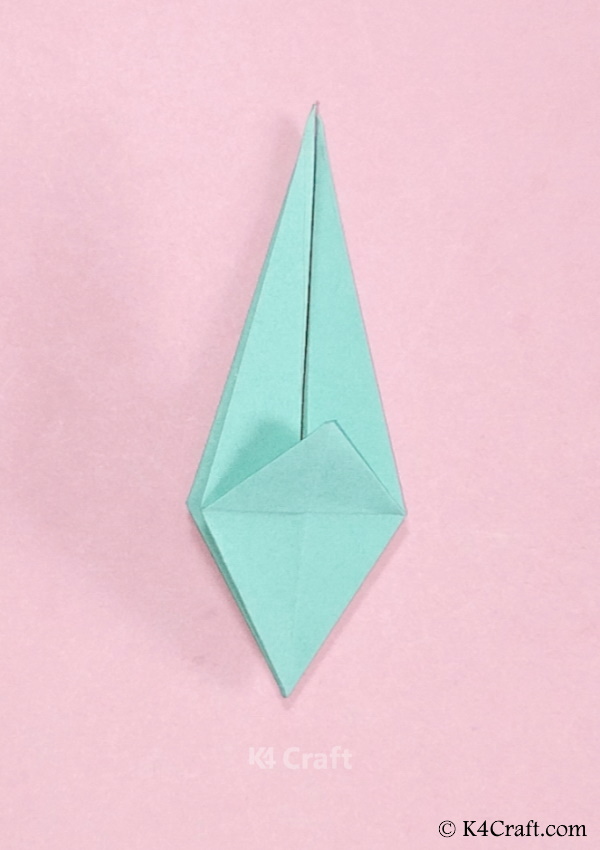
Step 14: The Lower Folds

  • Make same kind of triangular folds along the top layer but this time with the lower part.
  • This will yield you a diamond structure on a rhombic base.

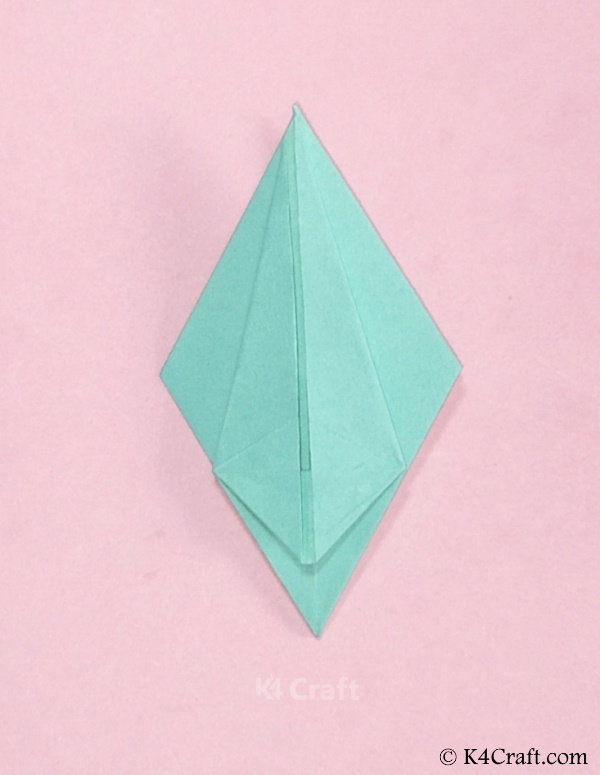
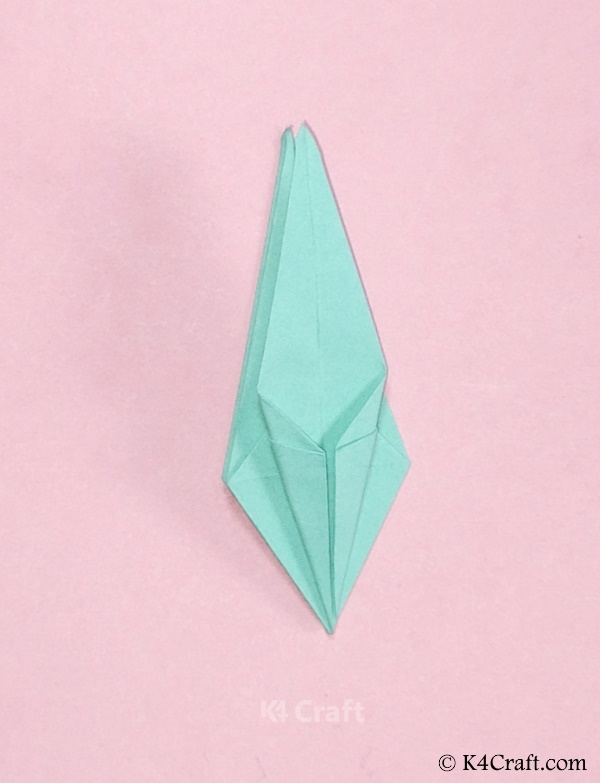
Step 15: Folding The Bottom Layer

  • Fold the flaps into triangular shape of the bottom layer of the rhombic shaped structure.
  • Make sure that the folds are even and equal.

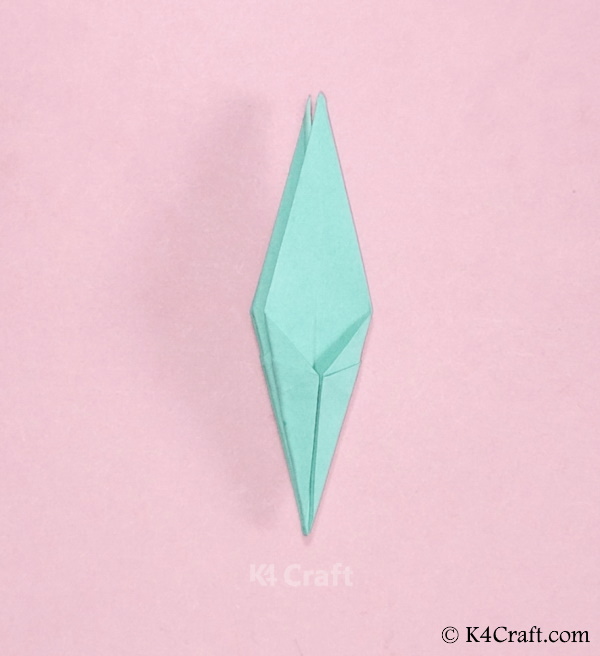
Step 16: The Lower Folds Of The Bottom Layer

  • Pull up the upper flap and let the bottom flap rest in the lower region.

Step-17 Fold The Lifted Flap

  • Fold both the sides of the lifted flap into triangular folds.
  • In this part the folds are going on being thinner to be careful while handling them.

Step 18: Repeating The Previous Fold With The Lower Flap

  • Following the above layer fold the below layer in the same pattern of triangular folds.

Step 19: Wide Open

  • Spread the folded structure from middle and get hold of the two bases.
  • One with some more folds and the other with a single layer.

Step 20: Peel Out The Layers

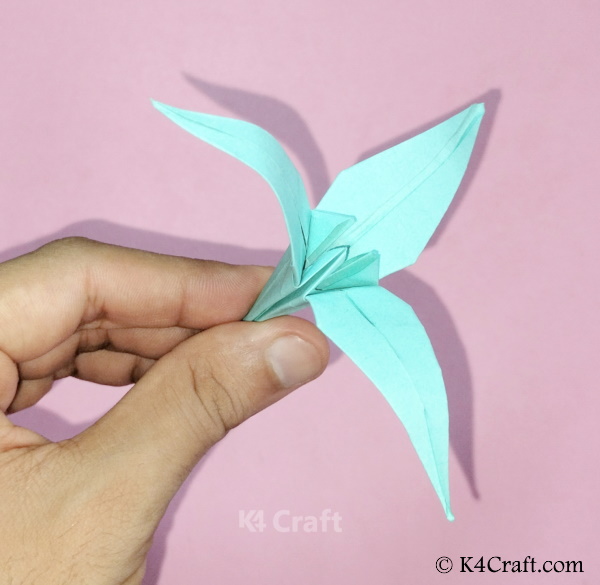
  • Peel out the flower petals.
  • Make sure to peel them gently to avoid any kinds of damage.

Step 21: The Final Touches

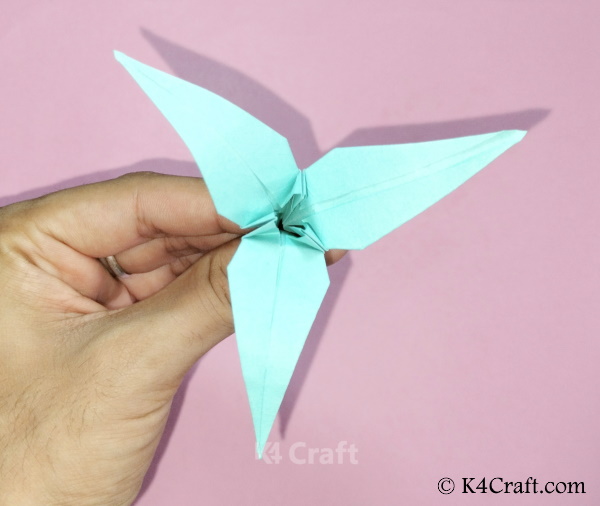
  • Spread the petals properly and make sure that the folds are secured.

The Kirigami Iris Flower!!

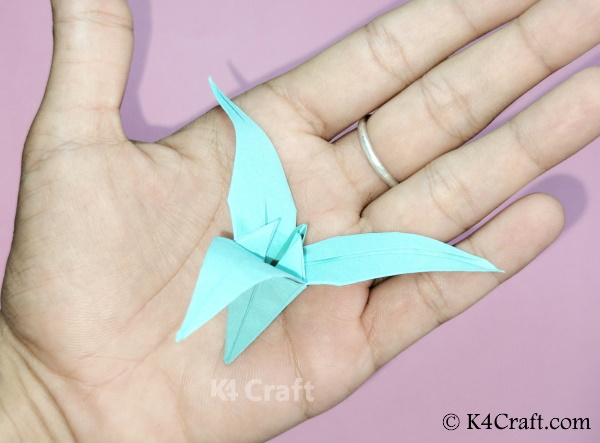
Your beautiful Kirigami Iris flower is ready!! You can prepare a bunch of them of multiple colors, you can even improvise on the same using paints and other decorative. Following the detailed tutorial, even the kids will be able to perform this at home and the minimum requirement makes it easier to follow. So, hurry up and make your own Kirigami Iris flower today!!

Tags: DIY Paper CraftsEasy Paper CraftsFlowerFlower CraftsFlower DIYFlowersKirigamipaper craft ideas
Previous Post

20+ Easy Last-Minute Halloween Decorations Ideas

Next Post

How To Make A Origami Hat – Step by Step Tutorial

Related Posts

Kids Craft

How To Make A Origami Hat – Step by Step Tutorial

December 10, 2021
Kids Craft

How to Make A Kirigami Sandal (Cinderella Version) – Step by Step Tutorial

October 6, 2021
Kids Craft

How To Make An Origami Lantern – Step by Step Tutorial

September 25, 2021
Art & Craft

How To Make 8 Pointed Transforming Ninja Star – Step by Step Origami Tutorial

February 21, 2021
Art & Craft

Republic Day activities and crafts for kids India Republic Day Celebration

January 24, 2021
Kids Craft

Make Animals with Paper For Kids

June 25, 2018
Next Post

How To Make A Origami Hat – Step by Step Tutorial

Please login to join discussion

LATEST ON PINTEREST


What is new?

  • Beautiful Peacock Rangoli Designs 2021

    50+ Beautiful Peacock Rangoli Designs 2022

    8832 shares
    Share 1531 Tweet 957
  • Easy Origami Paper Crafts For Kids (Step By Step Instructions)

    3045 shares
    Share 1149 Tweet 718
  • 100+ DIY Craft Ideas for India Independence Day & Republic Day

    16304 shares
    Share 1113 Tweet 696
  • DIY : Origami Flowers Step by Step Tutorials

    4067 shares
    Share 958 Tweet 599
  • 40 Red Day Craft Ideas & Activities for Preschool Kids

    4681 shares
    Share 840 Tweet 525
  • 20 Beautiful and Easy Mehndi Designs

    2035 shares
    Share 802 Tweet 501
  • 30 Rainbow Crafts & Activities for Kids

    2044 shares
    Share 791 Tweet 495
  • School Decoration Ideas for Spring Season

    30032 shares
    Share 706 Tweet 441
  • 100+ Rangoli Designs for Diwali (Deepavali) 2022

    1573 shares
    Share 606 Tweet 379
  • 25+ DIY Diwali Project Ideas For Children

    1777 shares
    Share 585 Tweet 366

Categories

  • 4th of July Crafts
  • Art & Craft
  • Best Out Of Waste
  • Birthday
  • Cardboard Crafts
  • Celebrations
  • Christmas
  • Clay
  • Clothing
  • Crochet
  • Decorations
  • Diwali
  • DIY
  • Download
  • Earth Day
  • Easter
  • Education with Crafts
  • Eid al-Fitr
  • Fashion
  • Father’s Day
  • Featured
  • Food Decoration
  • Friendship Day
  • Games
  • Ganesh Chaturthi
  • Gift Ideas
  • Gifts
  • Hair Styling
  • Halloween
  • Happy Holidays
  • Holi
  • Home Decor
  • How To
  • Human Rights Day
  • Independence Day
  • Janmashtami
  • Jewellery
  • Karwa Chauth
  • Kids Corner
  • Kids Craft
  • Lifehacks & Clever Ideas
  • Lohri and Sankranti
  • Mehndi
  • Mother's Day
  • Navratri
  • New Year
  • Newspaper
  • Onam
  • Origami
  • Painting & Drawing
  • Paper Crafts
  • Quilling
  • Rakhi
  • Rangoli Designs 2022
  • Republic Day
  • Sanktanti / Pongal
  • School Decoration
  • Science Projects
  • Sewing & Embroidery
  • Simple Art
  • Step by Step
  • Teacher's Day
  • Thanksgiving
  • Tutorials
  • Valentine's Day
  • Video Tutorials
  • Wedding
  • Women's Day
K4 Craft

K4 Craft follows a holistic approach to nurture talent and teach everything related to crafts including simple decorations, jewellery, knitting, embroidery, paper crafts, quelling, ceramics in addition to fundamental tutorials for beginners.

  • About
  • Blog
  • Advertise With Us
  • Contact us
  • Privacy Policy
  • Terms of Use

Our Family

  • K4 Fashion
  • K4 Games
  • Kidpid
  • IAS book

Explore Popular Categories

No Result
View All Result

A Part of K4 Media & Technologies A Part of K4 Media & Technologies K4 Craft participates in various affiliate marketing programs, which means we may get paid commissions on editorially chosen products purchased through our links to retailer sites. © 2022 K4 Media & Technologies LLP. All Rights Reserved.

No Result
View All Result
  • DIY
    • Decorations
    • Home Decor
  • Art & Craft
    • Kids Craft
    • Simple Art
  • Celebrations
    • Christmas
    • Women’s Day
    • Easter
    • Mother’s Day
    • Father’s Day
    • 4th of July Crafts
    • Halloween
    • Diwali
  • Paper Crafts
    • Origami
    • Quilling
  • Painting & Drawing
  • Best Out Of Waste
    • Cardboard Crafts
  • Tutorials
    • Video Tutorials
    • Step by Step

A Part of K4 Media & Technologies A Part of K4 Media & Technologies K4 Craft participates in various affiliate marketing programs, which means we may get paid commissions on editorially chosen products purchased through our links to retailer sites. © 2022 K4 Media & Technologies LLP. All Rights Reserved.