All of us love to decorate our desks. We never stop using pens and pencils. So we can use them in decorating our desks specially when it was made by our kids. The idea of today is making Rubik’s Cube Pen Stand design to put them on your desk of your home or office that makes your desk much more organized. This tutorial shows how to make Rubik’s Cube handmade pen holder design.
Rubik’s cube is a fun and interesting game for kids. Kids try to find the correct way to solve a Rubik’s cube always. They fall many times and succeed at others. It is a fun way to keep your children busy. This helps sharpen cognitive skills of your child and keeps the brain in motion.
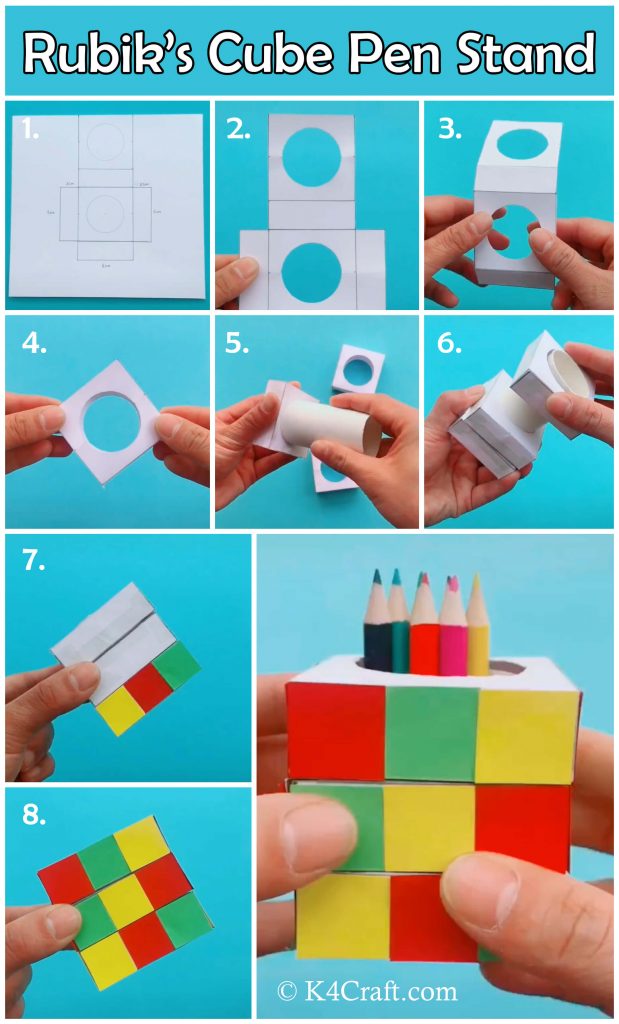
This beautiful paper craft is inspired by a Rubik’s cube. Rubik’s cube Pen stand can be used to store and gather the pens and pencils lying around here and there. This will help your kids to keep everything in place. The kids can even play with this Rubik’s cube Pen stand. This pen stand can be kept at the study table or even at the side table to keep the writing material handy at all times. Pen stands helps us to avoid stray pens and pencils lying around.
Learn To Make Rubik’s Cube Pen Stand
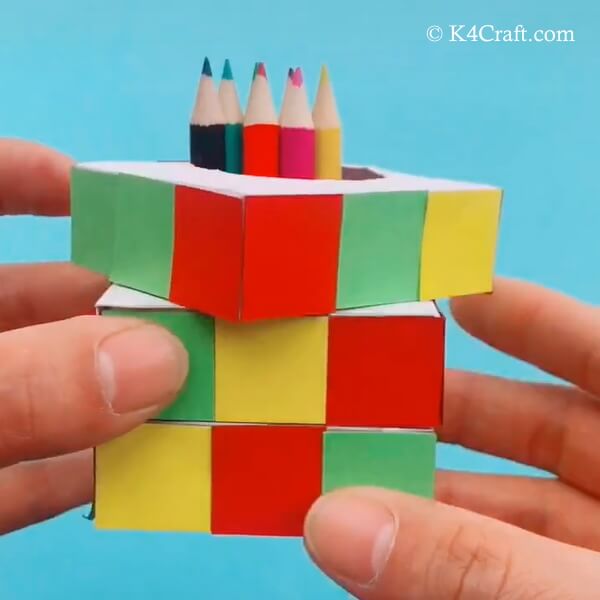
Materials Required:
- Colored paper; red, green, yellow, white.
- A pair of scissors
- Glue stick
- Scale
- Pencil
- Compass
- Toilet paper roll
- Paper cutter
Procedure:
✨ Step 1: Drafting the Rubik’s cube Pen stand
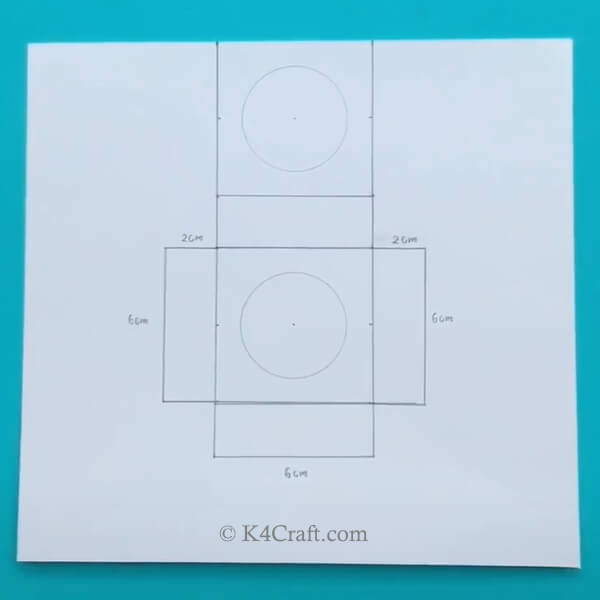
- The first step is to make a draft of this Rubik’s cube Pen stand.
- To make this draft, you will need pencil, ruler and a white paper sheet.
- Draw the draft as shown in the image above on a white sheet of paper.
✨ Step 2: Cutting the draft
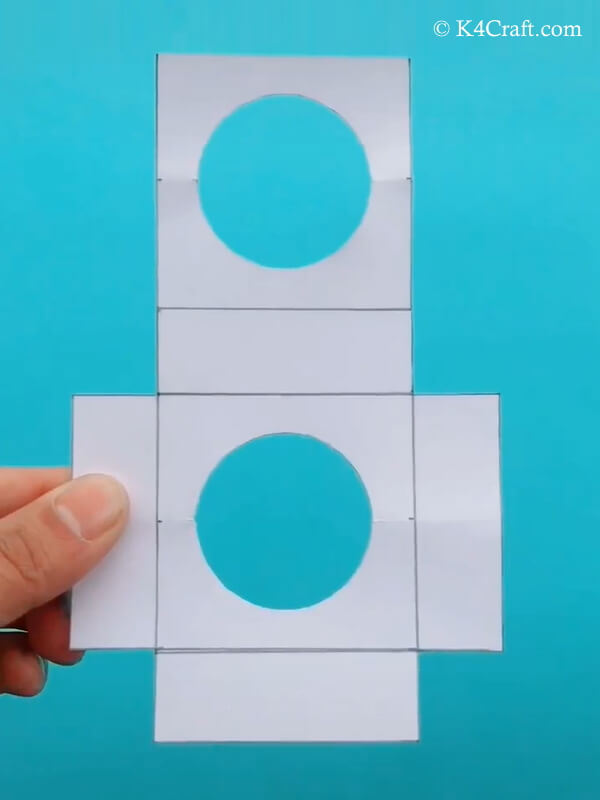
- When you have made the draft, we will move to the next step.
- This draft will become the base of the Pen stand.
- Cut along along the outer edges of this draft.
- Cut out the two circles made in the draft.
✨ Step 3: Folding the draft
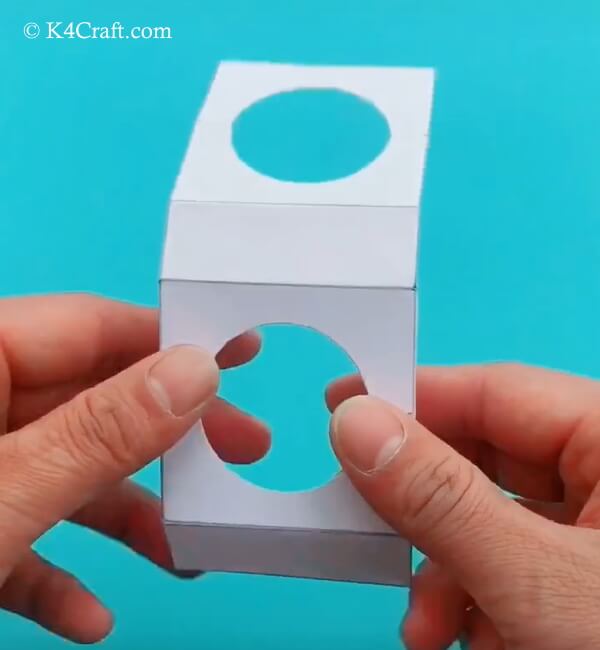
- Now you have a cut out draft.
- Start making the shape of the Rubik’s cube Pen stand by folding along the lines made in the draft.
- Keep on folding along the lines slightly, until you get perpendicular folds on each edge.
✨ Step 4: The basic structure ready
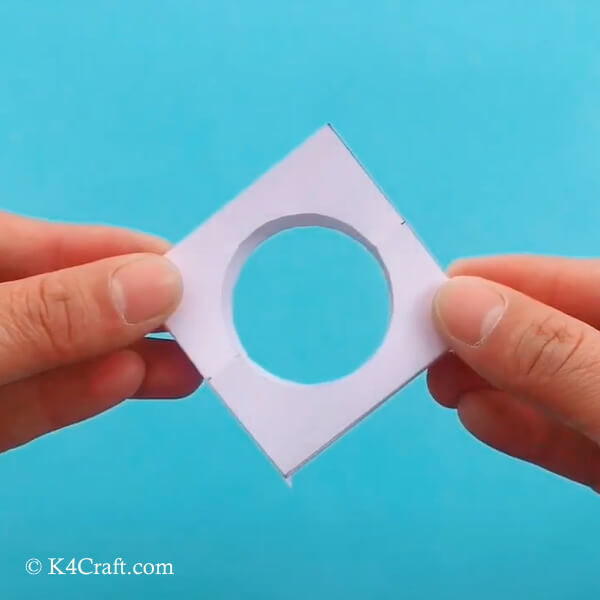
- When you have folded along each line on the draft, you will get a structure.
- This structure made of hard white paper is the basic structure of your Rubik’s cube Pen stand.
✨ Step 5: making the base sturdy
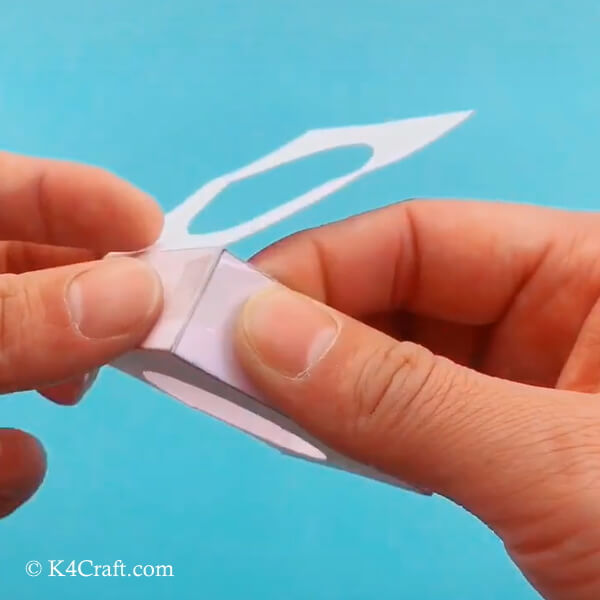
- Now stick these folds and form with each side.
- Use glue for this purpose.
- This will make the structure strong.
✨ Step 6: Making more structures
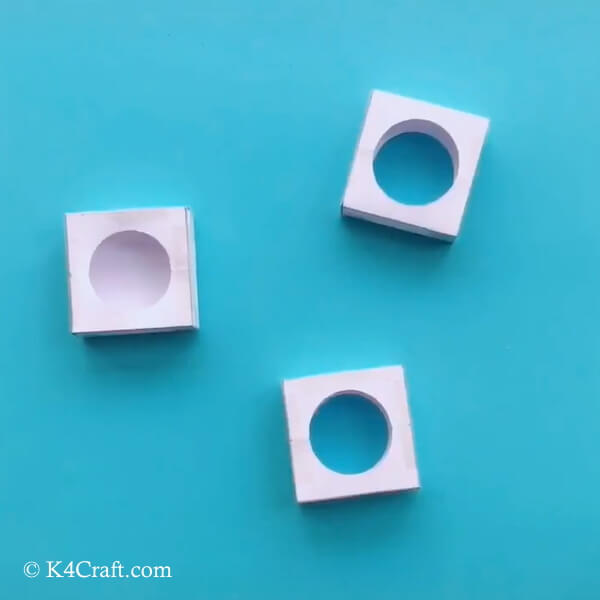
- Now we will be making more such basic structures for the Rubik’s cube Pen stand.
- We will make these multiple structures to ensure the height and structural strength of the pen stand.
- Make sure you follow the measurements in each of the structure.
- Now you have three such structures.
✨ Step 7: Setting up the pen stand
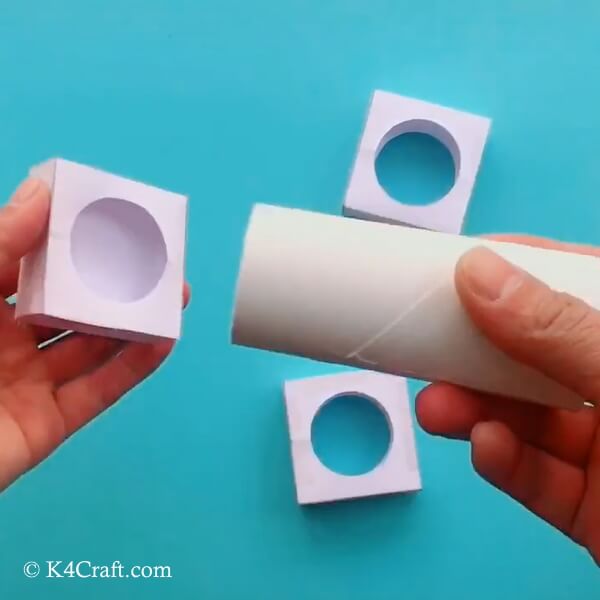
- We have made the circles in the structures of the same size aas the toilet paper roll.
- Now take a toilet paper roll and fix it inside the circle of the first structure.
- Use glue to fix the toilet paper roll in position.
✨ Step 8: Securing the toilet paper roll inside the first structure
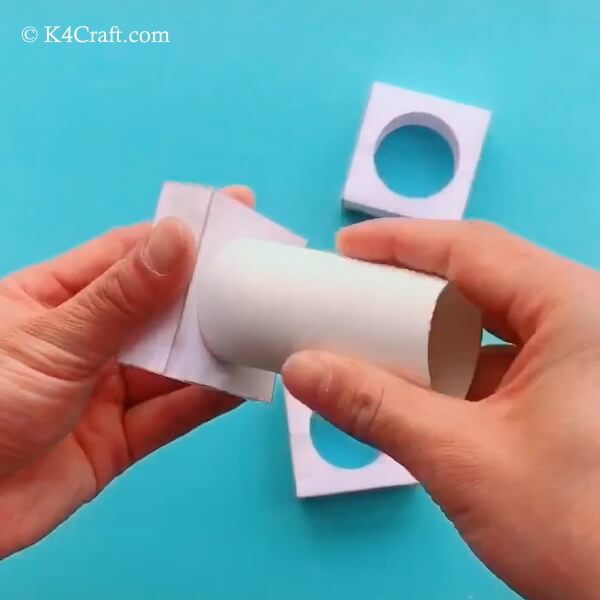
- Use glue to help the toilet paper roll stay secure inside the base structure.
- Keep the toilet paper roll stable and flat inside the structure.
✨ Step 9: Adding height to the Rubik’s cube Pen stand
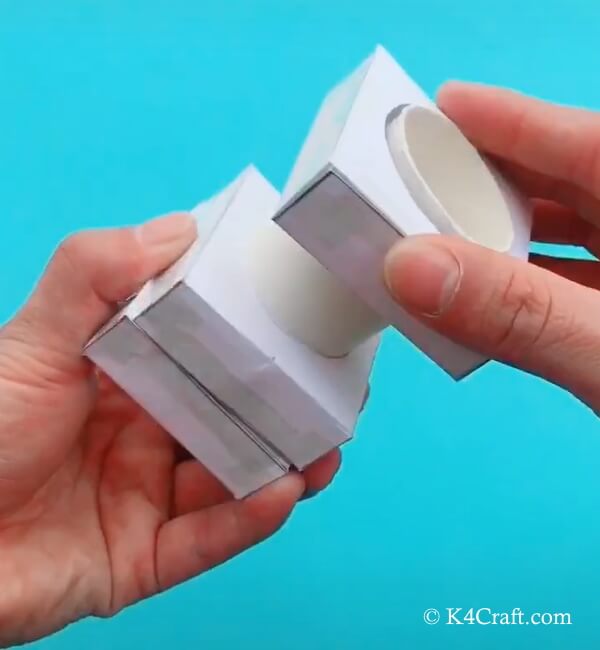
- Once the toilet paper roll is fixed in the base structure, we can add more structures to increase the height of the pen stand.
- Stick the other two structures one by one on top of the base structure.
- This increases the height of the pen stand and provides a canvas for the Rubik’s cube design.
✨ Step 10: Cut off the excess roll
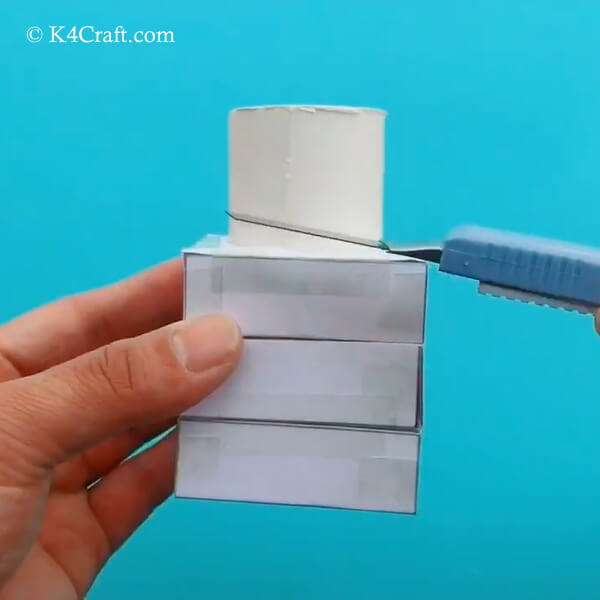
- When you have stuck and secured the three structures around the toilet paper roll, we can remove the excess paper roll from the top.
- Take a paper cutter to remove the excess of the toilet paper roll from the Rubik’s cube Pen stand.
✨ Step 11: Starting to decorate
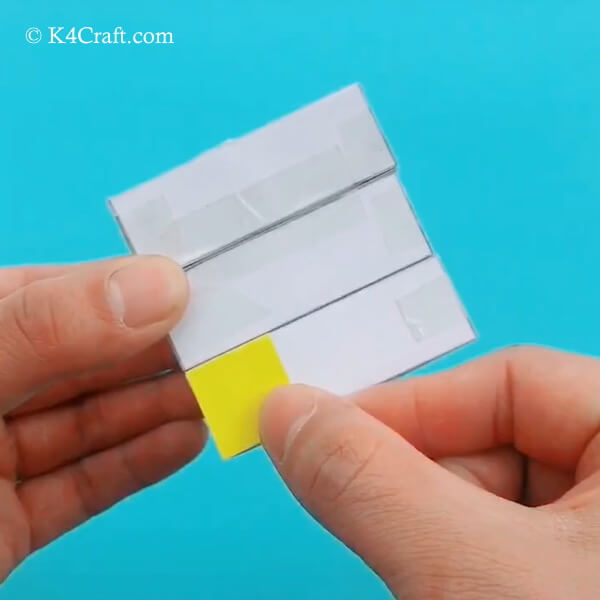
- We started to make this pen stand with a vision of colorful and bright craft.
- Now divide the sides of the pen stand in small squares.
- Cut out small-sized squares from colored paper.
- Make enough squares with colored paper to fill in the surface of the pen stand.
✨ Step 12: Adding colored squares
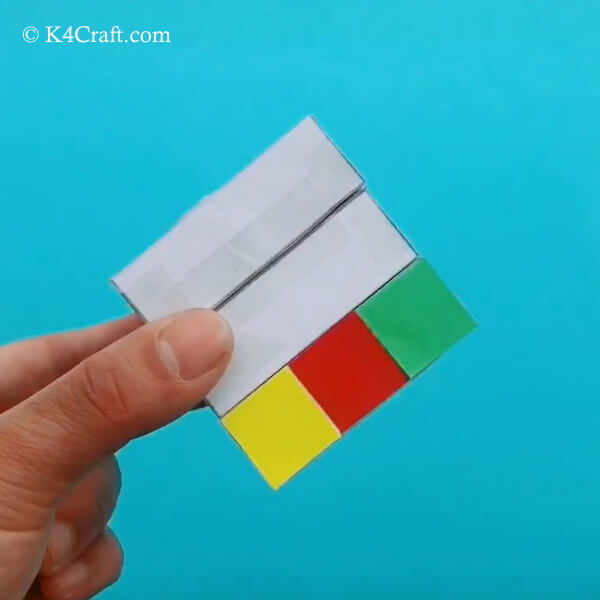
- Now take these square colored pieces and start adding them to the pen stand structure.
- Stick these squares one by one. No two same-coloured squares must be used side by side.
- The contrast of colors provides more beauty to the craft.
- This looks pretty and colorful.
✨ Step 13: Completing and filling all sides of the pen stand
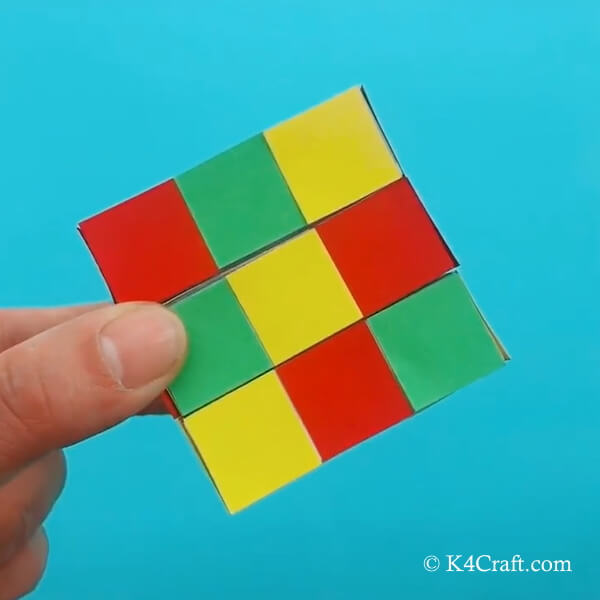
- Keep on moving upwards and sidewards as you keep on adding the colored squares to the pen stand.
- You can stick two same-coloured squares diagonally.
- Make sure you use bright colored sheets for this purpose.
✨ Step 14: Final Rubik’s cube paper Pen stand
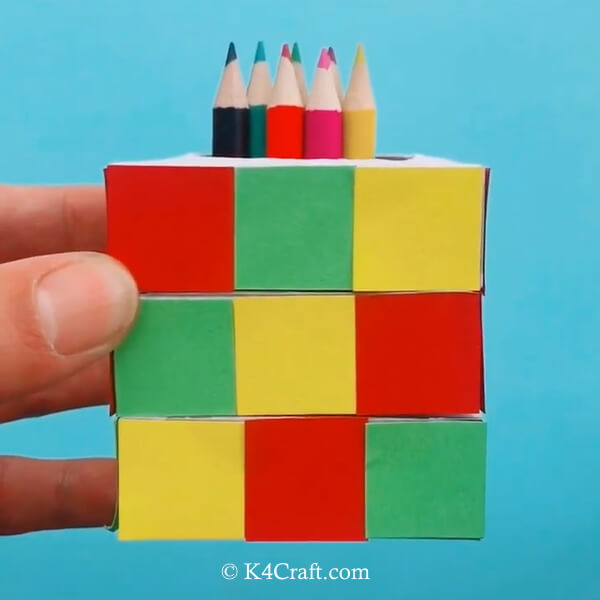
Your paper Pen stand is ready to be flaunted. You can store your pens and pencils in this beautiful pen stand. You can keep it on your study table. If you want, you can also gift this pretty Paper Pen stand to your friends and family.
We hope you enjoyed making this pretty Rubik’s Cube paper Pen stand. This pen stand will prove helpful to you and your children both. You can check out other such interesting and useful articles on K4 craft. We would love to hear from you, your experiences and stories with this craft. You can leave your feedback and comments in the comments section given below. We will soon come up with more such useful content for you. Until then keep smiling and creating with K4 craft.
You’ll also like:
- Paper Caterpillar Craft for Kids – Step by Step Tutorial
- National Frog Month Craft Projects for Kids
- Paper Plate Animal Crafts For Toddlers & Preschoolers
- Unique DIY Serving Tray Ideas To Try at Home
- Adorable Horse Craft Ideas to Have Fun with Kids


