It is rightly said that “Always wear earrings at the very least” because earrings add great value to a simple outfit as well as a traditional outfit. So it is necessary to always choose your earrings wisely.
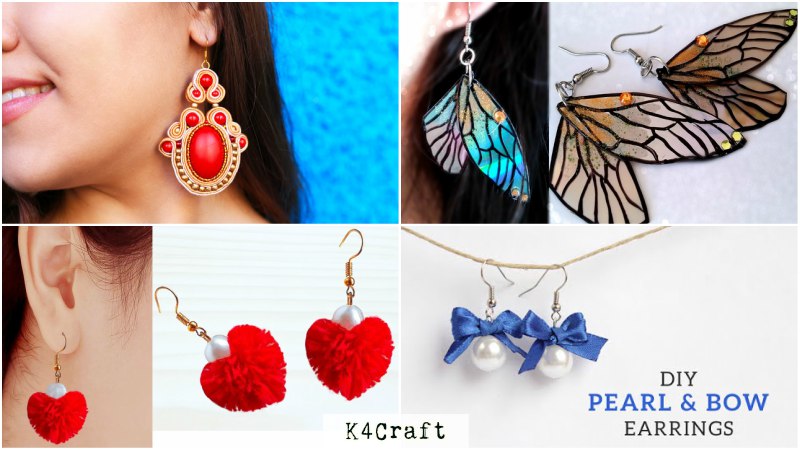
Pom Pom dangle earring
The pom pom looks good with everything, be it bangles, dupattas, sling bags, necklaces and lastly the jhumkas. In this video we will learn how to make pom pom earrings.
Materials
- Wool or yarn
- Pearl and pliers
- Fork and scissors
- Ear wire and eye pins
Procedure
- Take a fork and some yarn and start to wrap it around the fork till it is thick enough to make the desired pom pom.
- Tie the pom pom and slide it out from the fork and cut it from the center as shown in the video.
- Repeat the same with another pom pom
- Giving a finishing touch to the pom pom by trimming uneven edges
- Pass an eye pin through the pom pom and add a pearl on the top of it, and cut the remaining eye pin after making a loop.
- Attach the ear wire to the loop and your pom pom dangling earings are ready.
DIY Pearl and Bow Earrings
Every girl likes pearls; in this video we will see a really minimalistic pearl earring that is simply more than adorable.
Materials
- Pearl beads and ribbon
- Earring wire, pliers, headpins
- Scissors and fork
Procedure
- Cut a ribbon of about 20cm and wrap it around the fork such that it forms a bow like shape
- Turn the fork around and tie a knot in the back to secure the bow.
- Slide it out from the fork and slide a pearl into the headpin and using the pin pierce the bow with the pearl at the bottom.
- Cut the excess headpin leaving little space for creating a loop.
- Insert the earring wire before closing the loop and press with the help of pliers to close the loop.
- This really adorable pearl bow earring is ready.
DIY Lace Earrings
Have you ever thought what a lace earring would actually look like? No right! So in this video we will learn how to make a lace earring.
Materials
- Lace (with broad and bigger design)
- Crystals and glue
- Fabric stiffener and scissors
- Ear wire
Procedure
- Take a lace and cut out some design in the shape you want your earring to be
- Now take the fabric stiffener and spray it on the lace and press it with heat iron such that the lace becomes thick and doesn’t lose its form.
- Once the fabric is thick add some glue and stick the crystals or pearls wherever you want.
- As they dry attach the ear wire to the top and your lace earring is ready to be worn.
- You can use a smaller and a bigger cut out from the lace and join them together also for more colourful look.
- As lace is a washable material, you don’t have to worry about the wear and tear of your earring.
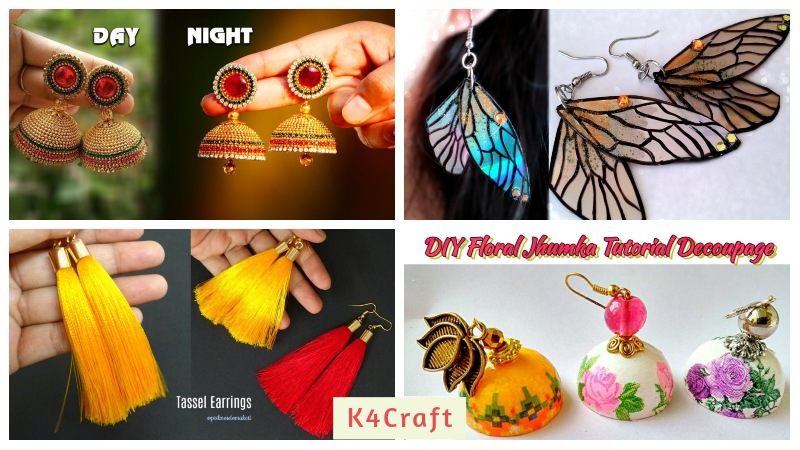
Fairy wing earring
We all have adored the stories of fairies in our childhood days and also wished to actually see a fairy in real life, but that can never happen, so here we have bought a hack to make fairy wing earrings out of old DVD’s.
Materials
- Old DVD’s and ear wire
- Scissor and marker or a sharpie
- Glitter, glue and paint brush and decorative
Procedure
- Take an old DVD and bend it a little till it starts to peal.
- Take out the glass layer from the DVD and we will be using the plastic layer of the DVD to make the fairy wing.
- Now draw a fairy wing with marker pen or eye liner and trace it onto another part of the DVD for another earring.
- Now make two smaller wings in the similar pattern and cut all the four wings.
- Make a hole on the small and big wing and connect them using a jump ring and attach an ear wire to it and your fairy wing earring is ready.
- Repeat the same process with the second earring and now apply some glittery touch to both the earrings and add crystals of your choice to it.
Tassel earrings
Tassel earrings give a simple yet elegant look to your traditional and indo western outfits and are also the most colourful earrings.
https://youtu.be/WAak4k35XHg
Materials
- Silk thread and fabric glue
- Golden paper and coin
- Ruler and scissor and ear wires.
Procedure
- Draw a circle on the golden paper using a coin and cut it.
- Fold the circle into half and place it on the side
- Now take the ruler and start wrapping the silk thread around it until it is thick and put a drop of fabric glue to ensure the loose ends
- Now carefully remove the rolled layer from the ruler and stick on it on the middle of the golden cut out.
- Repeat this process a few times till your earring is thick enough.
- Now add some fabric glue and stick the remaining folded part of the circle over the thread such that it stays in place. Also before sticking it make a hole and pass the ear wire through it and then stick the paper.
Dangling blue turquoise earring
Dangling earrings look really good on round or heart shaped face as it enhances the face length wise.
https://youtu.be/nLsNsBuQ5HA
Materials
- Turquoise stones and eye pins
- Jump rings and charms
- Thin chains and pearls
Procedure
- Take an eye pin and slide a pearl through it and later cut the excess part and make a loop of the remaining area.
- Take the ear wire and attach a smaller chain to it and close it with the help of pliers
- Now take the turquoise stones and pass them through the eye pin individually and create small loop as done with the pearl.
- Now take a charm and attach the turquoise stones to it with the help of jump rings.
- Now connect the charm and the pearl and also the chain with the ear wire as shown in the video.
- Fix all the loose end of the jump rings and finally your dangling earrings are ready.
DIY Soutache ethnic earring
With ever traditional outfit we always want those perfect pair of earrings that go really well with the detailing and colour of our outfit, so there we are going to learn to make these amazing pair of soutache earrings.
Materials
- Card board and felt paper
- Oval shaped crystal and super glue
- Golden beads (dark and light shades)
- Soutache wires of different colours
- Needle and thread
Procedure
- Take a red felt and stick the crystal to it with super glue, ensuring that the edges are firmly stuck
- Now take thread and needle and start stitching alternate shade of beads around the crystals.
- Once u have completed one circle, take the soutache wire of 17 inch braid chord (two golden and one dusty white), place the golden chord pulling the ends in upward direction and start stitching it.
- Cut out the extra felt around it and now place the second gold chord in the same way and sew it to the previous layer.
- Repeat the same process with the dusty white chord, and sew the ends and put a red seed bead in the center.
- Take another bead and wind the chords around it and stitch carefully and add another golden bead to it and do same curls on the other side.
- Attach the golden chord on top and add a golden bead and add a finishing touch at the outer area.
- Place a red bead in the center, and sew the golden chords around it for making the top part of the earring and sew some red beads and smaller beads on the inside and fastened the ends at the back.
- To ensemble the earring attach the top and the bottom together adding a few golden beads and stitch several times so that it stays in place.
- Open a jump ring and attach it with the ear wire and the main earring
- Cut out a felt of the oval shape and stick it to the back of the earring to add a finishing touch.
- This earring will look fabulous with your traditional outfit and can also be an amazing gift for your loved ones.
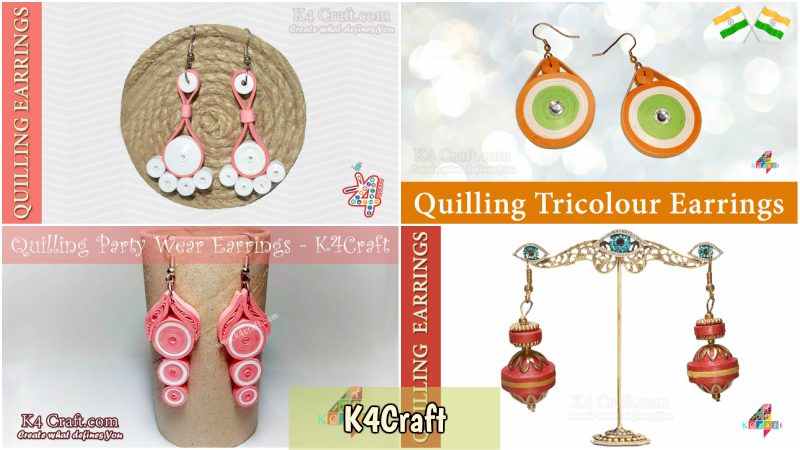
Paper Weaving Earring
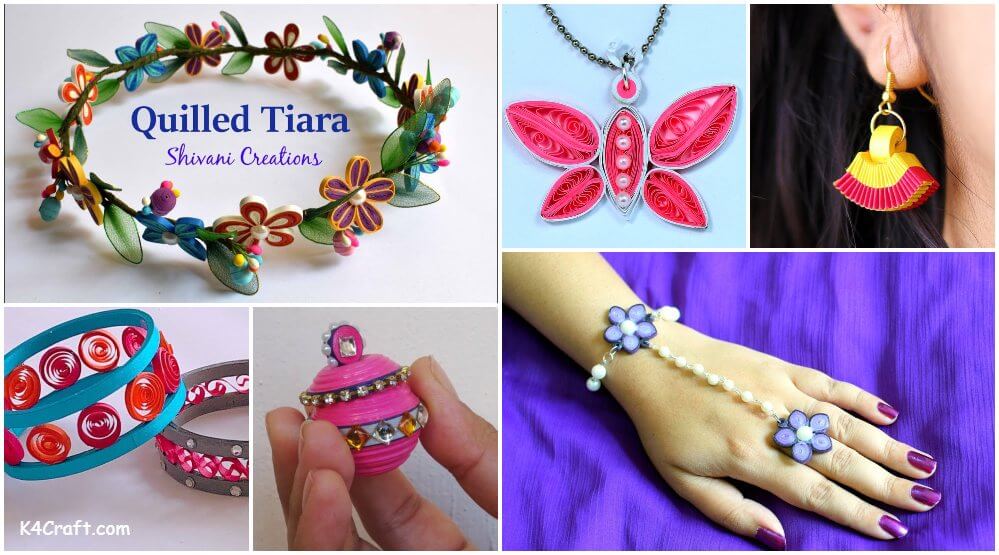
Quiling has gained importance lately and is among the most trending paper craft field. In this video we will learn to make earring out of simple quiling strips.
Materials
- Quling strips and quiling tool
- Glue and scissors
- Ear wire and jump ring
Procedure
- Take for strips of quiling paper, two of each colour.
- Form a plus sign and stick the ends of all the four strips.
- Now start braiding the opposite ends and pass the remaining last end through the braid formed such that it forms a knot like thing and slowly tighten the knot.
- Repeat this process till the end of the strips, and stick them with glue and cut the extra edges.
- Slowly start widening the braid such that the loops are visible.
- Now add some glue over the upper area to fix the patterns made after widening the braid.
- Now take another strip and wrap it with the help of quiling tool and form a circular roll, pass a jump ring through it along with the ear wire and stick the round to the lower part of the earring with glue and allow it to dry.
So, these were a few easy and cost effective earring hacks for girls to make them look prettier with very little effort. Also you can use these earrings to gift your loved ones as it gives a sense of customisation. Please feel free to express your views about it. Happy crafting 😉


