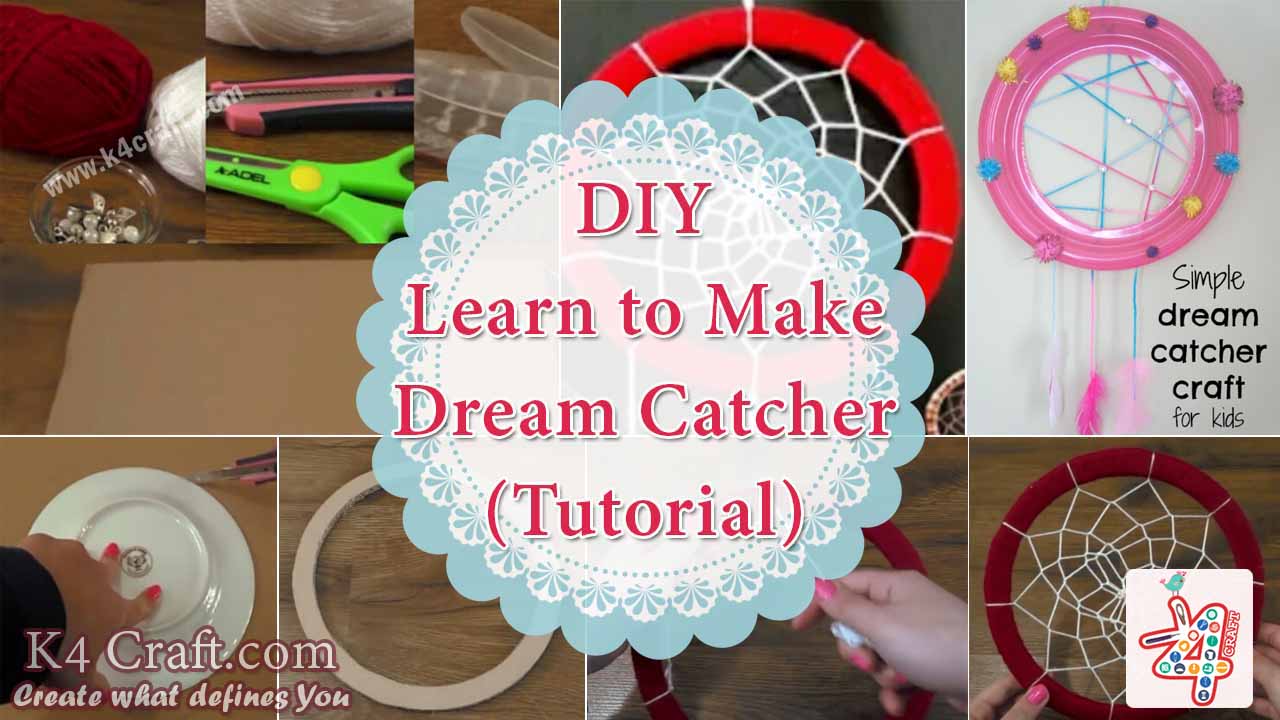
THINGS YOU NEED
- Cardboard
- Wool
- Wool Needle (Optional)
- Scissor
- Cutter
- Feathers (Artificial or Real)
- Decorative Items (Of your choice)
STEPS
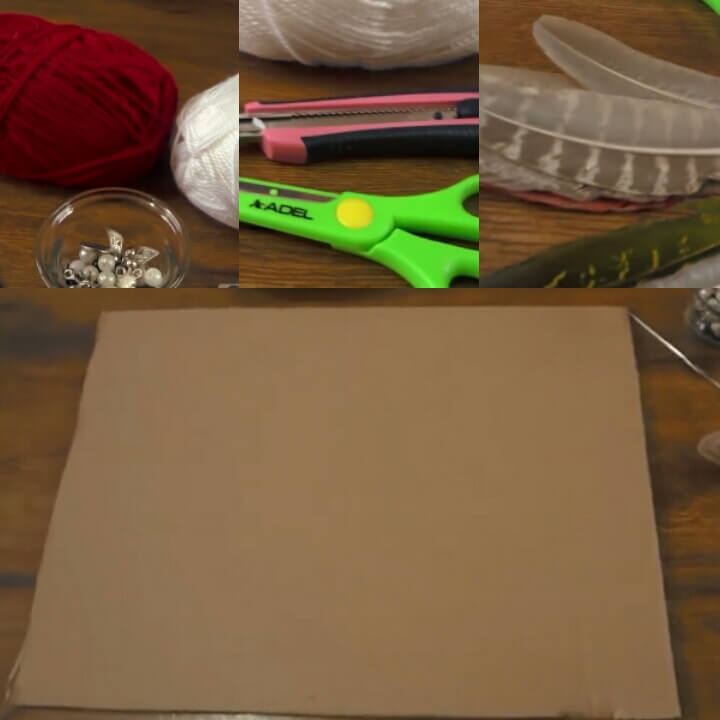
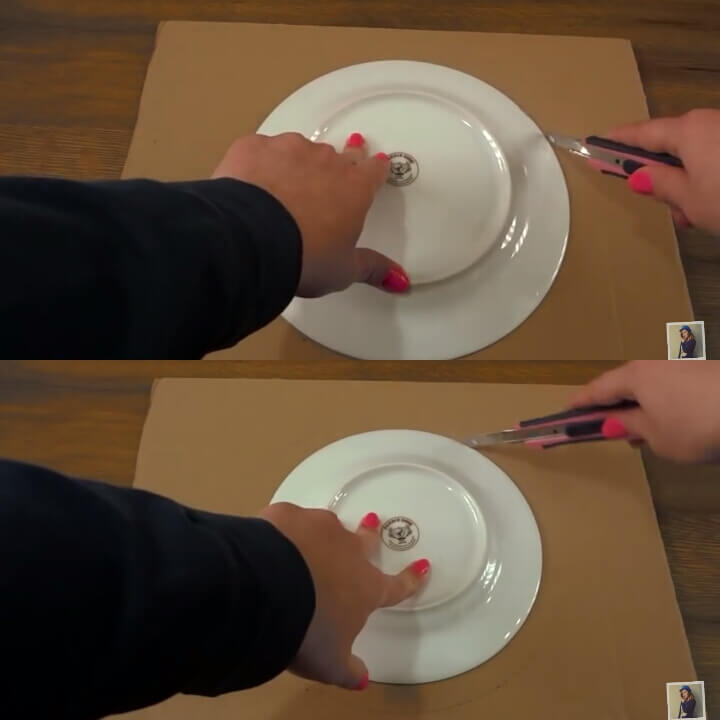
- First of all take the cardboard and place a plate or any circular material and trace it using cutter.
- Take another plate or circular object smaller than the previous one.
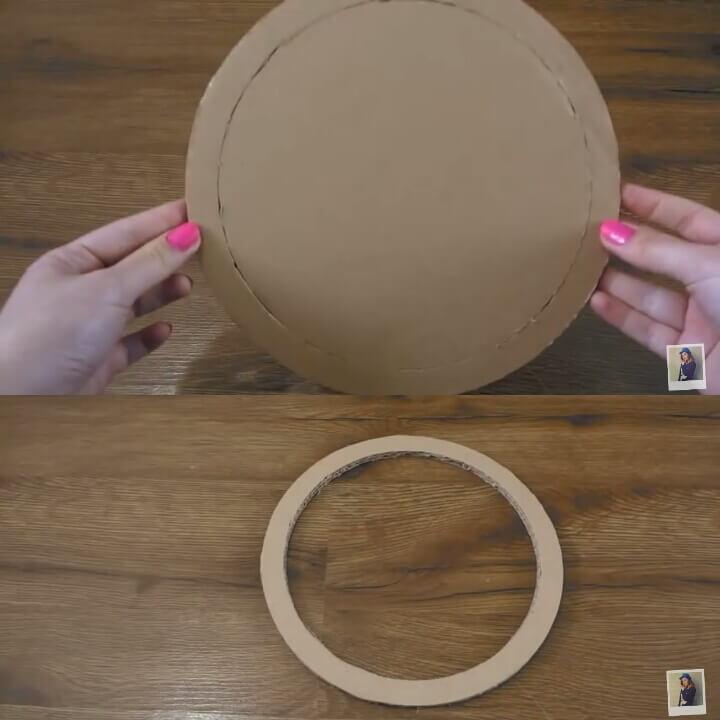
- Place it inside the bigger circle and trace it using cutter.
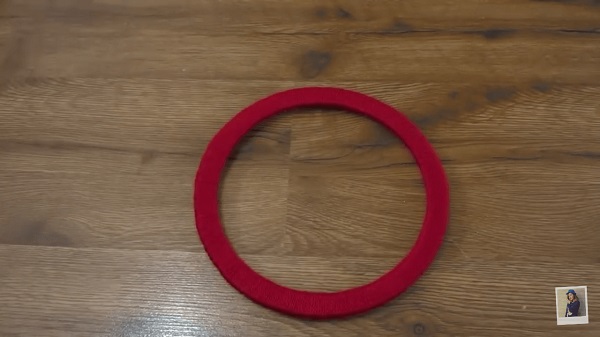
- Separate the smaller circle and you will get a hoop for your dream catcher.
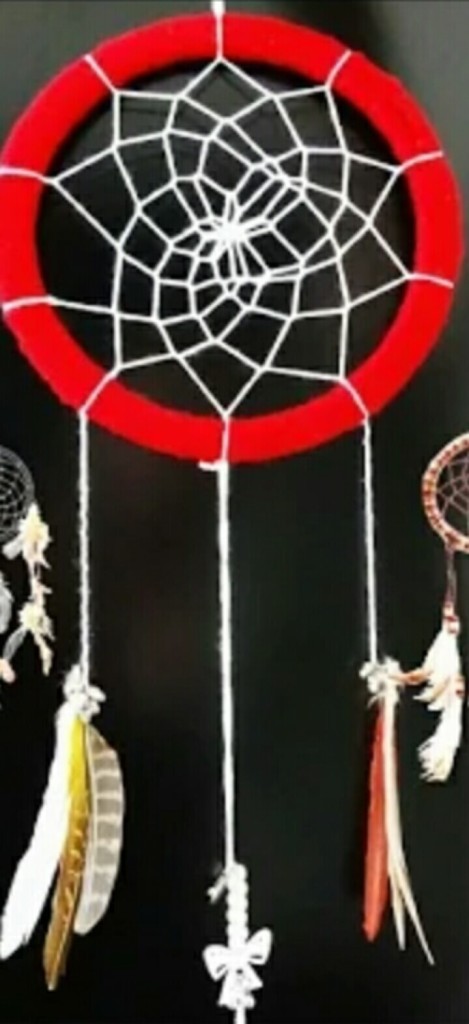
- After you get your hoop, take wool (approximate 2 meters), tie one of its end on the hoop and wrap it with the wool.
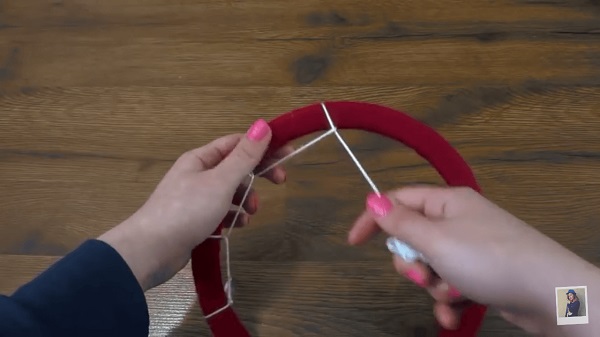
- After wrapping the hoop, take another piece of wool, tie a knot at the base of the hoop. Working clockwise stretch the wool to a spot a few inches away from knot and loop it down the hoop.
- Continue making loops that are evenly spaced till you finish the first row.
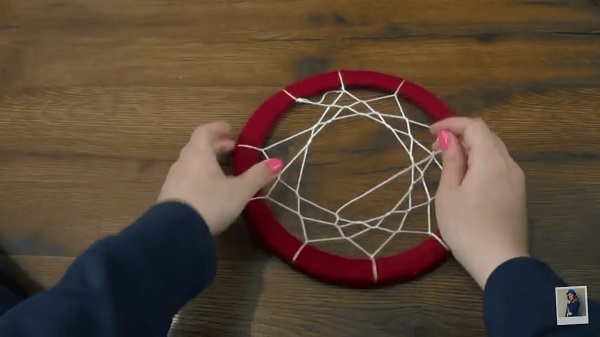
- For the second row, make a hitch between the thread.
- Every hitch should fall at the exact midpoint of the wool between the knots.
- After the second row, continue weaving in the same pattern.
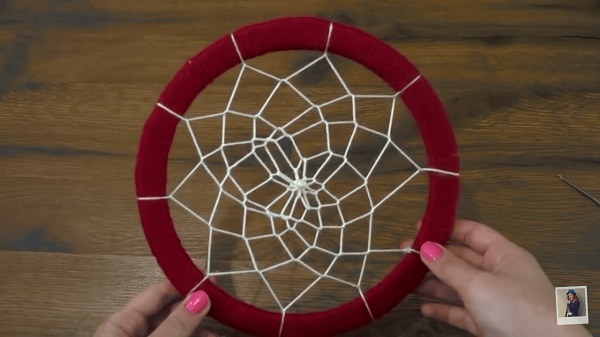
- The circle you weave will become smaller and smaller.
- As it becomes smaller, pull the thread tighter and tighter.
- After you have woven the web to a tiny circle you can add a few beads or gemstones.
- After putting a bead tie a knot over the place where you make your final hitch.
- Double knot it to ensure it wont come undone.
- Hang a feather or decorate it with laces and beads.
- Also you can add any ornamental structures to make it look more elegant.
TIPS
- You can make use of embroidery loop for the hoop.
- You can add beads or stones while weaving the web to make your dream catcher look more attractive.
(Image Source: pinterest.com)
Thanks for visiting our website. Keep creating with K4craft!


