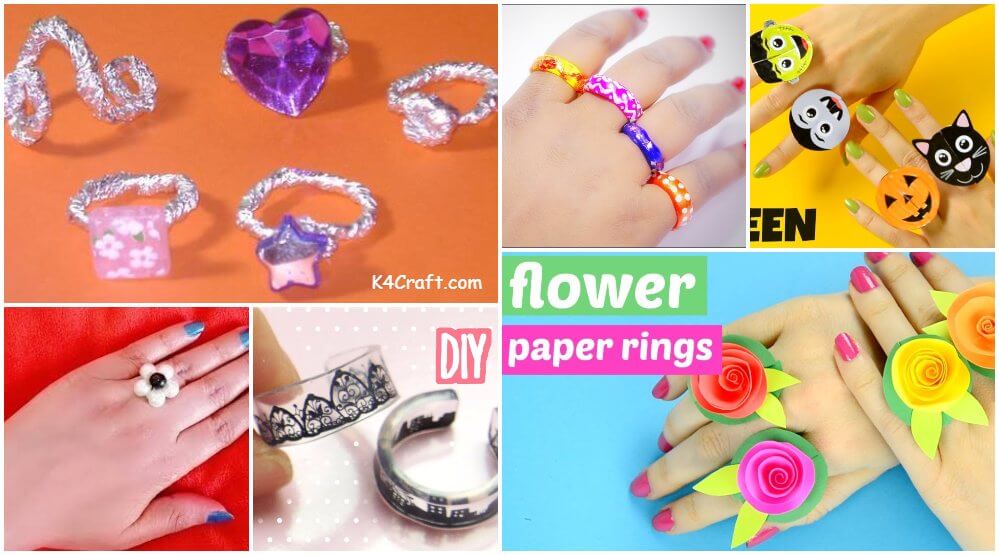
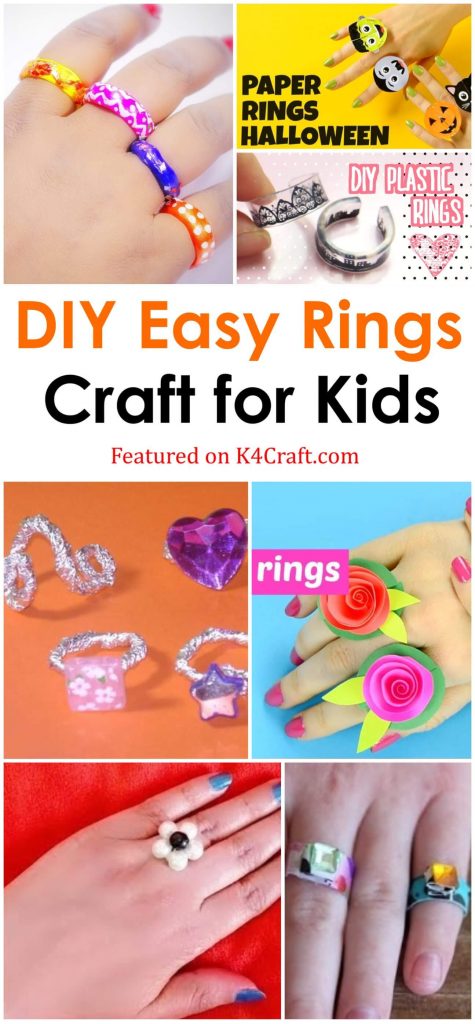
The best part about making DIY stuff for kids is the prized joyful look and smiles on kids’ faces when they get something, and what better then to give something made by your own heart work (I know that’s not a word but sounds better than hard work right ?). Without further ado, here are some cool handmade rings that your kids can enjoy.
You may like: How To Make Cute Paper boxes for Kids
1. Aluminium Foil Rings
Things You Need:
- Aluminium Paper
- Glue
- Gem or Decorative elements
Procedure:
- Take a sheet of aluminium foil and start rolling and folding it to form the base of the ring. Press it tightly for proper shape.
- Coil it at the top and join it to form the crown of the ring.
- Take glue and a decorative stone and paste it on the foil ring and you are done. It is so easy that any kid can make it himself.
2. DIY Paper Flower Ring
Things you need:
- Coloured paper
- Scissor
- Glue
Procedure:
- Using the template provided you can print it on the coloured paper directly. Firstly, cut out the swirl and base and square shape to make one ring.
- Cut the swirl inwards along the lines. Then Start roll the spiral from the outer edge. Put some glue on the round edge of the spiral. Place the rolled part of the flower on this and press it to make your rose.
- Cut out two little leaves from the small square.
- Now take the ring base cutting, cut it hallway along the inside of the semi-circular part but from opposite sides on each semicircle. This will enable the semicircles to slide into each other. The ring base is ready
- Take the ring base and put some glue on it, paste the leaves on the ring base. Take the flower, and place it over it to complete the ring and you are done.
3. DIY Bow Ring
Things you need
- Fabric
- Felt Fabric
- Scissor
- Glue Gun
- Silver wire
Procedure:
- Cut a rectangular piece of fabric and with a glue gun paste both sides inwards then paste the other ends inwards as well.
- Cut out a smaller piece band make folds in the middle and paste them to form a bow.
- Take a silver wire and wrap it around the top of a nail polish bottle to form the ring base.
- Cut a thin ribbon like section of felt and wrap as well as paste it around the ring base wire.
- Put some glue at the top of the base to paste the bow on the ring. Now take a small piece of the bow fabric to paste it in the middle of the bow and secure it to the ring.your cute ring is now ready.
4. Tape ring
Things you need
- Duct tape
- Scissors
- Decorative Stones
Procedure:
- Take duct tape and cut out a long piece and a small piece from it. Tape the smaller piece to the longer strip and cut in half. This will give you a basic ring base
- Take a smaller piece, fold it, and cut it to place it on the ring we made before.
- Take jewel stickers or decorative stones to base on the small piece we just cut and you are done.
5. Pearl ring
Things you need
- Nylon thread
- Beads or pearls
- Ring base
- Fevikwik or superglue
- Scissors
Procedure:
- Take the nylon thread, pass five pearls through it, and tie a knot to form a loop. Take the excess thread, put a bead through it, and secure it to the rest placing it in the middle. Cut off the excess thread.
- Super glue the knot so that it does not open up.
- Take the ring base and super glue the pearls on to the top of the base.
- Let it dry and let your finger shine wearing it.
6. Hot glue rings
Things you need
- Nail paints
- Ruler (metal)
- Lip balm
- Glue gun
- Whitener pen
Procedure:
- Take a ruler and apply a layer of lip balm. Take a glue gun and put glue on the ruler in a straight line. Let it dry, take it out from the ruler, and paste the ends using hot glue gun to from a ring.
- Apple nail Paint on the ring formed with colours of your choice.
- With the help of a whitener pen, make designs on it when the nail paint has dried.
- Alternatively, you can only use nail paints of different colours to get different kinds of effects of patterns on the ring. Your ring is now complete.
7. Shrink dink rings
Things you need
- Shrink dinks Paper
- Microwave ( For the paper)
- Ruler
- Scissors
- Black Marker
Procedure:
- Cut Out a strip of 2 x 12 cm of shrink dink paper for a single ring. Round the edges for a more curved edges.
- Taking the marker draw a design of your choice and fill it black.
- Now put it in the oven to heat up but carefully while it is hot take it out and bend it to form the shape of a ring by placing it around a marker.
- When dried the sheet will swell up and viola your ring is ready to wear. You can change the designs and do more rings using the same process.
8. DIY Monster Ring
Things You Need
- Ring Template
- Colours
- Scissors
Procedure:
- Print out the Ring Template from this link and colour the characters in your favourite colours.
- Cut out the shapes and add slits halfway at the ends on opposite sides.
- The slits will slide into each other to form the ring. The rings are now ready.
Pin for later

We hope you liked all these cute diy rings for kids. You can check out other related crafts at K4 Craft. We will come up with more such content soon. You can leave your comments in the comments section below. Keep smiling and creating with K4 Craft!
You’ll also like:
- Easy Sunday School Craft Ideas for Kids
- 20+ Easy Popsicle Stick Crafts & Activities for Kids
- 25 Easy Mother’s Day Gifts Ideas Kids Can Make
- Easy To Make Mason Jar Decorative Ideas
- Senior Citizen’s Day Special Easy Craft Ideas


