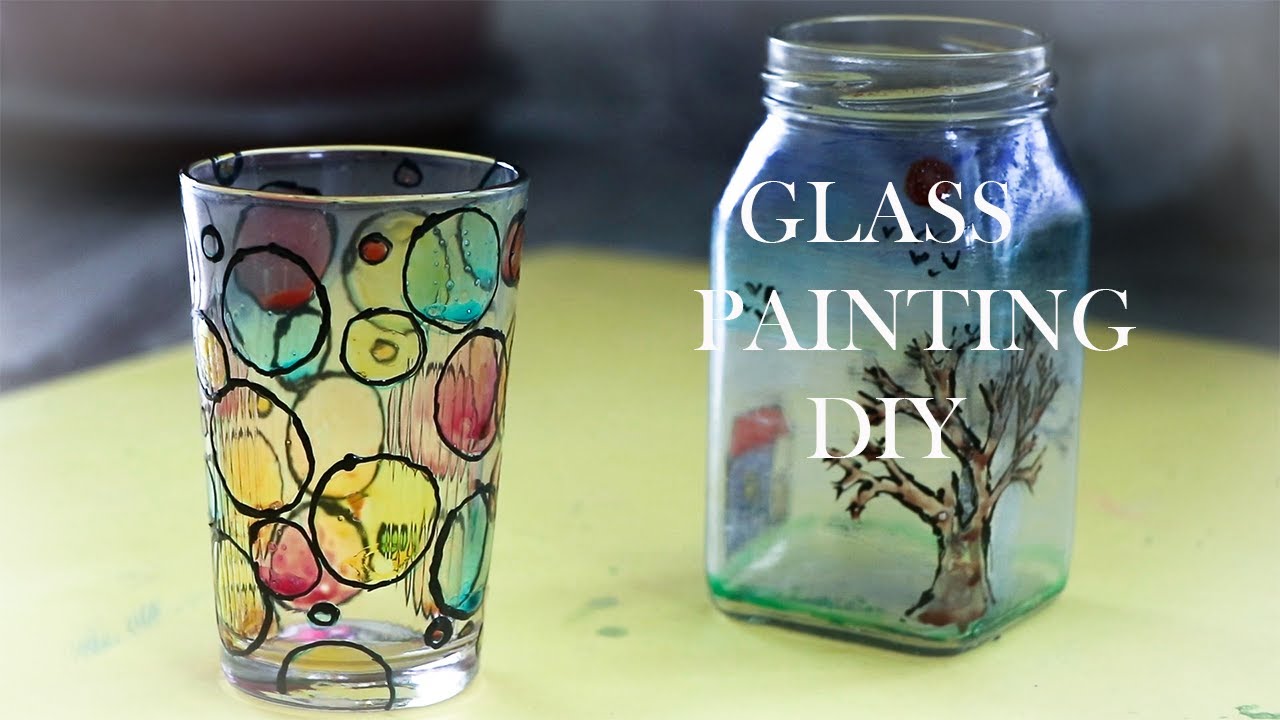
We all love glass installations in our homes and offices. What if we could customise them according to our needs. What if you could custom design your glass paintings and installations. You can choose safe colours and glass objects for your children to show their creativity as well. You may paint the glasses, paintings, glass installations, glass bowls or much more. Glass painting is a lot more easier than perceived. One should for sure give glass painting a try, who knows if you will fall in love with this art form in the due time.
Know About Glass Painting Materials
Let us first get acquainted with the glass painting material. This will provide us with a sound knowledge of our equipment and the artform as well. We have glass paints which come in bottles with nozzle heads. These nozzles help the paint to flow onto the glass easily. We have the outliner, which lines the boundary of the drawing and does not let the paint flow out. The outliner usually comes in the black colour but you can get other variants as well. For pictorial representation look up:
https://www.youtube.com/watch?v=XaRAxWzligo
Glass Painting Ideas
Take a plain drinking glass. We are going to make this plain glass into a colourful drinking glass. First of all take a coin and a marker. Now make circles using the marker and the coin all over the glass. Make sure that the circles do not intersect or touch each other. You can choose the closeness of the circles according to your own wish. Now use a glass painting outliner, to outline the circles. Once you are done with the outlining and the outline dries completely, start with glass paints, filling in the circles. You only have to paint the circles and not the outsides. You can choose from a wide array of colours and colours are solely your choice, but it is better to go with the bright colours as they show optimism and bring in cheer. For better understanding of this glass painting DIY look up:
Lord Ganesha Glass Painting
Now we are going to make a Lord Ganesha painting using the glass paints. First of all draw the sketch on a sheet of paper. Now place your glass sheet over the sheet of paper. Start with outlining along the lines of the sketch. Be careful with the edges. Try not to smudge. You can wipe the outliner from the wrong places using a wet cloth or a wet tissue. Once you are done with the outlining leave it to dry for about six hours or until it dries off completely. Now use the glass paints to colour the sketch accordingly. Once you are done with the colouring let it dry. Use crushed foil behind the glass before getting it framed. That will bring a shiny finish to it. You can get it framed if you are satisfied with your first drawing or try more times before getting the desired painting for your drawing room or any other place of installation. For better understanding of this Lord Ganesha glass painting art look up:
Glass Painting for Beginners
First of all take a printout of the design you wish to realise or draw it in hand. Then take an OTP sheet or glass sheet and place it over the design and tape it from the sides. Now use the black outliner or you can use golden or silver outliner if you like to mark the lines of the drawing. Be careful, as we are using a flower design you can change the curves a bit but do not let the lines overlap. Mark the borders on all four sides of the drawing. After the outliner dries up colour the design in the colours of your choice. You can choose to shade the flowers in two or more colours, shading is really easy, all you need to do is mix the liquid paints where you wish to shade. Let the paint dry. After the paint gets dried cover the back in an aluminium sheet, fold it at the edges, tape it. Now you can get the picture framed. For better understanding look up:
Get an A3 size transparent glass, kerosene for cleaning the small brush we will use, adhesive tape and black oil paint. We will take a design paper, here we are using a birds design paper. Now tape the design paper to the glass sheet. Start with making the same design on the glass sheet using the black paint with the small brush. Once you have made all the outlines, colour the outside of the design. Let it dry. It will completely dry up in 2 days. Now apply foil on one side of the design, preferred is the side painted. You can get it framed and place it in the place of your choice. For better understanding look up:
Read More
- Capture Your Moments Beautifully at This Photography Day
- DIY Cool Homemade Cardboard Craft Ideas
- Wall Hanging Craft Ideas using Woolen
- Independence Day Craft Ideas for Kids
- Sui Dhaaga (Made in India) Logo Reveal On 4th National Handloom Day


