One of the best activities to keep children curious and engaged is drawing. It helps children express their creativity and is a great way to spend time with their parents. But like anything in life, learning is the first step and it’s the same for drawing too. While some schools of thought suggest letting children draw without any instructions, a little guidance goes a long way and it will eventually help children draw better.
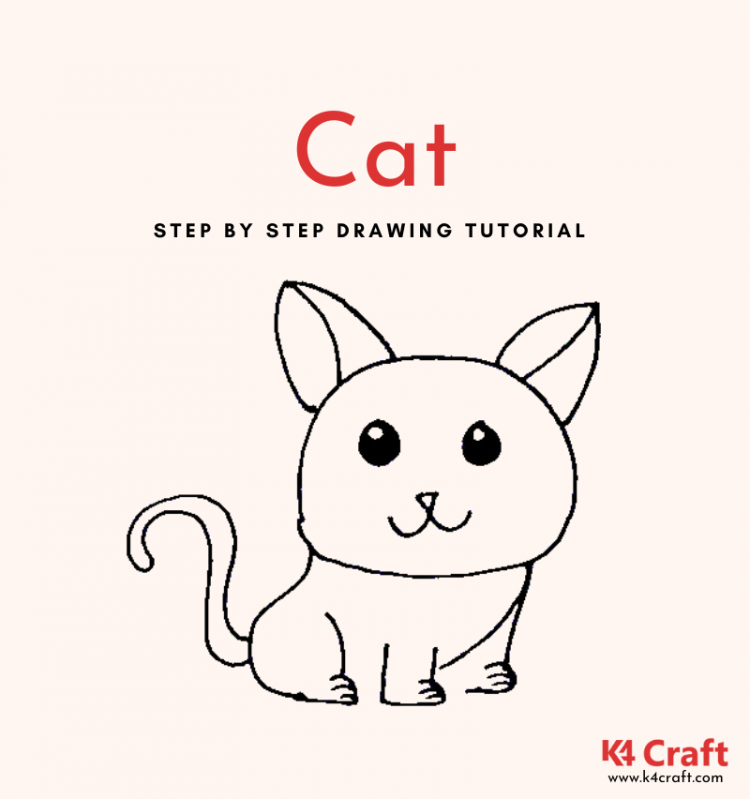
Today we’re gonna take a look at how to draw an adorable little cat. Just a few steps and a little practice and you’ll be drawing the perfect cat in no time.
Things You’ll Need:
- A piece of paper
- A pencil
- An eraser
- Colour pencils or crayons (whichever you prefer)
Step by Step Instructions
Step 1:
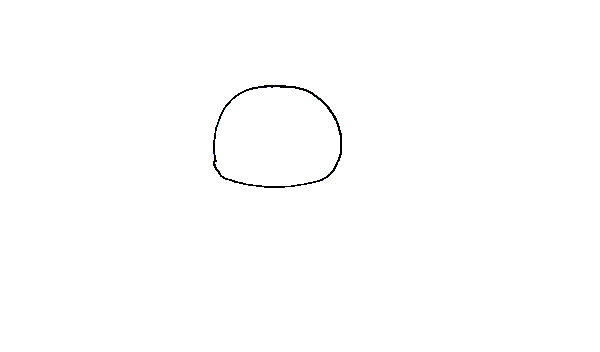
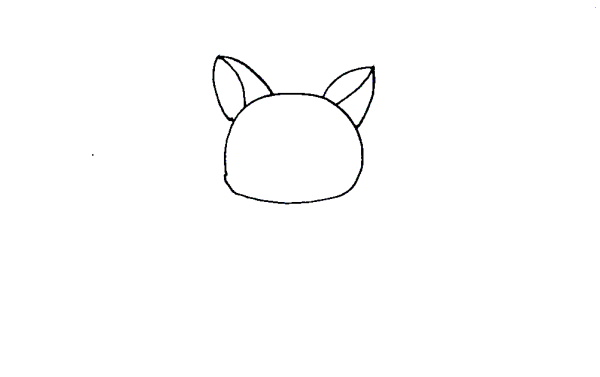
Start drawing your cat by drawing a small oval head. You can make it a little more rounded or even triangular in shape depending on how you want your cat’s face to look.
Step 2:
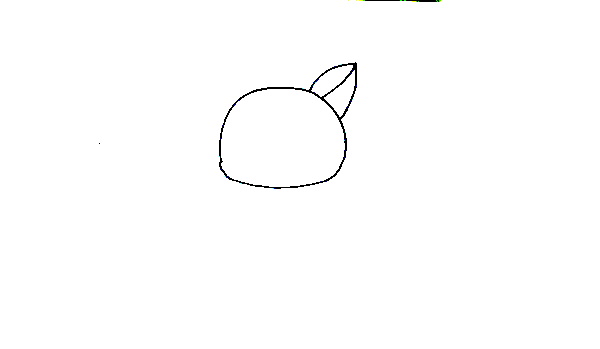
Time to get started on their cute, little ears. We’ll draw them one by one. First, draw a triangular shape on top of the head, to the right side. Once you have the shape of the ear, draw a line through the middle to show the folds of the ear. And there you go- the perfect cat ear!
Step 3:
Now, repeat step two for drawing the left ear. Try to make the ears as similar to each other as possible but a slight difference is completely alright.
Step 4:
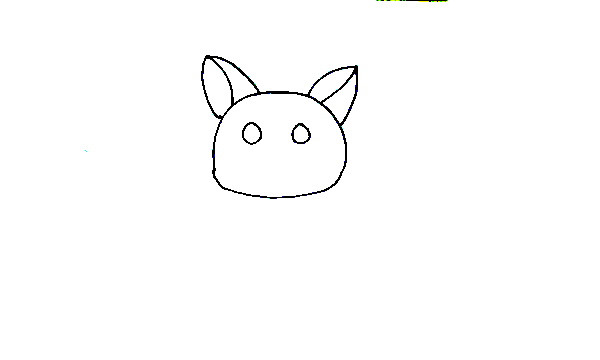
Now, let’s focus on the face a little more. For the eyes, draw two small circles on the face. Be careful not to draw them too close or too far apart. We’re getting there!
Step 5:
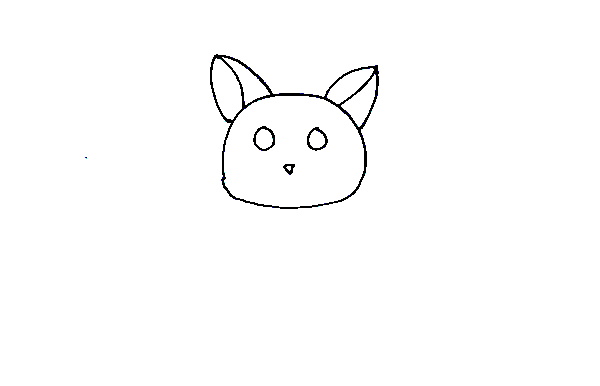
For the nose, all you have to do is draw a small triangle in the centre of the face.
Step 6:
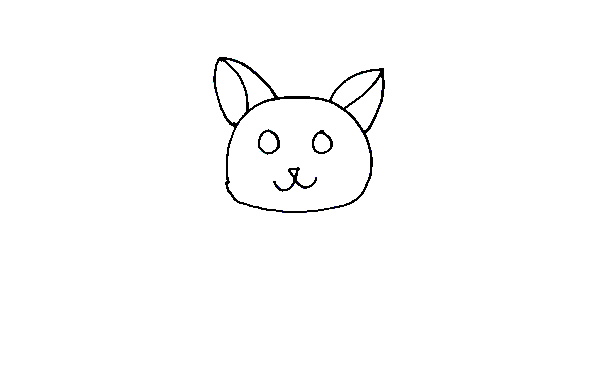
The mouth is one of the most defining features of the face. Draw two curved lines, starting from the centre of the nose. Curve the lines a little upwards so that it almost looks like a moustache.
Step 7:
This is where it gets a little tricky. For the body, start at the rightmost side of the face and draw a line ending with a little rounded foot. Once that is done, draw a curved line, starting from the same point, across the body of the cat.
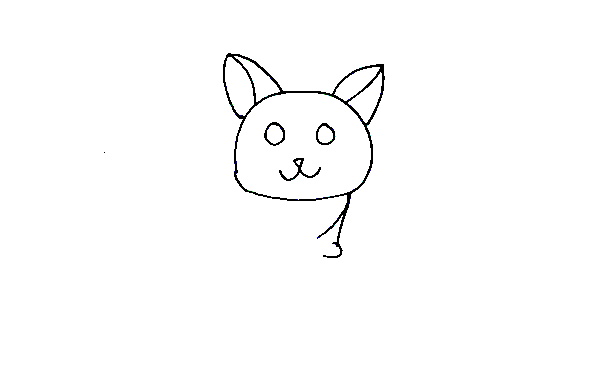
Step 8:
Now, time to draw the second foot. Start by drawing two parallel lines and then draw a foot like the last step, connecting the two lines.
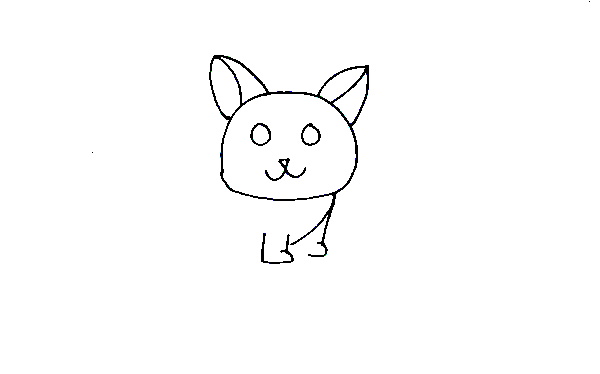
Step 9:
Since we’re drawing a sitting cat, we only need to draw one of its hind legs. Draw a half-moon-shaped curve to show the folding of the leg and then draw the small foot at the end.
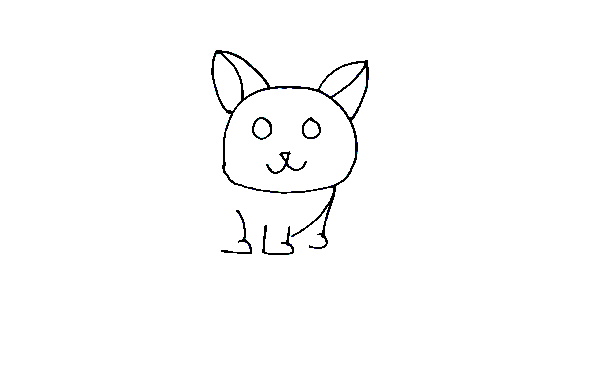
Step 10:
Finally, draw a curved line, starting from the left side of the face to the foot of the hind leg, to complete the body of the cat.
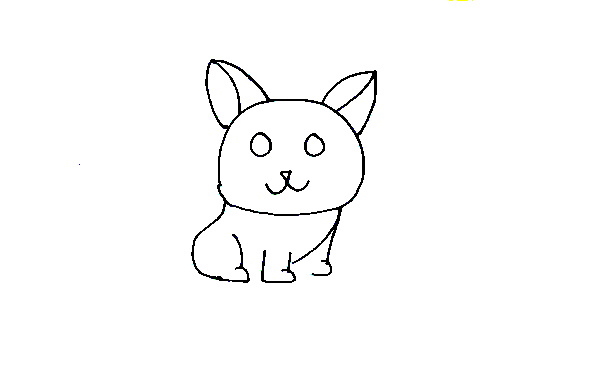
Step 10:
Now, time to add a few details to make our cat perfect! Colour in the cat’s eyes but not completely – leave a small white circle uncoloured at the top. Draw a long, curved tail to complete your cat drawing.
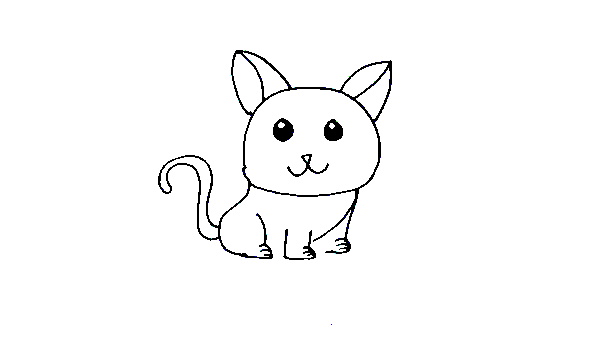
Step 12:
Now, for the last and final step. Colour the inside of the ears with red and pink. Draw two little lines in pink below the eyes and you’re done. When it comes to colouring, don’t hold back! You can even colour the entire body to match your favourite cat.
By following these easy steps, children will not only be able to draw an adorable animal but they will also be happy with their end results. It is not necessary to follow every step to the t so long as the final picture resembles a cat.
SO, what are you waiting for? Download and get started today!
You May Also Like
- How to Draw a Wolf for Kids – Easy Step by Step Tutorial
- How to Draw a Sparrow for Kids – Easy Step by Step Tutorial
- How to Draw a Zebra for Kids-Easy Step by Step Tutorial
- How to Draw a Winnie the Pooh for Kids – Easy Step by Step Tutorial
- How to Draw a Pear for Kids-Easy Step by Step Tutorials


