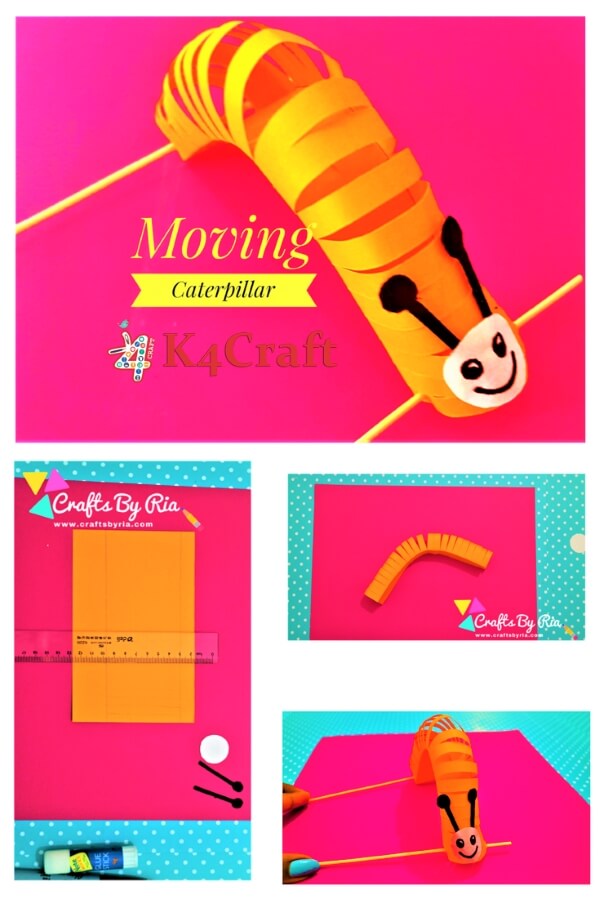
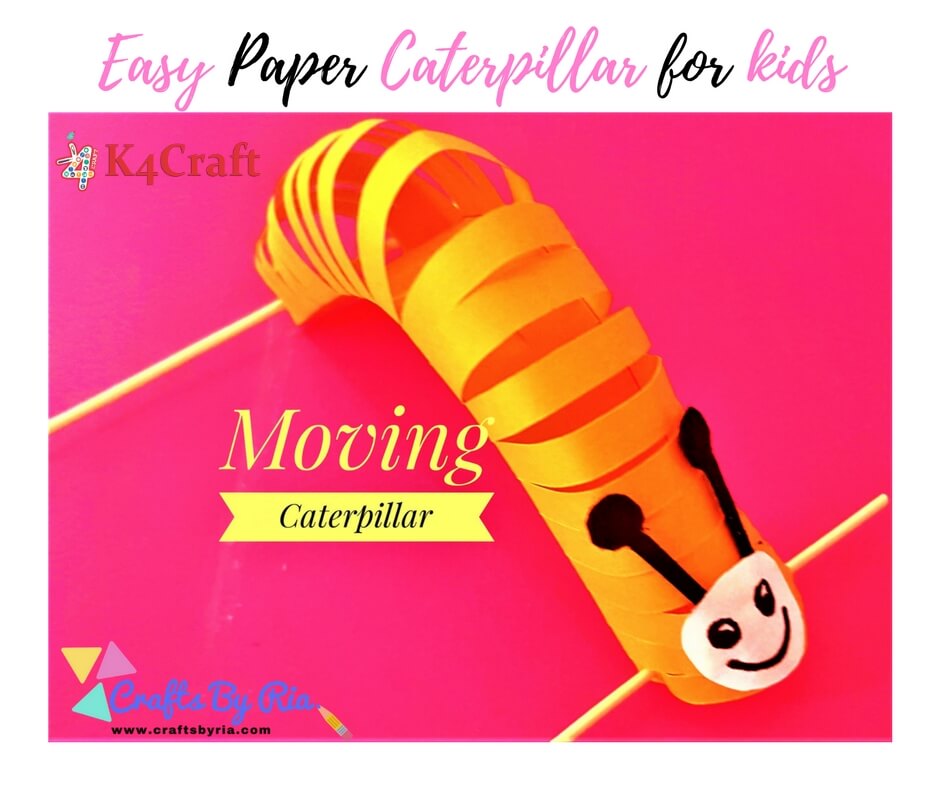
This moving paper caterpillar craft is the perfect craft idea if you are looking for a fun yet simple paper craft for kids. This is a wonderful craft idea to keep your kids engaged for quite a long time. While developing their fine motor skills, it also helps them learn the wonderful life-cycle of a butterfly thus making them closer to nature! Moreover, it just takes a few minutes to make this little paper caterpillar.
Supplies you need to make a moving paper caterpillar:
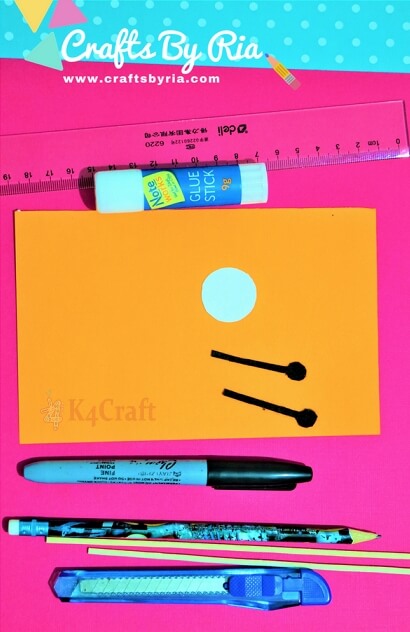
1. Rectangular paper (approx: 11 cm x 17 cm)
2. Small round paper for the caterpillar’s face
3. Two antennae cut out of black felt paper
4. Paper Cutter
5. Glue stick
6. Colour pens
7. Pencil
8. Ruler
9. Chopsticks/Toothpicks to make them move!
Steps to make a moving paper caterpillar:
Watch the video to view the step-by-step tutorial:
Or follow the below steps.
Step 1:
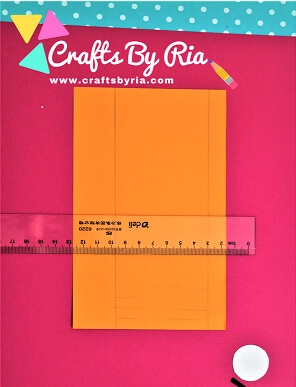
Draw two parallel lines approximately at 1 cm and 3 cm on the two opposite sides of the rectangular paper and make cuts approximately 0.5 cm apart using the paper cutter between these lines.
Step 2
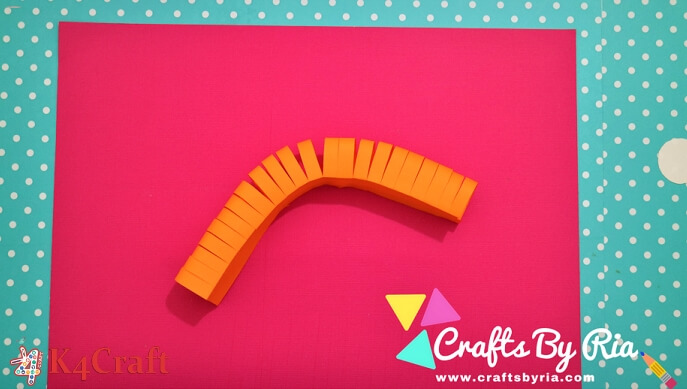
Once the cuts are made till the end, fold both the sides of the rectangular paper inwards and glue them together. The caterpillar’s body is made. Bend it a little bit to make a curved shape.
Step 3
Now you can draw a face on the round paper and stick it to one end of the body along with the antennae. Insert chopsticks/toothpicks at both the ends to control the movement. And that’s it! The moving paper caterpillar is ready!
Now hold both the toothpicks. Move them with your fingers and you will see the caterpillar starting to move!
Tip: You can also try making a sad face, angry face or even a crying face for the caterpillar and that will add to the fun!
Don’t forget to Pin it.
