Faux Stained Glass!
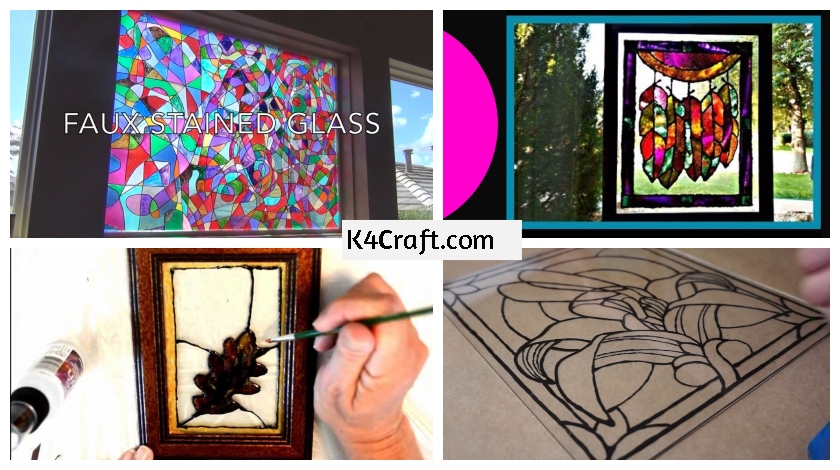
We have all seen stained glass in old churches and palaces, but wait can we realise that art form at homes? This is a big question indeed. We tried finding the answer and look what we got. We surely can realise those beautiful artefacts at home. Faux stained glasses are a rage today. You either place them in a frame or actually put them to shield the insides of your home. They are so much fun to have in the house but much more fun is making them. So, common let us realise some faux stained glass DIYs.
Faux Stained Glass Tutorial
Let us start with this DIY project. We will require, a plexi glass sheet, a towel and a glass cleaner liquid, silver self-adhesive liquid lead solution, soldering iron, a pair of scissors and lots of glass paints. You also need toothpicks to burst any bubbles which may get formed in the due process. Now unravel the cover of the plexi-glass and clean the surface with a towel and glass cleaner solution. Using the silver lead adhesive wires draw random designs on the plexi-glass. Plexi-glass has many advantages over glass. It is easier to handle and shatter proof. After all the designs have been made, start filling in the glass paints. In case there are some air bubble in the paint, use a toothpick to burst the, never use your fingers or any other object. Leave some portions empty and let the design dry. After it has completely dried you can install it anywhere you like. For better understanding of thie stained glass DIY project look up:
Read:20+ Stylish Mehndi Designs For Durga Puja – Navratri Mehndi Designs
Making Fairy Faux Stained Glass
In the next project we are going to make a design specific faux stained glass. First of all choose a design which you want to be made on the glass of the required dimensions. Place the design below the glass and tape its edges to the base. Tape the edges of the glass as well to the base. Now start drawing on the glass using the reference from the drawing beneath. Use cotton swabs to erase your mistakes if you happen to make any. Keep a steady and do not panic. In this video saturated glass paints have been used, you can use other options as well. Painting with a brush on the glass requires a super steady hand but you can make any colour using this medium. You can use a toothpick to burst any bubbles formed in the due process of painting. For better understanding of this angelic faux stained glass look up this easy to understand and elaborate video tutorial:
Read:15 Easy to Make DIY Home Decorating Ideas
Acrylic Pouring Skins Collab Work
Now we are jumping onto acrylic skin faux stained glass. First of all make acrylic skins. You can find many tutorials regarding making acrylic skins online, or here is one:
Read:20 Best Robot Crafts and Activities for kids
Faux Stained Glass With Acrylic Skins
Now take an old photo frame and cut a sheet accordingly. Now get photocopies of the design page done. Now cut pieces of the acrylic skin to fit in the design. Do leave some empty spaces. Once you are ready with al the designing, paste the pieces onto the glass. Using a black outliner, mark the boundaries of the art piece. After everything dries off, place it in a frame and hang it on your wall. For better understanding of this out of the box faux stained glass technique look up this lucid tutorial video:
Read:20 Beautiful & Simple Peacock Rangoli Designs
Faux Stained Glass Window
For this faux stained glass window DIY we would require: supplies, rubbing alcohol, glass frame, cotton, pattern, glass stainer, utility knife, toothpicks, paper towel, artist tape. Start by taping down the glass onto the design and the base. After it has been secured in its place, use a black 3-D outliner to make the outlines. Remove the tape while the outliner is still wet to get crisp lines along the tape. In case you find that something is not upto the mark after drying, you can use a knife to trim it off. Now frame it and start using the colours to paint it. Pour a bit of paint and spread it with the help of a toothpick. You can even pour two colours and try to mix them using a toothpick. Spread the colour to the edges of the design. Once this is done, pour a bright shade onto the sidelines to make the art work pop. Now use clear solution n the empty spaces to give the glass a marbled effect. For better understanding of this DIY project look up this easy to understand video tutorial loaded with tips on glass painting:
Read:15 Krishna Janmashtami Celebration Ideas and Activities for Kids
I hope you enjoyed watching and realising all these faux stained glass DIY projects. They are bound to leave you in awe of each artist’s work. You must go on gather the supplies and make some dauntingly beautiful faux stained glasses for your lovely home. We await your mirth.
You’ll also like
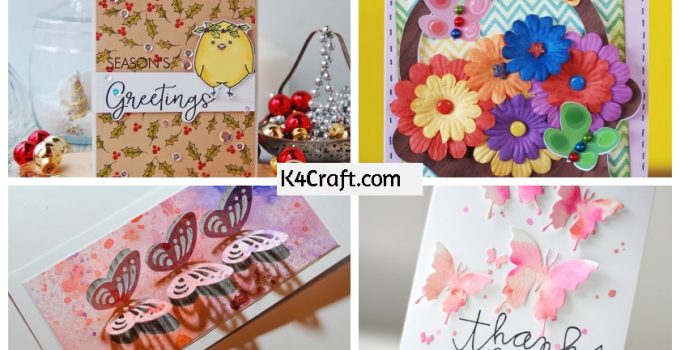
DIY How to Make – Spring Greeting Card – Step by Step
Read More
- Learn Glass Painting at Home in Simple Steps
- DIY Cute Recycled Glass Bottle vases (Tutorial)
- DIY : Glass Ornaments for Christmas Gift
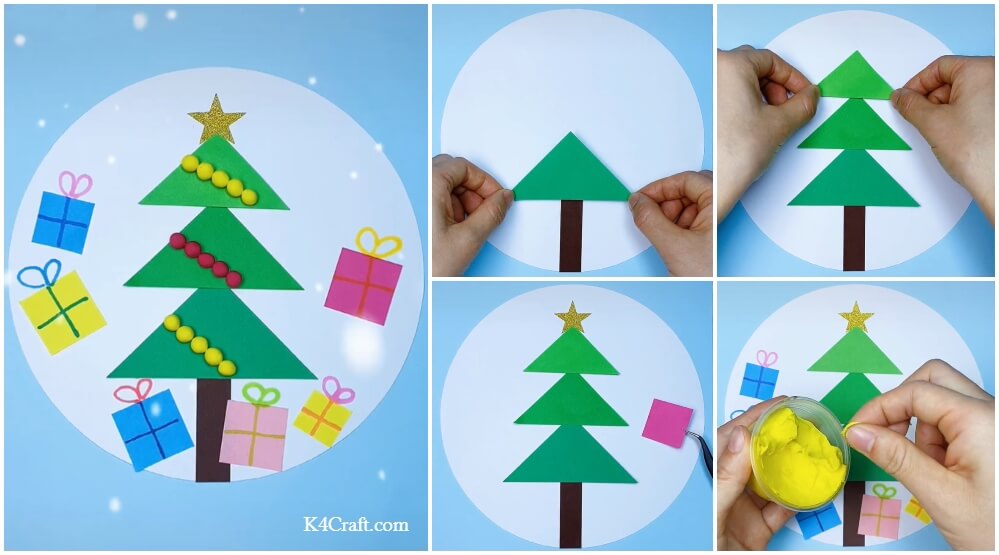
- 20+ Christmas Tree Making Step by Step Tutorials
- 35+ DIY Thanksgiving Decoration Ideas For Everyone


