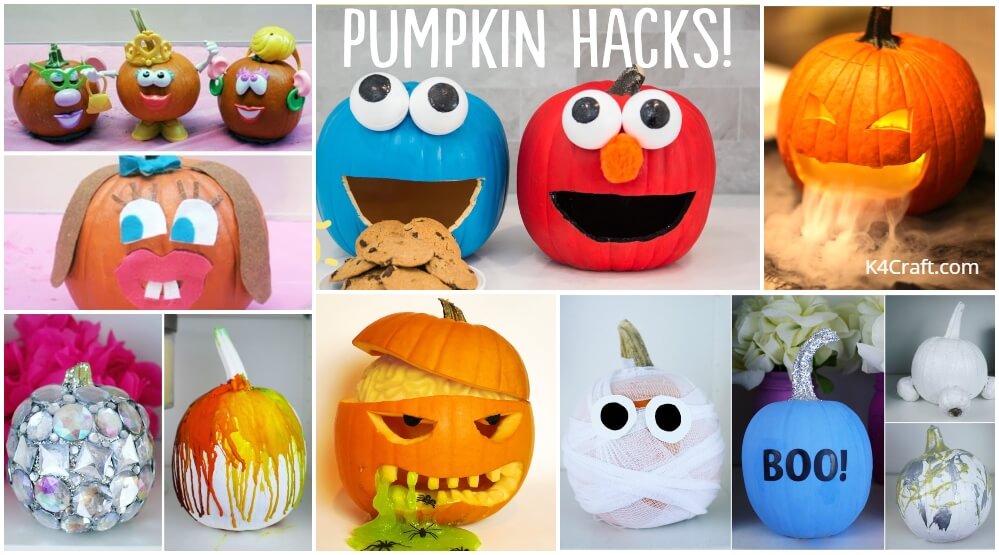
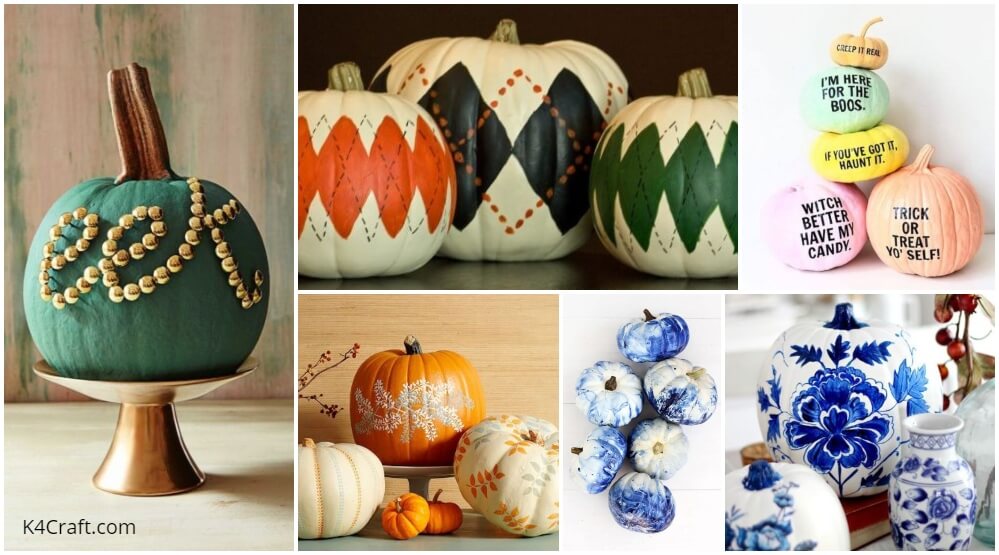
We all love to decorate our homes with different art stuff on Halloween. Pumpkins are one such DIY ingredient which helps you to easily fill up as much space as you want and be wishfully creative. Pumpkins can vary in size which makes them versatile and great to work with. The pumpkin skin holds onto paint very well making it a good choice to be painted upon. That is why, we are here with selective 30 pumpkin decorating ideas for Halloween.
30+ DIY Pumpkin Decorating Ideas for Halloween
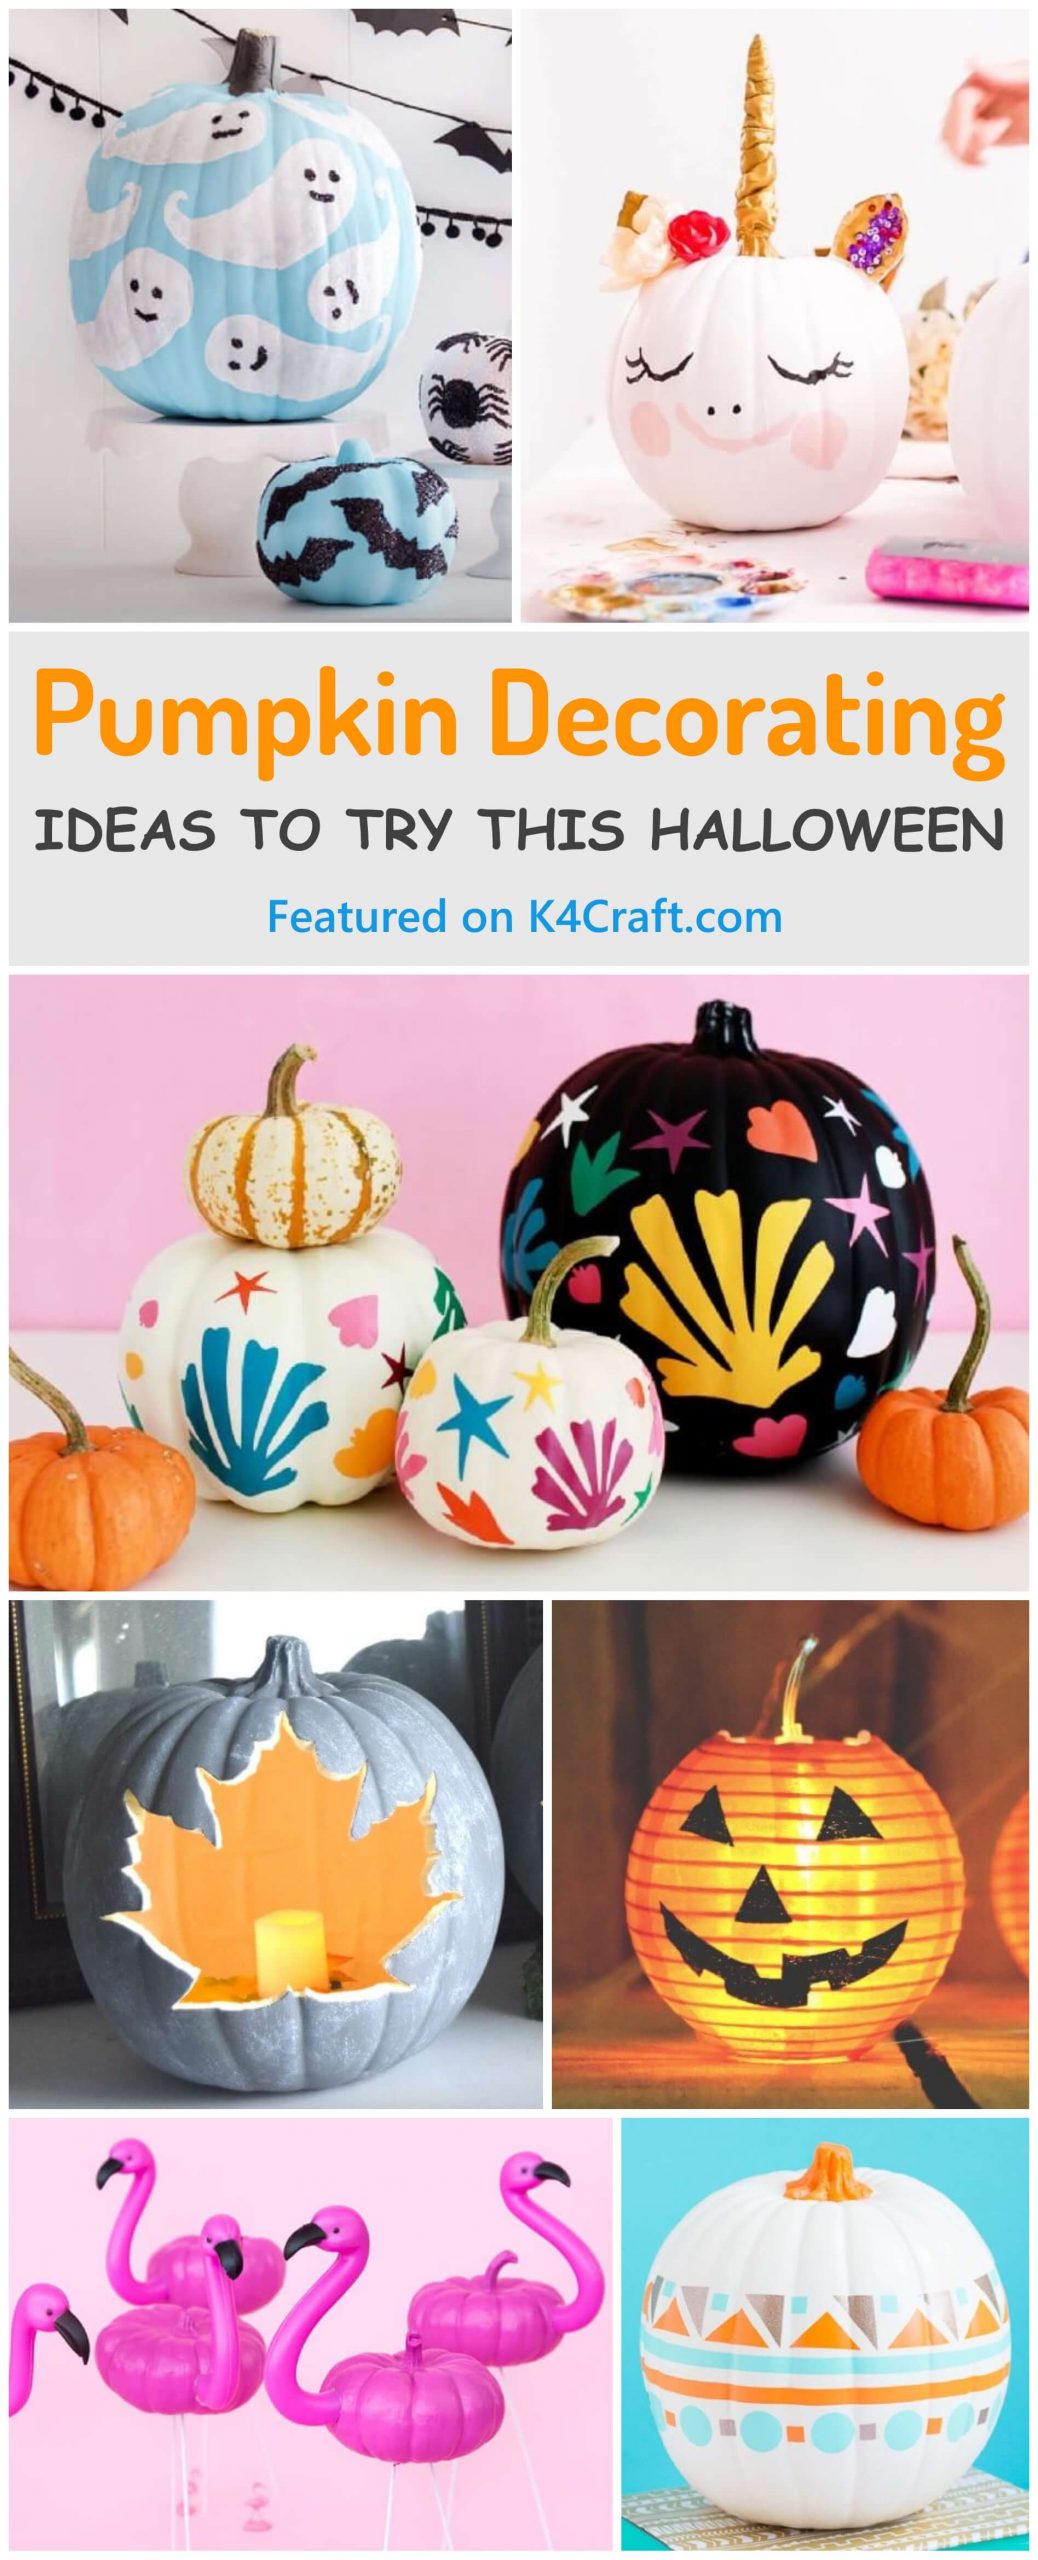
You may also like: 15+ Outdoor Halloween Decorations for Your Yard
Colorful Pumpkins
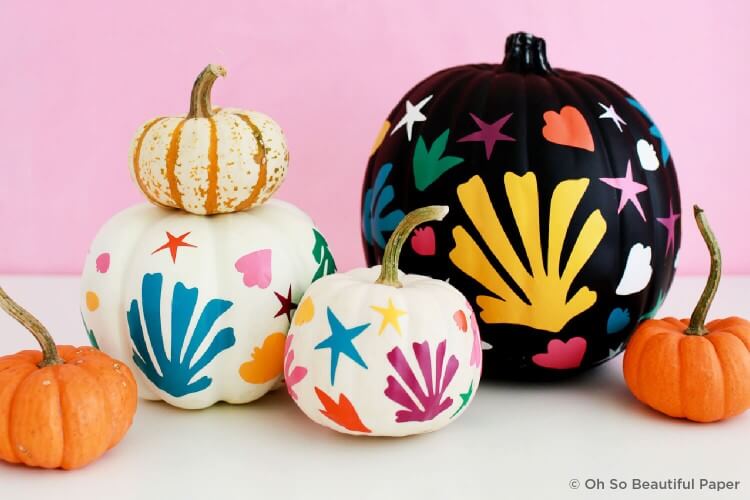
This is an easy to make vinyl detailed beautiful pumpkins DIY. First things first, paint the skin of the pumpkin in a desired color. Once the paint dries off take out bigger vinyl stickers and stick them onto the pumpkin. After this take the smaller vinyl stickers and fill in the rest of the space with it. This makes your Halloween pumpkins look great. You can be as much creative with this DIY.
Flowery Pumpkins
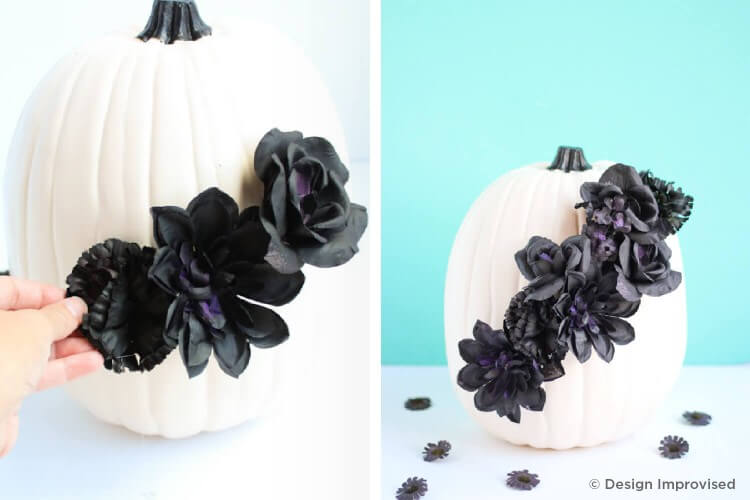
First of all paint the big pumpkin in a solid color. While painting the stem tape the base and then paint it. Give the whole pumpkin a base coat. Now spray paint the dollar store flowers. Cut the base wires to optimal length and then stick them on the pumpkin with the help of glue gun.
Cute Cactus Pumpkins
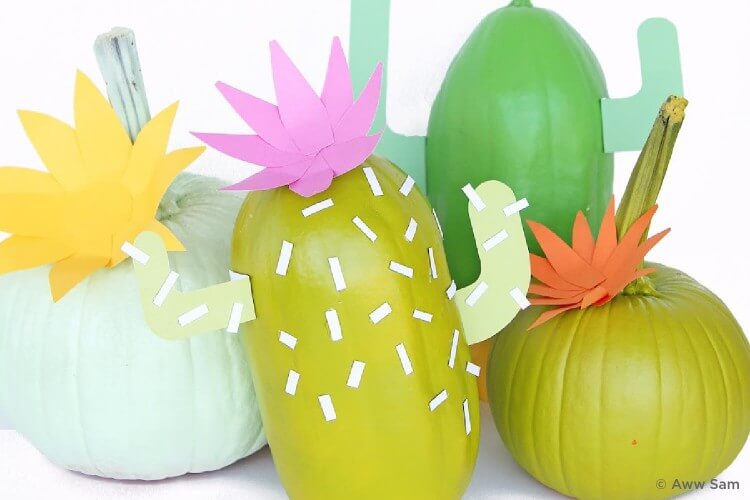
This is a very different way to present the pumpkins. First of all give your pumpkin a base greenish shade. Now cut out cactus shapes from somewhat similar colored sheets. Now cut out white strips of paper and add it to the whole pumpkin. This becomes the thorns of the pumpkin.
Plain Sheen Pumpkins
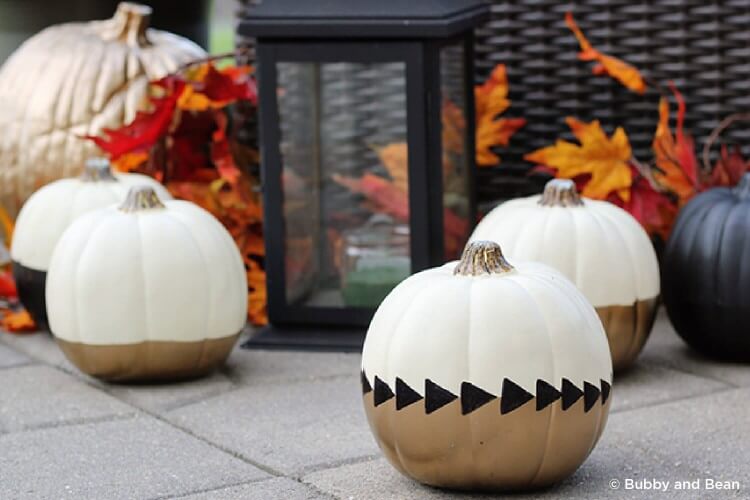
These sophisticated pumpkin designs will surely rock your decor. They are easy to make and they truly slay. First of all give your pumpkin a base shade. Then cover half of it and use spray paints to divide the second part. You can add geometrical shapes at the meeting line of the two portions.
Ombre Pumpkins
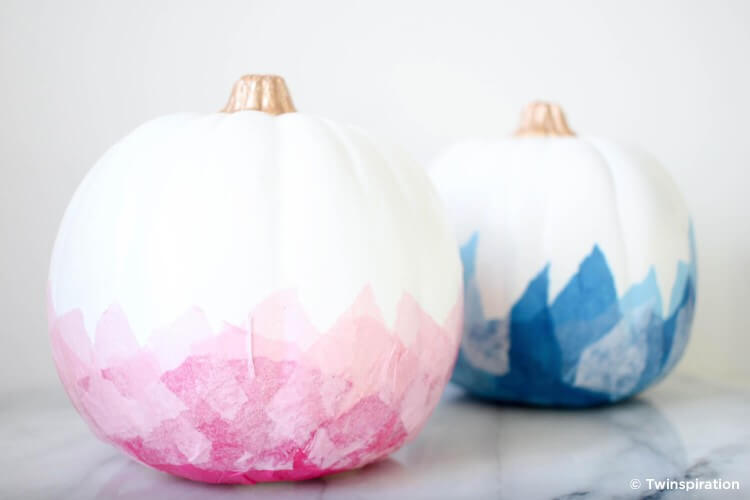
This is an easy to make beautiful pumpkin DIY. First of all paint the pumpkin in white glossy paint. Tear random pieces from colorful tissue paper. Keep the color of the tissue in the same family. Using modpodge apply the tissue pieces layer by layer. In the end color the stem of the pumpkin in golden glossy paint. This simple yet unique technique will look fabulous.
Flowery Pumpkin Set
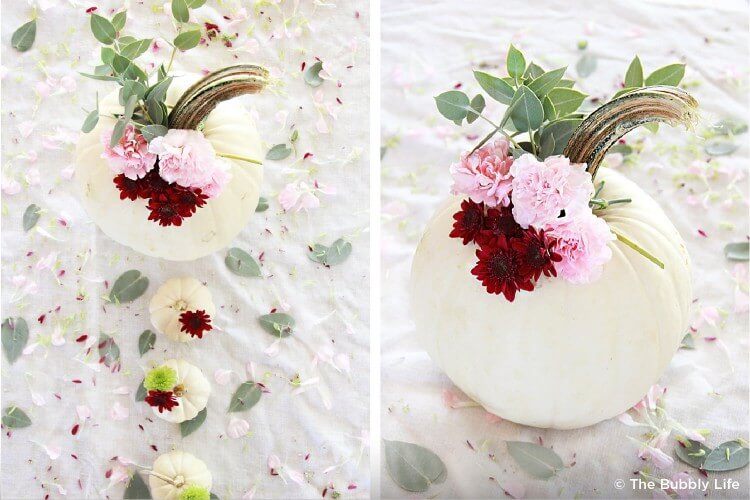
This is every beautiful pumpkin set. Gather different sized pumpkins for the set. Now give them a glossy paint look. You can also use white pumpkins for this DIY. Now apply eucalyptus leaves at the stem of the pumpkin. Now drill some holes in the bottom of the pumpkin. Add flowers in these drilled holes. This is truly a great way to bring autumn to your home. This DIY is also great for the spring season.
Flowery Contrast Pumpkin For Halloween Decor
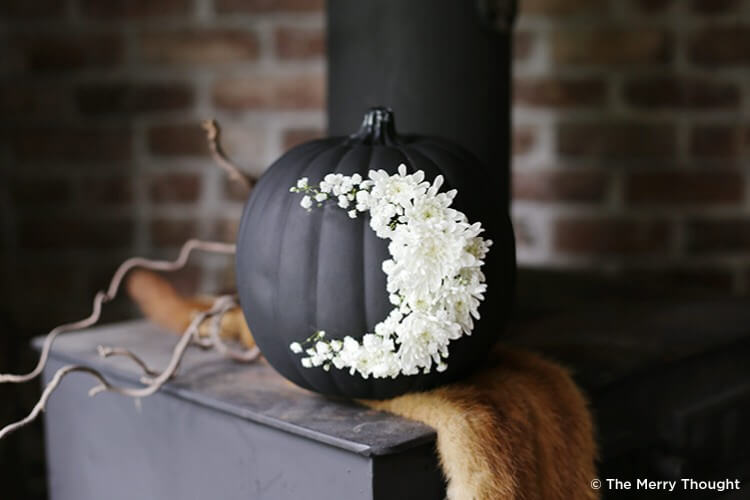
This fresh floral pumpkin is a true stunner. This will slay the whole decor. You are sure to collect praise with this DIY project. First of all paint the whole pumpkin in a matte black paint. Now mark the shape in which you wish to add the flowers. We are using a crescent shape. Add the fresh flowers in the holes. The fresh flowers last for a short period of time. If you want to keep it for longer tines use faux flowers.
Flora Pumpkin Case
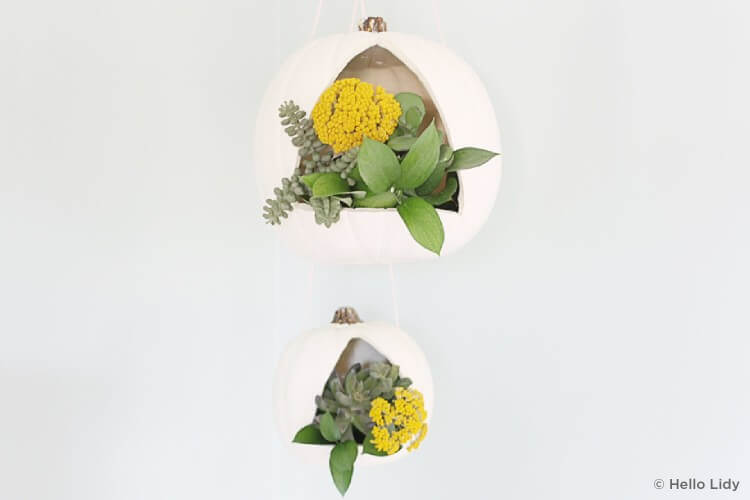
This is a hanging pumpkin plant. Do not use a very heavy pumpkin for this DIY. Cut a triangular shape in the front portion of the pumpkin. Now paint the outer portion. Keep different leaves and flowers in the cavity. You can hang your pumpkin wherever you wish to hang it in the house. This is a true spectacle.
Spooky Pumpkin DIY
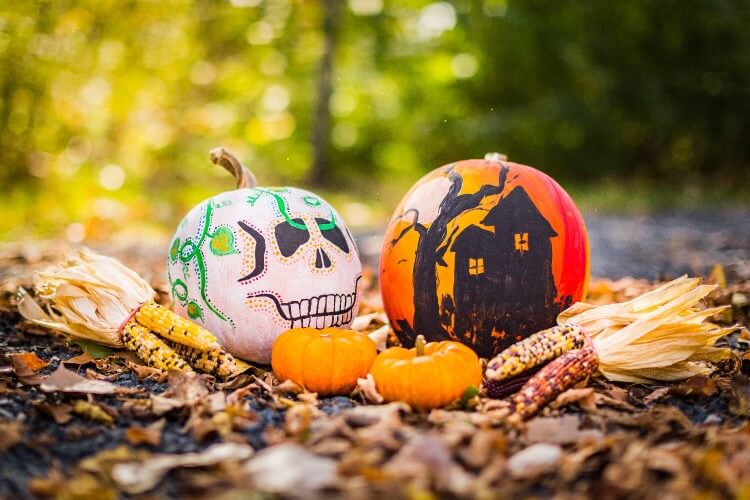
Get your creativity flowing with this spooky DIY. First of all give the pumpkin a base coat and then mark what you wish to make on it with a pencil. Now start painting all the spookiness on the pumpkins.
Flamingo Pumpkins
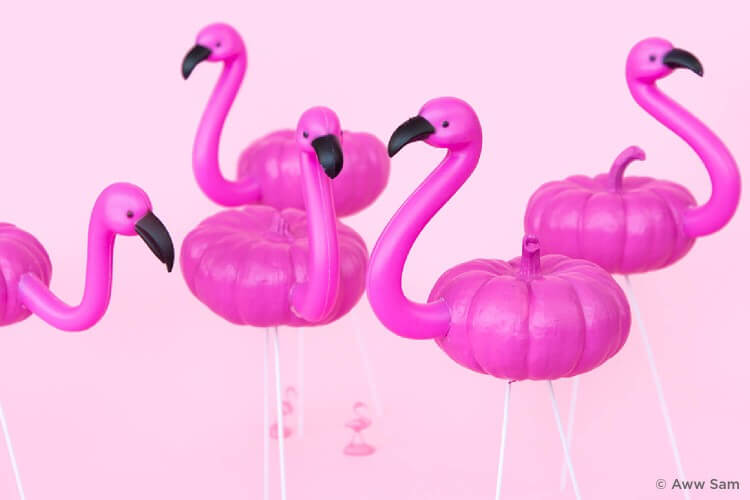
This is every different kind of pumpkin DIY. Use somewhat flatter pumpkins for this. Paint the pumpkin in bright pink hue. Now use a pipe or tube for the neck of the flamingo. Add eyes and beak to the head of the flamingo. Add skewers as the feet for the flamingo. This is a very good project. It will make your decor stand out from the rest.
Ghostly Pumpkin DIY
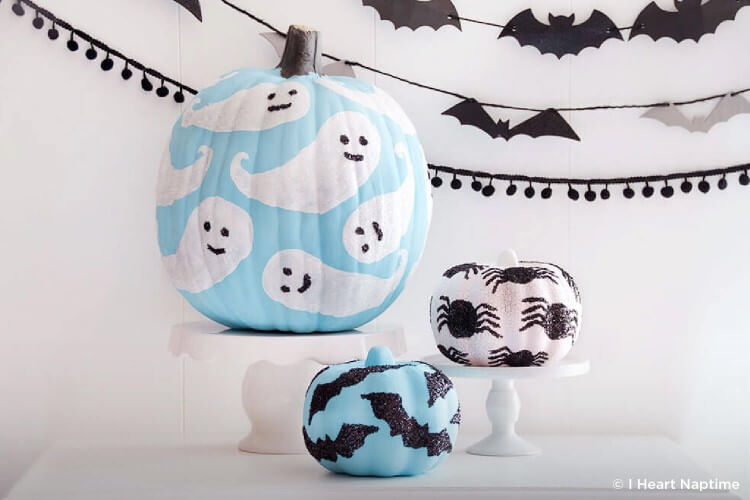
You can use simple artistic designs to make these pumpkins. First of all choose a light shade to be the base for your pumpkin. Now draw ghosts, spiders or bats on the pumpkins. Paint these shapes and your pumpkins are ready to roll out all the spookiness.
Candle Chambers
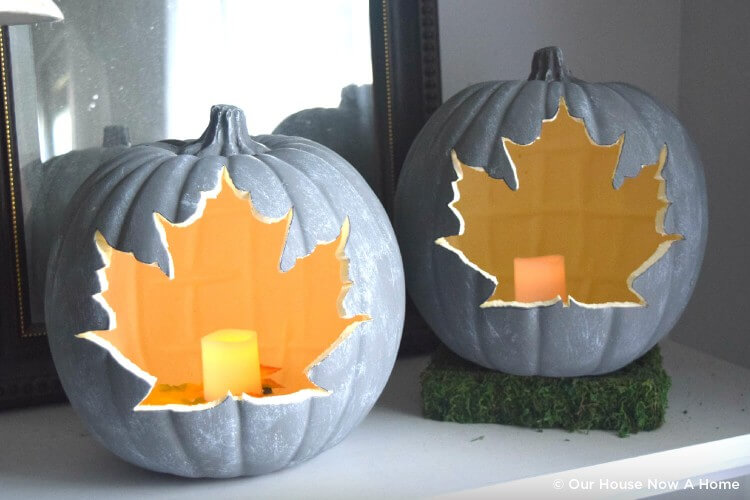
This is a very beautiful idea. First of all paint the pumpkin in a subtle color like grey or pastels. Draw a maple leaf on the pumpkin and cut the shape out. This will give you a cavity in the pumpkin. Hollow the pumpkin out. Now this becomes your candle chamber. The pumpkin skin will save the candle from winds as well. It provides the right amount of depth to the decor.
Drippy Spiders
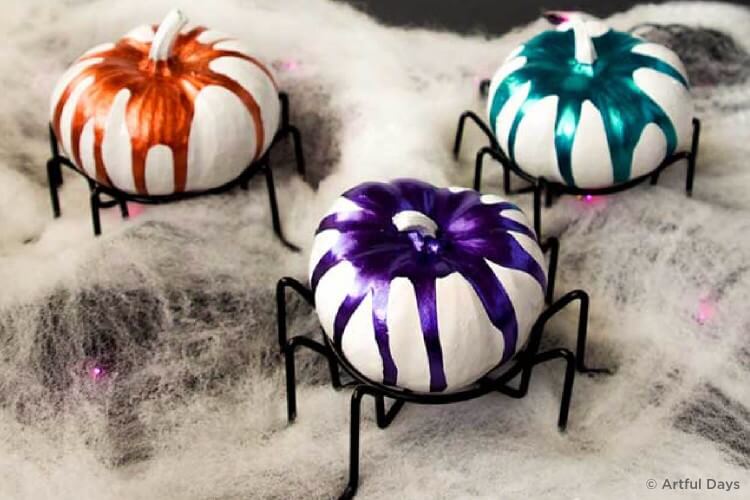
This spidey pumpkin DIY is a cute and spooky one. First of all get some small white pumpkins or paint some of the pumpkins white. Now drip drizzle shiny paints all over the pumpkins. This paint tends to dry quickly and can mess the base. Keep some newspapers or cardboard’s beneath it. Now get some metallic base to keep these spideys on.
Geometric Designer Pumpkins
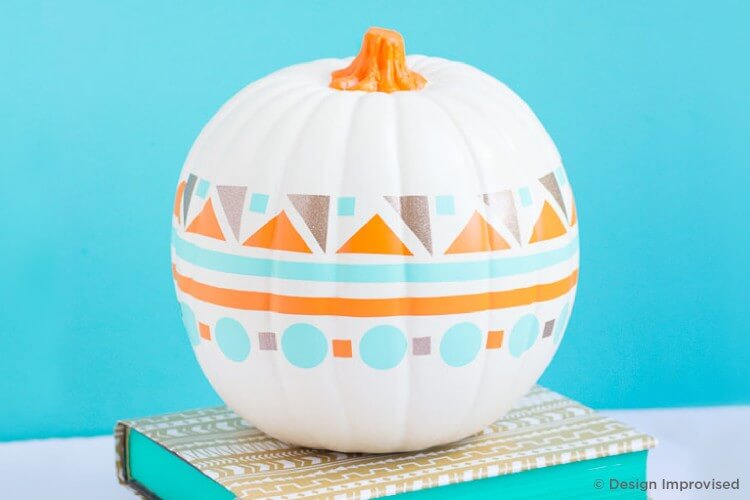
Get a giant pumpkin and paint it in white color. Now get some vinyl scrap and start forming your design. Once you have a design in mind, start cutting the vinyl and pasting it on the white pumpkin. Once you have applied a single layer, start applying another layer of geometrical figures. You can also apply thin strips of vinyl to accentuate the design.
Spooky Halloween Pumpkin
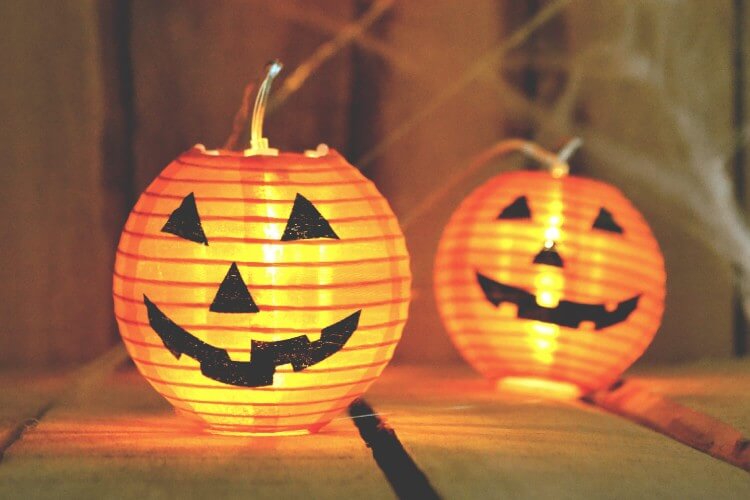
This is a very good pumpkin DIY. Make a hole at the bottom and at the top of the pumpkin. Now empty the insides. Scrap the rind off. This will leave a thin skin of the pumpkin. Now apply black triangular eyes and nose on the pumpkin. Also stick a mouth for the pumpkin in black. Now place an orange light inside the pumpkin. When you glow the light it will be a surreal view.
Spooky Pumpkins For Fireplace
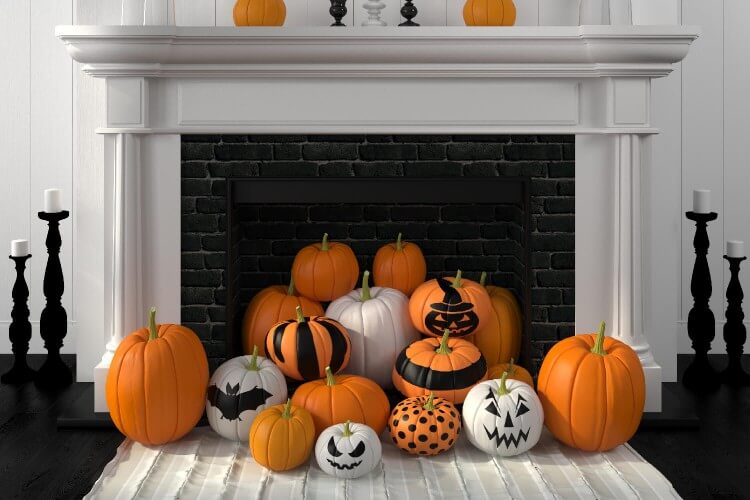
Take big pumpkins. Paint some of the pumpkins in white paint. Once the pumpkins dry, start forming some designs on them. Paint with black paint or use vinyl to make the spooky faces or bats. You can also add clown faces and what not.
Flower Vase
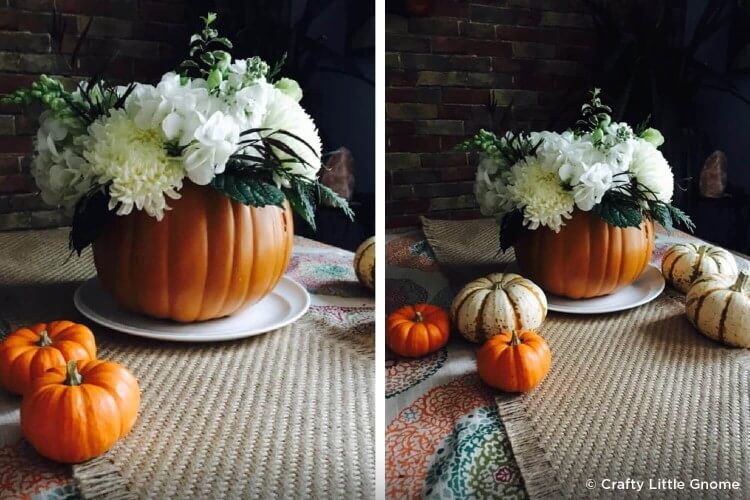
This is a very easy to make DIY project. It will surely spice up your dining table or the center table of your party room. First of all cut the top of the pumpkin as the opening for the vase. You can manage the opening as per the number of flower sticks you need. Once you have opened the opening, start aligning the flower sticks. Do add some foliage to have the right amount of greens in the vase.
Sequined Pumpkins
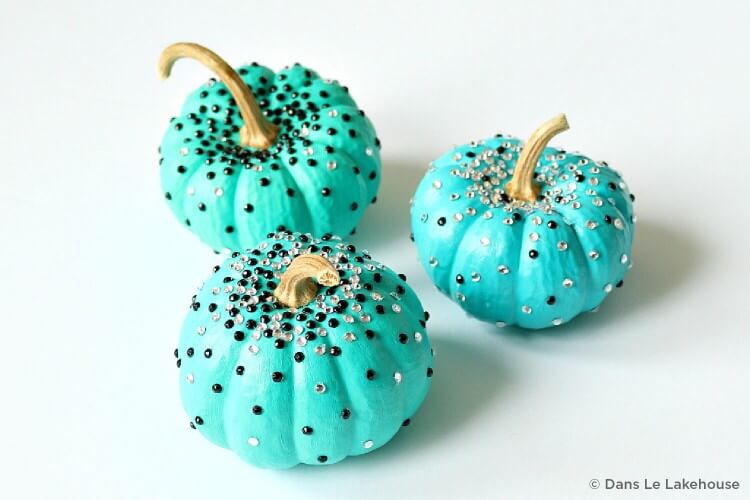
First of all find some medium sized pumpkins. Now paint these pumpkins in a beautiful color. Use turquoise or sea green color to paint the pumpkin. Now take up some sequins and beads and align them on the pumpkin in a pattern. You can use spiral or linear design to apply the sequins.
Spidet Nest DIY
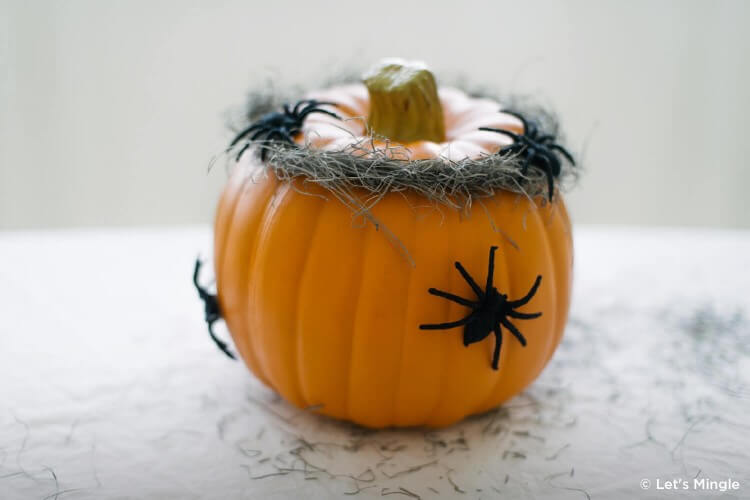
First of all take an orange pumpkin. The preferable is size is small to medium. This is a very realistic design. Take some grass and design it in a hula-hoop nest on the top rim of the pumpkin. Now using some plastic spiders complete the look. Stick the spiders on top of the nest as well as the lower portion of the pumpkin.
Monochrome Pumpkins
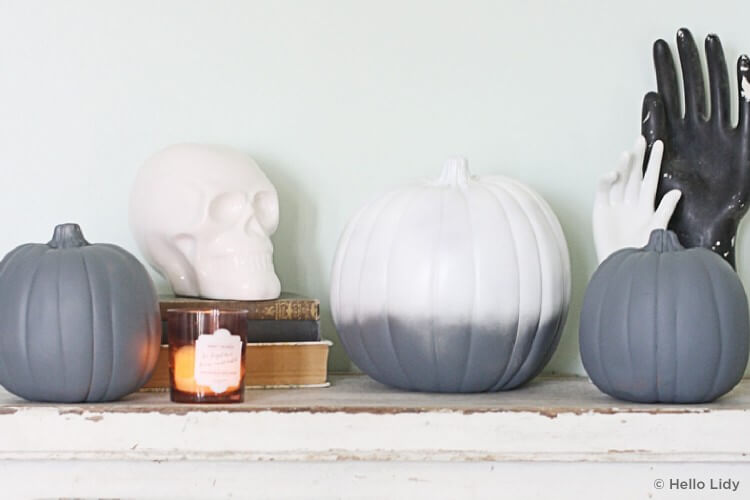
This monochrome design is a very sweet and subtle. Get yourself a shade of grey which you like. Now paint the pumpkins in a gray shade which you like. You can also color the pumpkins in two colors. You can also make white and grey adjacent stripes. You can also add glitter stripes at the position of meeting of the two coliurs. This gives you beautiful decor option.
Alphabetic Pumpkins
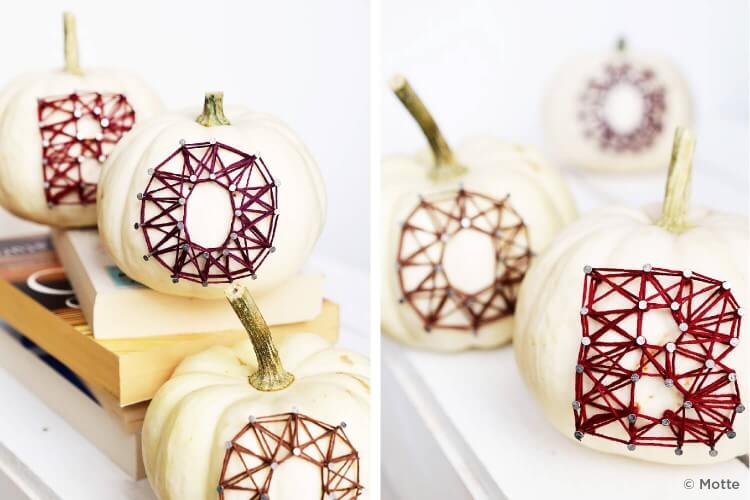
Paint the pumpkins in white color. Draw a shape of the letters in the pumpkins using a pencil. Now fix nails at the prime positions. Now take a bright colored string. Start by knotting a nail. Now start winding the thread around other nails. Thus, the alphabets start forming. By the end you get a complete alphabet. This is a very beautiful DIY to provide you with beautiful writing ways.
Vinyl Quotes DIY
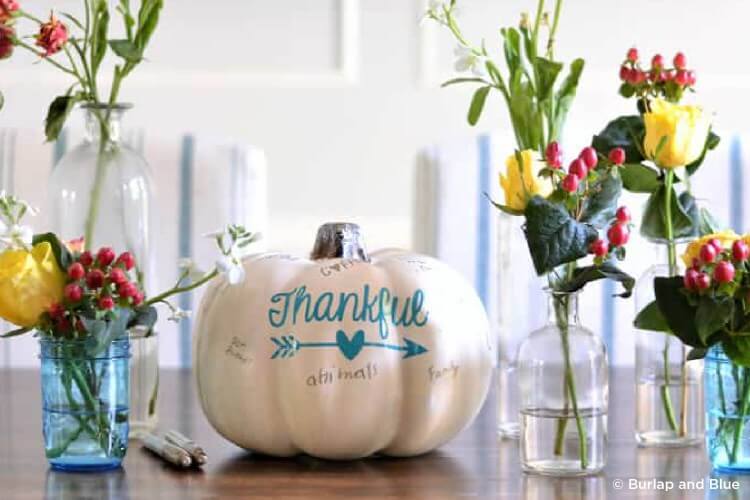
First of all start with white pumpkin. You can use a glossy white paint. Use a vinyl quote on the plain pumpkin. You can add more quotes with a sharpie pen. You can keep it as a quote writer on the dining table. This gives a very futuristic look to your decor.
Glossy White Pumpkins
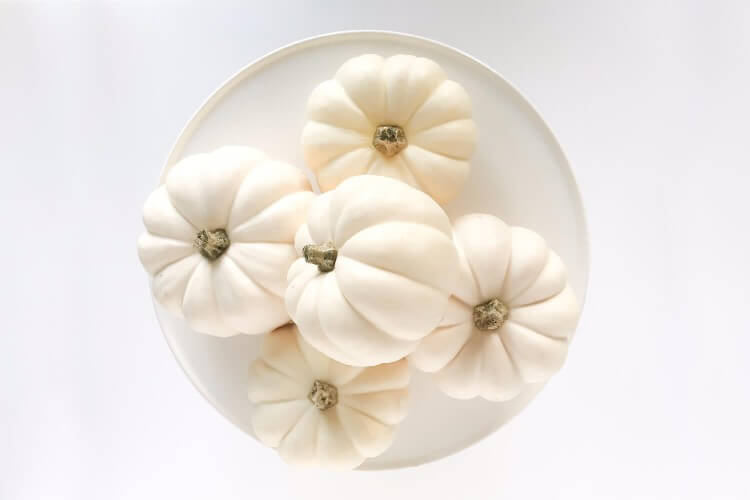
This is a very simple DIY. Paint the pumpkins in white glossy paint. You can keep this as a a free to do something competition or a fun activity for the kids. This makes as a very great DIY.
Pumpkin Cake
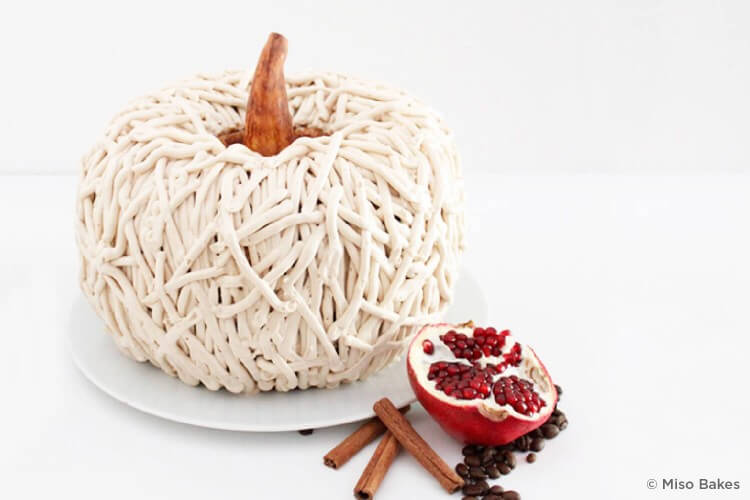
This is a very great idea. A pumpkin cake will give a very nice idea to enrich and infuse a pumpkin flavor in the celebrations. You can take up more different flavors and then bake a great cake in the celebratory.
Halloween DIY Pumpkins
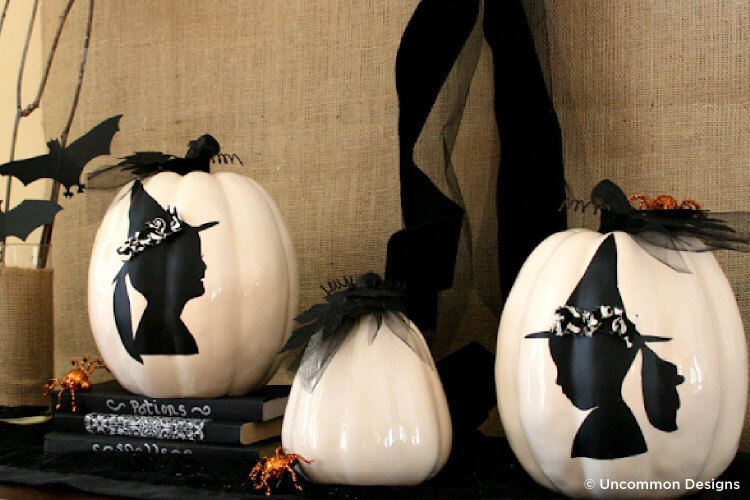
Paint the big giant pumpkins in white shiny paint. After the paint dries up, start drawing black witches and sorcerers. You can add details to the rim of the black hats of the witches hats. Add black net to the stem of the pumpkin. Use pipe cleaner or black spring to make this spooky DIY.
Unicorn Pumpkin
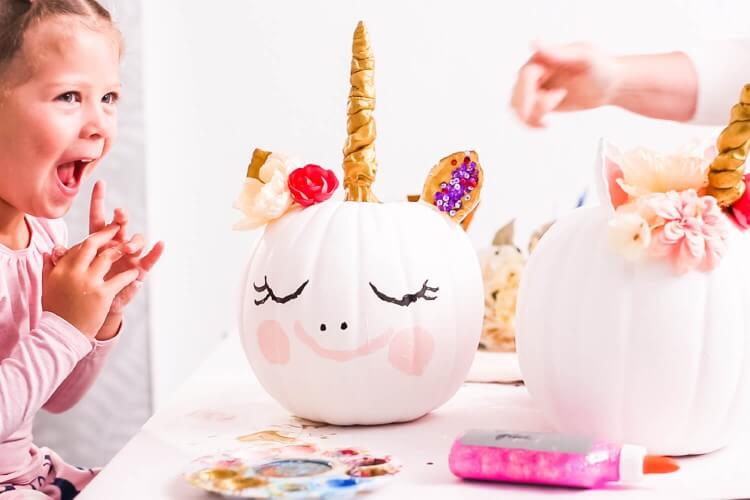
Take a newspaper roll and use it as the horn of the unicorn on top of the stem of the pumpkin. Add ears to the unicorn. Add faux flowers to the ears of the unicorn. Now paint closed eyes on the skin of the white pumpkin. Paint a pink face and blush on the unicorn face. Paint the horn and the ears of the unicorn. This makes for a great DIY for your children.
Closed And Open Eye Pumpkin
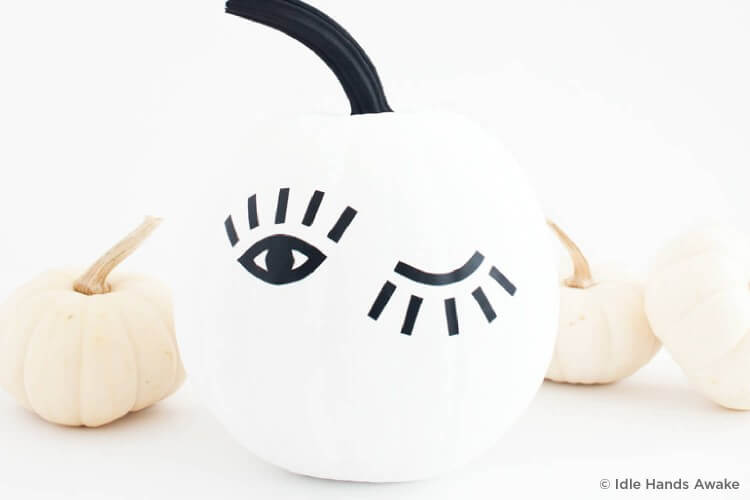
Get a white glossy pumpkin. Now using vinyl patterns make an open eye and a closed eye. This gives a different dimension to the pumpkin. Now paint the stem in black glossy paint.
Geometric Vinyl Patterns
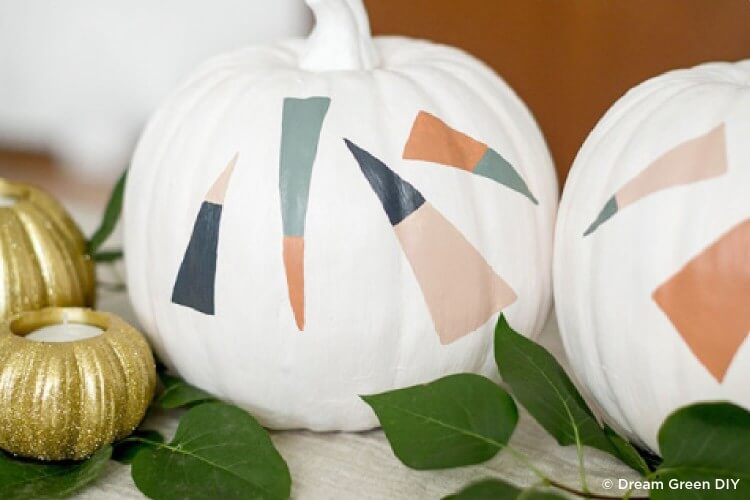
Get a white pumpkin or paint one pumpkin in white colors. Now take some vinyl and start pasting it on the white pumpkin in an asymmetric pattern. This gives a different and unique design to the pumpkins.
A good relationship is one where you always try escort Paris
Colorful Pumpkins
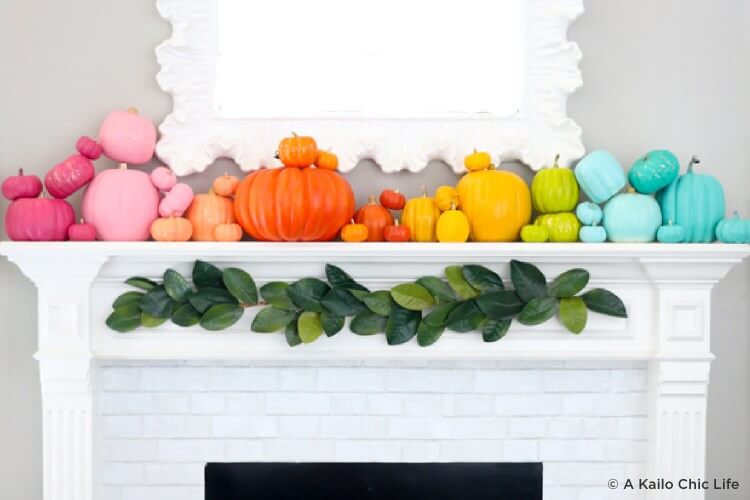
First of all collect different sizes of pumpkins and then start painting the pumpkins in one color each. Paint the stems in the same color as well. Now set these on your mantle piece or in the front porch. This will give a colorful look to your decor.
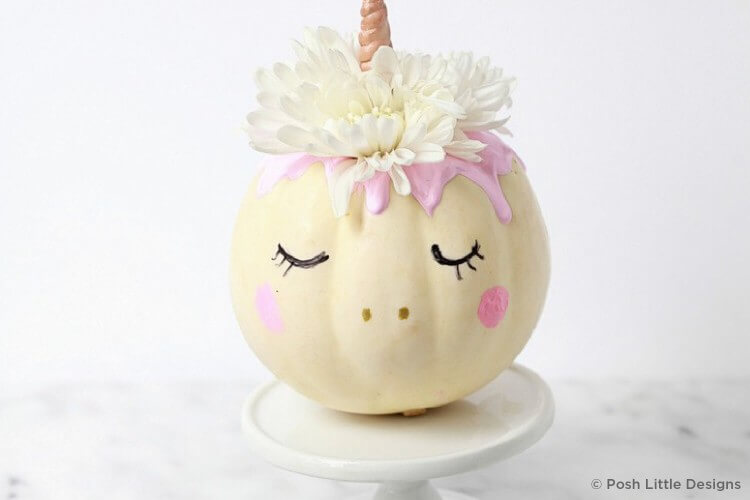
Sweet Unicorn Look
Color the pumpkin in peach shade. Now give an inverted ice cream look on the top by using an ice cream cone effect on the top and drip pink color on the top. Draw black closed eyes on the face and draw two dots for the nostrils. Draw two light pink big dots as the blush. You can also add a big flower on the top. This makes for a very sweet DIY.
Hope you liked these pumpkin decorating ideas for Halloween.. We have tried to cover all the very best DIy projects here. We will await your valuable feedback in the comments section below. Wish you joy in making and decorating your home with these DIY projects.
25+ Creative DIY Halloween Crafts for Kids
You’ll Also Like:
- DIY Cute Clothespin Crafts For Kids
- 20 Fun Popsicle Stick Crafts and Activities for Kids
- 25 Easy Mother’s Day Gifts Ideas Kids Can Make
- DIY Study Spaces: Desk Decor & Organization Tutorials
- DIY Happy New Year cards – creative ideas for seasonal greetings


