Quilling is amazing art skill but it requires lot of tool that keep people away from it. Several people do not have tools but want to quill some designs. In this story, you will learn to make quilling card without using any kind of special too. Wouldn’t it be awesome?
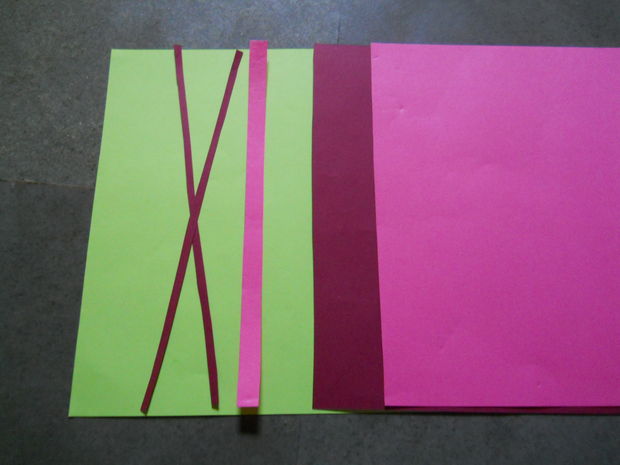
Material Required
- Colored papers
- Glue
- Toothpick
- Scissors
- Comb
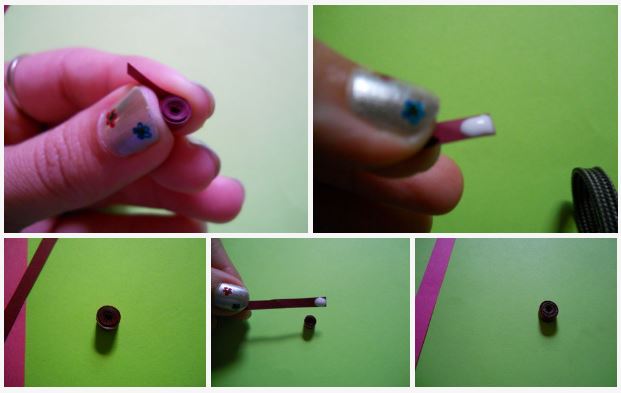
Step 1: Making the center of the flower
- First cut two thin paper strips to make center of the flower.
- To make flower petals, you will need wider strips. Cut them like thin strips.
- Roll the thinner strips using toothpick, make it as tight as possible.
- After finishing the rolling, glue its end to fix it.
- Similarly roll another strips as shown in the figure and glue it.
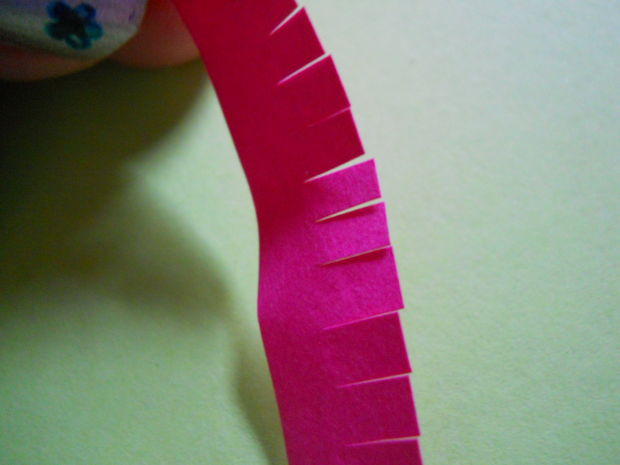
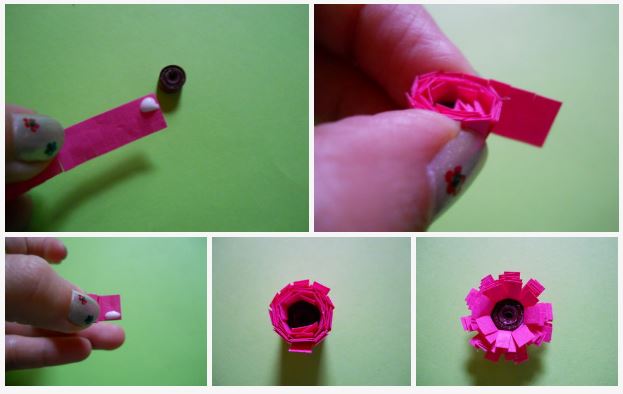
Step 2: Making petals
- Take the wider strip and make cut as shown in the figure.
- Apply glue at the end of this strip and roll it around the central part prepared earlier.
- After few minutes when glue get dried, spread the petals outward with your thumb.
- Now flowers is ready.
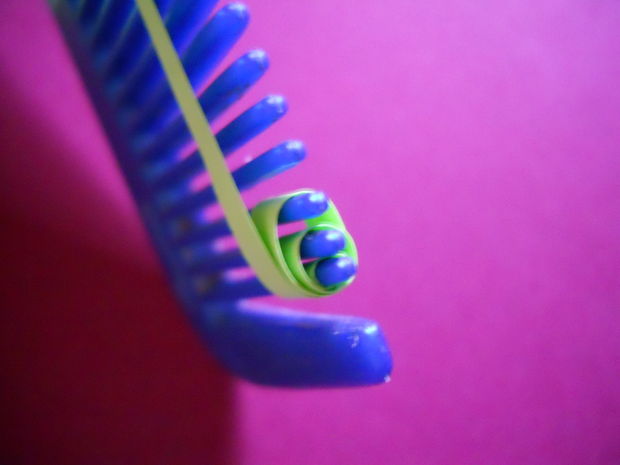
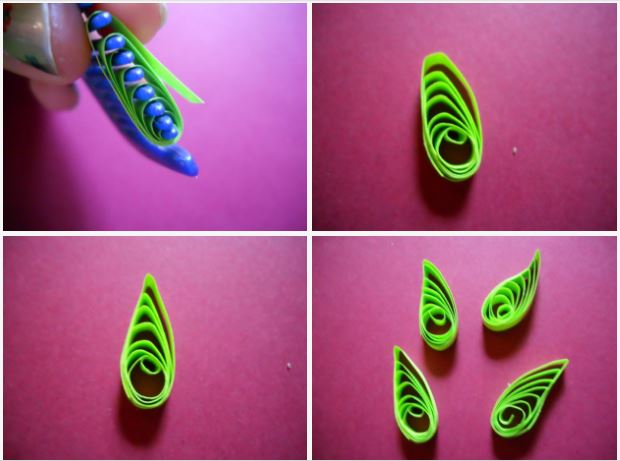
Step 3: Making a leaf
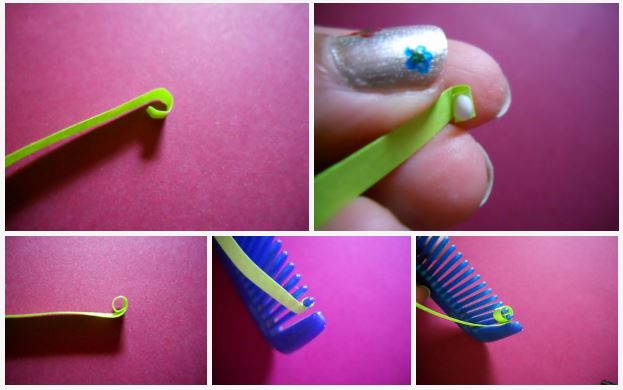
- You will need a thin strip of green paper to make the leaf.
- Use toothpick to roll the strip as shown in the figure and glue it in the end.
- When glue get dried, insert the roll into the first tooth of the comb.
- Now carry on with the looping as shown in the figure and glue the end of it.
- After completion, remove the formed design.
- You can few more leaves like this.
Step 4: Make Designs
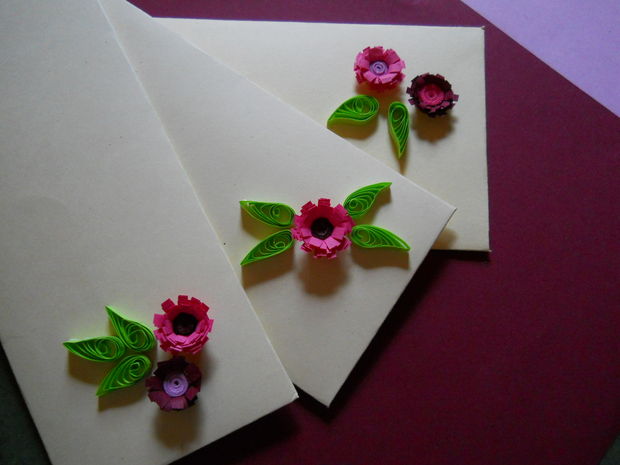
- Arrange them to make designs on your card to get ready your quilling card.
Image source: prachilele
Thanks for visiting our website. Keep creating with K4Craft!
Don’t forget to pin these images and visit us at Pinterest.
You’ll Also Like
- Quilling Tutorials for Beginners: Basics of Quilling
- How to Quill: Basic Quilling Shapes for Beginners
- DIY Beautiful Quilling Party Wear Fashion Jewellery
- DIY Cool Homemade Cardboard Craft Ideas
- Wall Hanging Craft Ideas using Woolen
View Comments (2)
Love yr stuff its easy n quick to do
Thanks marita :)