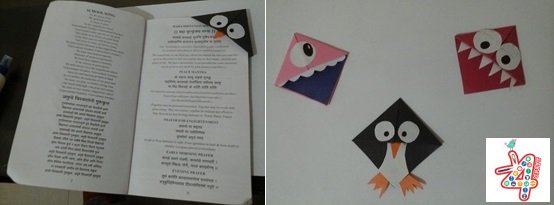
Books are the best friends of humans and books are always a wonderful gift to give, so I thought I would create some bookmarks that could be given with the books.
For kids and book lovers love to use this bookmarks.
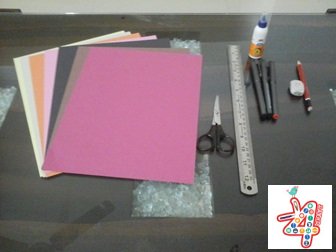
Things you will need
Procedure
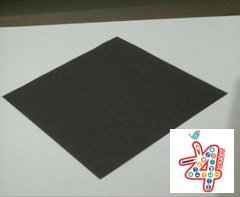
Step 1 – Take a 12 inch × 12 inch square paper.
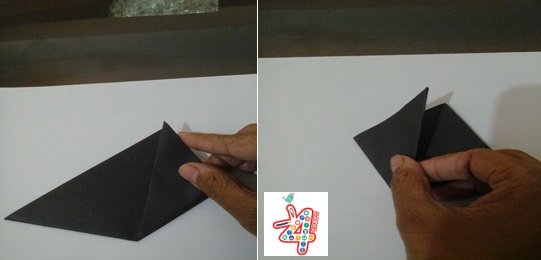
Step 2 – fold the paper in half diagonally to make a triangle and run your finger through the crease.
Step 3 – Then you take the left corner and bring it up the top middle of the triangle. do the same thing with right corner.
Step 4 – this is what it should look like.
Step 5 – open it again so you have a square in the middle.
Step 6 – Fold the top flap of the center to the bottom.
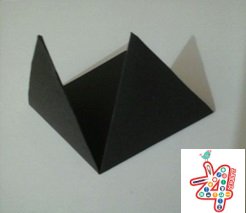
Step 7 – Now take the right corner then tuck it into the middle, “pocket”.
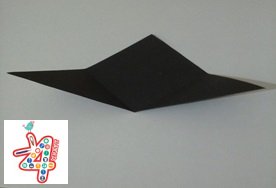
Step 8 – Do the same with left corner . After tuck both the corners it look like this.
Step 9 – Now, time to decorate.
Design your bookmark to make it look great.
Step 10 – Decorate it with eyes, nose, legs and body.
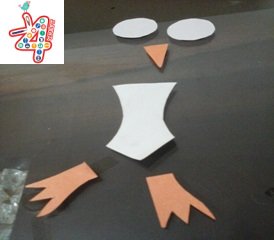
Step 11 – After sticking the eyes, nose and body finally the penguin is ready.
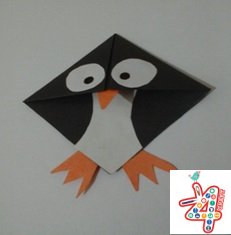
Here is a video tutorial for Penguin Paper Bookmark.
Thanks for visiting our website.
Keep Creating With K4craft!