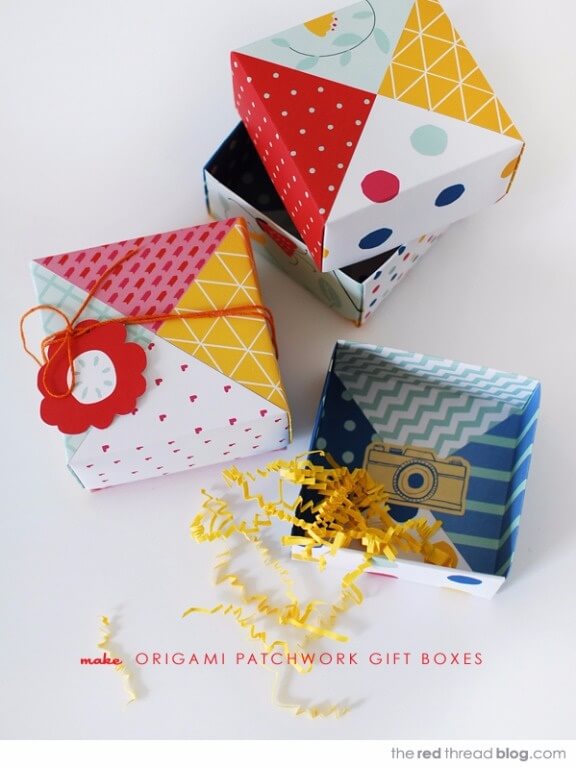
Hi folks! Welcome to another K4 Craft Tutorial. Today we are going to show you how to make Paper Origami gift boxes. These boxes are based on a traditional Japanese design where I am going to make a slight twist by adding patchwork paper in it. These are perfect boxes to be displayed on a shelf or desk.
Materials required :
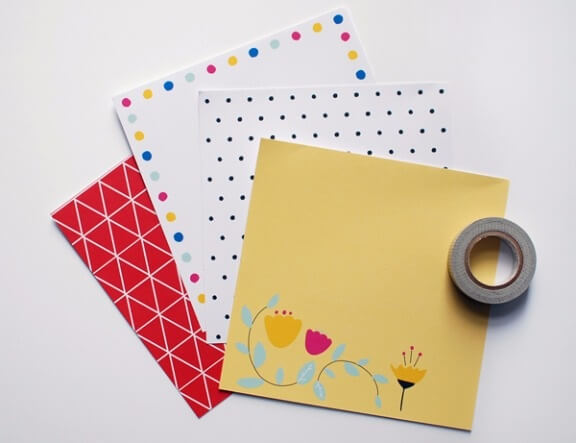
- Four squares of patchwork paper each for the lid and the base respectively
- Washi tape
Note : any tape can be used, but washi can be easily removed and repositioned
Method :
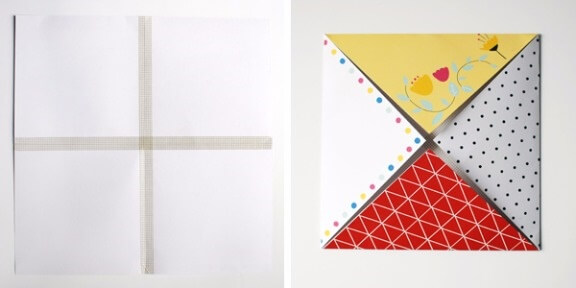
First to make the lid,
- Tape the papers together after turning them over. And bend the four corners into the centre.
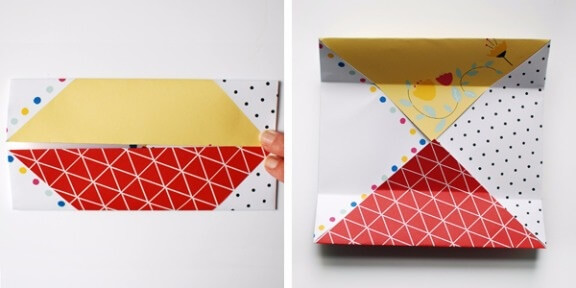
- Now, in order to obtain a crease fold two opposite sides into the centre and open them.
- Similarly fold the other two opposite sides into the centre and open them again.
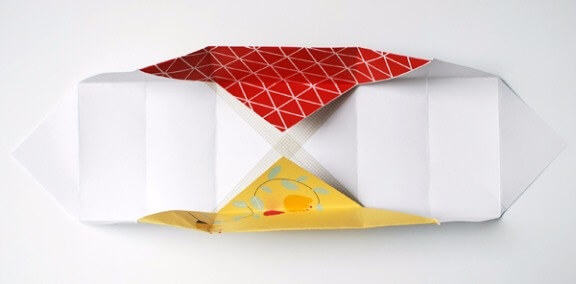
Also, open the two opposite corners. - Then, fold the two long sides up.
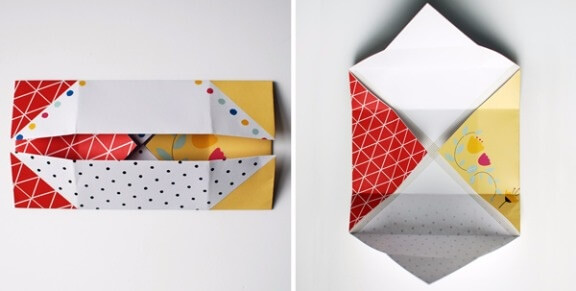
- Then, hold one end and fold it towards the centre. While doing this the corners of the box will fold inwards.
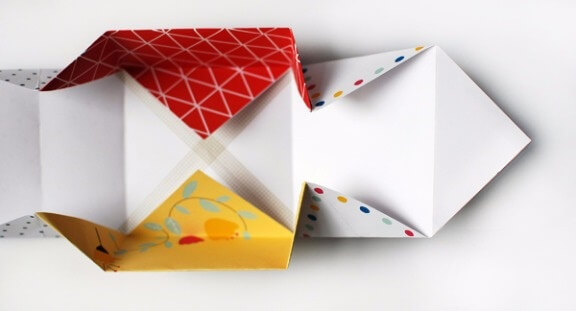
- Now, fold the triangular end down into the base of the box. Finally, repeat step 5 & 6 with the other end of the box.
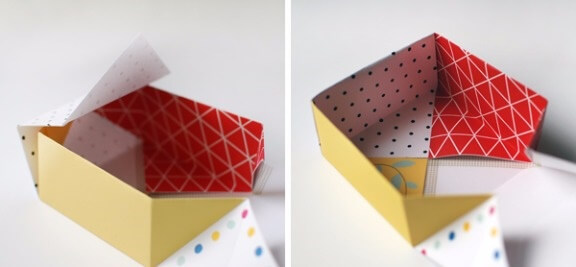
Tape the four papers together again and then cut out 3mm (one eighth of an inch) from each side of the square. Then, follow the same steps shown above to make the base. Thus, the lid forms a perfect fit for the base. Now, to make the box look more interesting add stickers on it.
Thanks for visiting our website. Don’t forget to PIN this post, if you liked it.
Keep creating with K4craft! Keep Visiting us!