Birthday is special for eveyone. To make this days more special for you, we brought to you amazing ideas to birthday cake – Pink Gingerbread Car. Hope, you will like our tutorial.
Ingredients
- Gingerbread
- 1¼ cup vegetable shortening
- 1½ cup sugar
- 2 cups molasses
- ⅓ cup water
- 9 cups all-purpose flour
- ⅓ cup corn starch
- 2 tablespoons ground cinnamon
- Royal Icing
- 4 cups powdered sugar
- 3 tablespoons meringue powder
- 6 tablespoons water
Directions
- Heat up the oven to 300 degrees F before starting.
- Mix the vegetable shortening and sugar until it becomes light and fluffy. Add molasses and water in it. Combine and mix it. Whisk flour, corn starch and cinnamon together. Slowly add dry mixture to the wet ingredients and mix on medium high till dough starts to come together. It should be fairly dry and powdery.
- Wrap it in plastic wrapper. Put it for rest at room temperature for at least an hour.
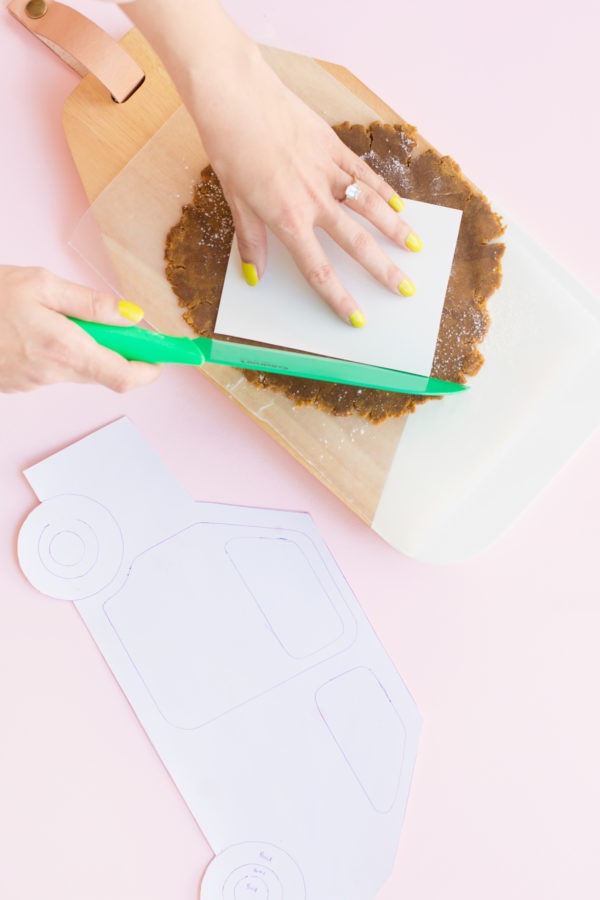
- Working in 2 or 3 batches, roll out dough to about inch thick between 2 piece of parchment paper and place it on baking sheets. Remove top layer of parchment. Place templates on dough about an inch apart and carefully cut the needed pieces and remove the excess dough, use long sharp knife for this. Bake the smaller pieces for about an hour and up to 2 hour for the large main pieces. Check it on every 30 minutes. They should be fairly hard to the touch after coming out from the oven. The gingerbread will get harder as it cools.
- For drawing windows and door as guidelines for piping, use a black edible food marker.
- To flood and fill the cookie with icing, add a few drops of water to thin down the royal icing at a time till the royal icing flows and settles into itself smoothly. Put the thinned royal icing into a squeeze bottle. Distribute icing on the pieces evenly, guide icing around the outlines and into corners and other places by using the tip of the squeeze bottle. Fill the window with white icing, tyres with black and grey and rest of the car with pink. Put it on rest overnight to make it fully harden.
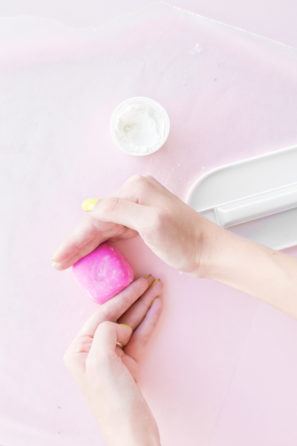
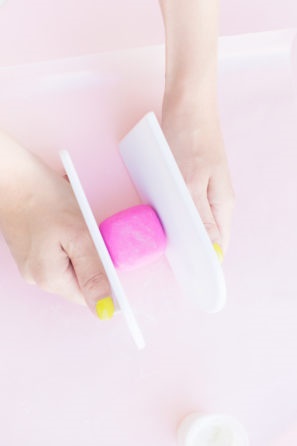
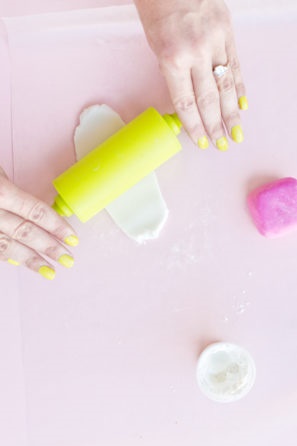
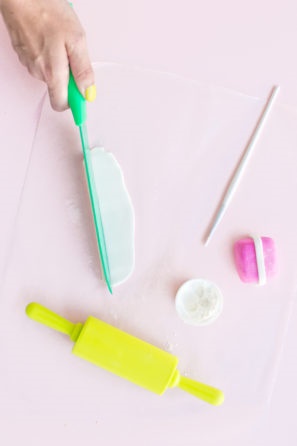
- To make Fondant presents: use corn starch to dust work surface. Form fondant into a square or rectangular present shape. Use 2 fondant smoothers to form sharper edges by pressing firmly on the top and sides. Roll out a thin piece in desired ribbon colour. Cut 2 long strings by using knife. Place those strips over the present and stick it, use water if needed to stick. For bow, form a small oval ring. Pinch the middle together and add a small thin piece around the middle. Put it overnight to dry.
- To assemble: For support use a cardboard or foam of 5inch wide by 6 ¼ inch tall. Spread two tablespoons of royal icing on the bottom of the support and place it on any surface (cake board, platter, etc.) you want your gingerbread car to be on.
- Spread a thick layer of royal icing on each side of the support and press the first main car piece against it. Hold it till it get stick to it or use something against it to hold it in place. Do the same for the other main piece. Make sure the two are parallel and even with each other.
- Spread a thin layer of royal icing on the top of the support. Place the roof of the car (piece D) and press it down to secure it. Fill any gaps with royal icing. Put it for 15 minutes to harden it.
- Using thick layers of pink royal icing piped along the edges, attach the pieces starting with the two on either side of the roof (C and E). wait for some time to let them set. Then go to the next pieces (B and F) down on either side, wait for about 10 minutes in between to let harden the royal icing. And then the last set (A and G). You can also put something against the pieces for support if needed.
- Use royal icing to arrange the fondant presents on top of the car and secure with royal icing.
- Make mirrors, headlights, door handles and license plates out of fondant and use royal icing to attach them.
- *You may need to make multiple batches of royal icing depending on your usage.
Thanks for visiting our website. Don’t forget to PIN this article, if you really liked it.
Keep creating with K4craft!