Toy Bank using old carton box
Lovely school days!! Want to buy your favourite doll or stationery of your own? No worries anymore! Save your own money and get it. You might get pocket money every day before going to school and whenever your mom asks for a help to buy something from shop you might as well ask her for a commission, which is the remaining coins after purchase that will be yours. All you need is a place to save those coins. This tutorial teaches you to make your own money bank and you can spend the money for your small lovely needs like buying a pen, chocolate or a Barbie doll.
All you need is ….
- One old carton/corrugated box
- Old cardboard sheet
- Fevicol
- Scissor
- Paper cutter
- Scale
- Acrylic paints/ Colour paper
- Paint brushes
So yeah! Let’s begin.
To Create Toy Bank…
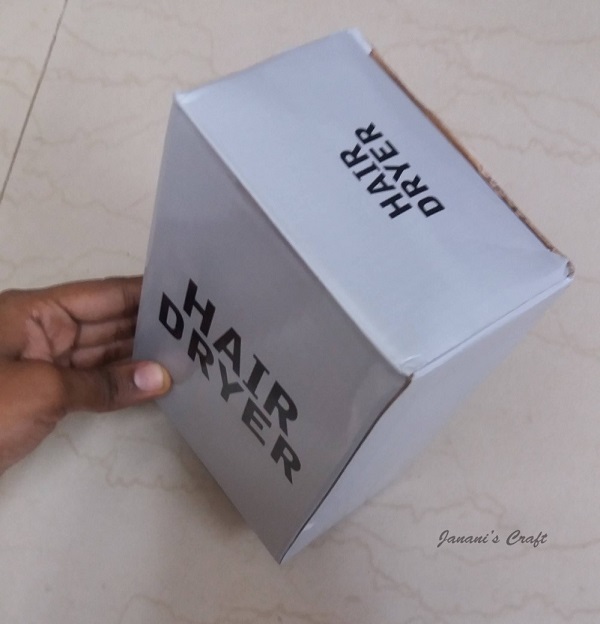
- Take the old corrugated box and check whether bottom is thick enough to bear the whole weight of the coins.
- If it is not strong, stick a cardboard which acts as a support, to give strength to the bottom and top where the money is dropped in.
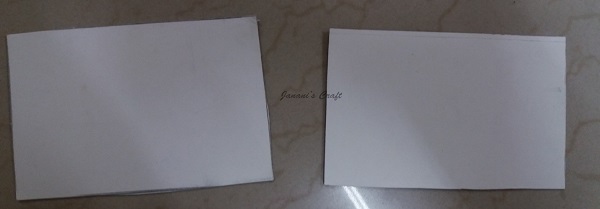
- To stick the cardboard measure the bottom and top of the corrugated box.
- For the top cut two same sizes of cardboard slits to stick on the inner side of the opening of the box.
- Now it has to be noted that the length of the cardboard slit may extend a little out when the box has to be closed. So mark the extending slit and cut off the extra protruding from the slit.
- Now join both the slits together and stick it.
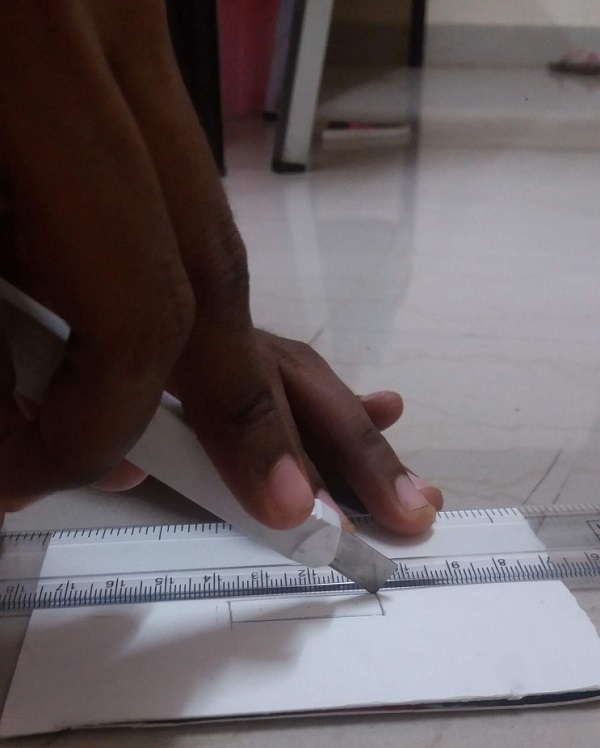
Caution:
If you find hard to cut the cardboard sheet with paper cutter take your parents guidance to cut it and then proceed with the work to avoid accident.
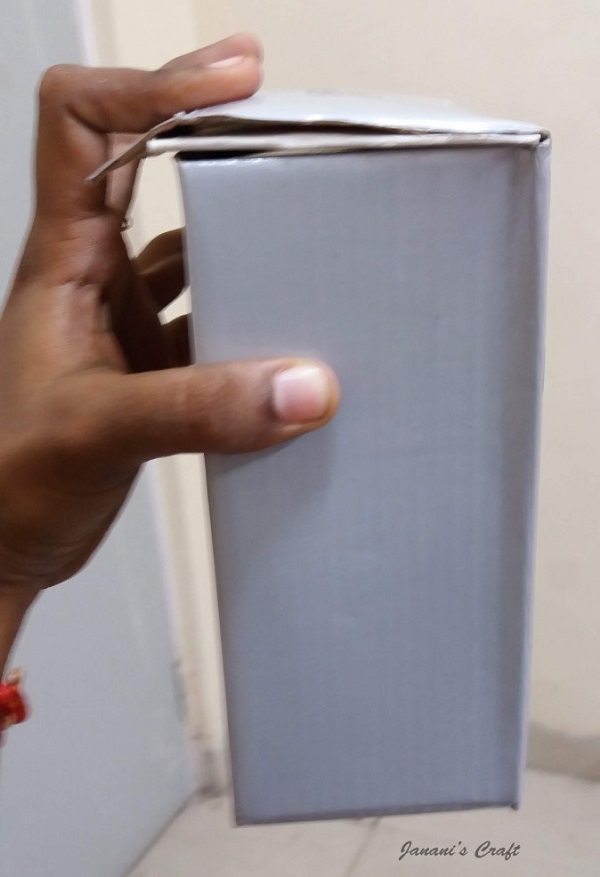
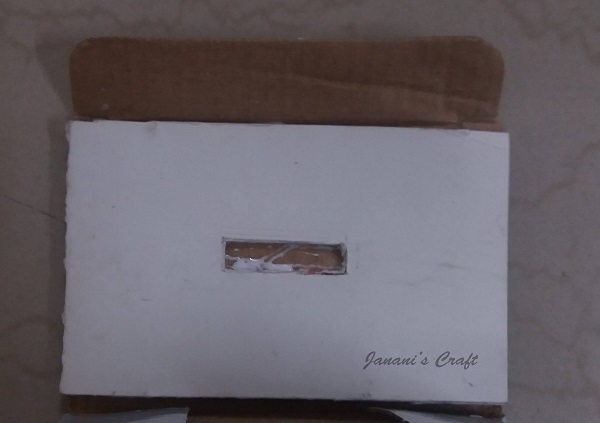
- Once it is done stick that slit to the inner wall of the opening of the corrugated box.
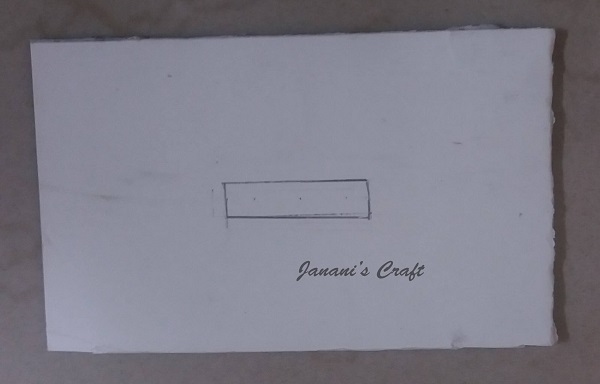
- Let it dry for half an hour. Now same rectangle has to be cut on the outer wall of the opening of the corrugated box with the help of paper cutter.
- Now coming to the bottom, same way cut two slits according to the measurement.
- Stick one slit to the outer side and other to the inner side. When sticking to the inner side of the box note that the measurement will be slightly smaller than the outer.
- Let the bottom dry for half an hour.
- Next stick and close the top of the box.
- Let the whole box dry for another half an hour.
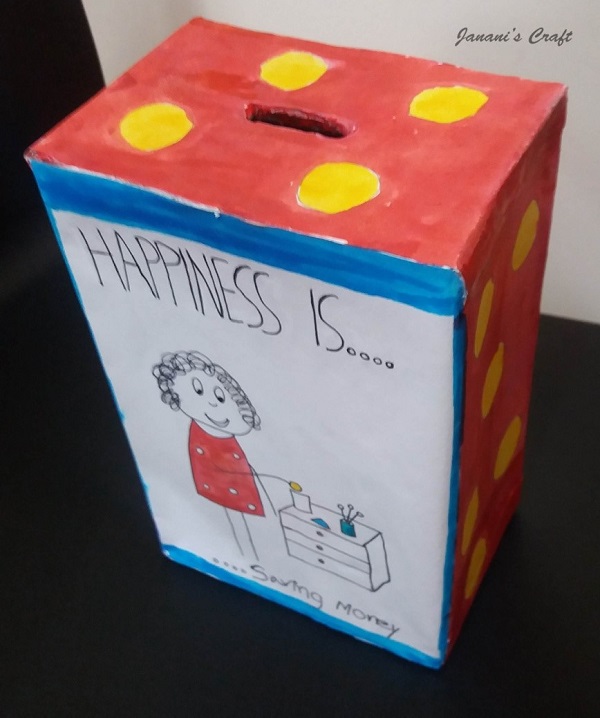
- Now it’s ready to colour now.
- Use acrylic colours or even colour papers can be used to cover.
- The design over the bank can be according to your wish.
- Finally your money bank is ready.
Hope you like our tutorial for Toy Bank. Thanks for visiting our website.
Keep creating with K4craft!