These easy DIY Corner Bookmarks are one of the best beginner-friendly origami ideas for kids. They are gonna enjoy making these cute bookmarks for their little notebooks and story books.
Supplies Required
For the cat bookmark,
- Square paper (Measurements i used: 7 x 7 cm)
- Colour pen
For the mouse bookmark
- Square paper (Measurements i used: 7 x 7 cm)
- Two small papers in curved shapes for the mouse’s ears.
- Colour pen
- Glue
How to make the DIY Corner Bookmarks
Making them is so easy and fun as you can see in the video tutorial below:
Or you can follow the below steps:
How to Make a Cat Bookmark
Let’s start with the cat first. Meowww!!
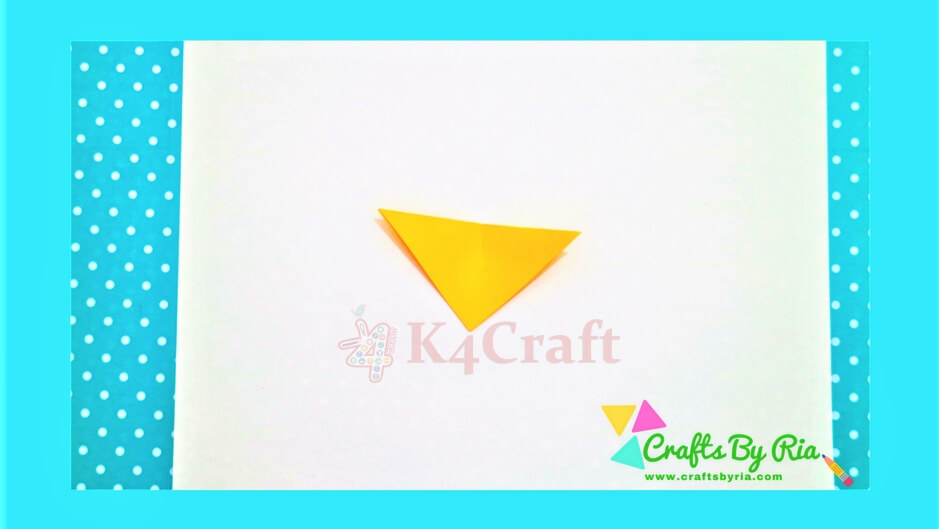
Step 1
First, fold the square paper diagonally. Then, fold it in half, but make sure you crease it only at the top this time. Unfold it once and you are left with a triangle with a little crease at the top as shown below.
Step 2
Now, fold both the ends of the triangle towards this crease. You will get two smaller triangles on both the sides. Fold them again backwards and make them even smaller. You have made the kitty’s little ears!
Step 3
Turn the entire thing over and fold the lower tips upwards on their respective sides.
Step 4
Now, draw the eyes, ears, mouth, nose and finish the kitty’s face! And you are done!
How to make a Mouse Bookmark
Let’s give the kitty a little friend! J who else? The mouse!
Step 1
To make a mouse bookmark, fold the square paper diagonally once. Fold both the ends of the triangle’s longest side towards the third end and unfold them as shown on the picture.
Step 2
Fold the top tip of the front layer backwards and tuck the other two ends of the triangle behind it to form a little pocket. You have made the mouse’s face! Complete it by drawing the eyes, nose and sticking two ears to it and you will get a cute mouse bookmark ready!
Don’t Forget to Pin it!