In this era of technology which is bringing around a revolution all together its very important to be technically sound. Robots are a great innovation which with the help of Artificial Intelligence and Machine Learning is doing wonders. So today we will be learning to make some paper robots with some simple paper folding techniques. Children are extremely interested about innovation and technology these days and thus will find immense joy in making this craft. So, get hold of your stationaries and let’s start making a quirky moving robot.
How to Make a Paper Robot
Materials Required:
- Four 5*30 cm color paper strips
- Four 3*30 cm color paper strips
- Two 5*13 cm color paper strips
- A glitter-paper
- One washing sponge
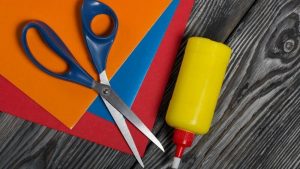
- A pair of scissors
- A glue-stick
- A glue-gun
- Eye shaped beads
- A black marker
Procedure:
- Take two 5*30 cm color paper strips, apply glue on the tip of one and stick the other strip and fold it one after another in a crisscross pattern to form the desired design and then again secure the ends with glue and repeat the same steps to make one more like this.
- Take two 3*30 cm color paper strips, apply glue on the tip of one and stick the other strip and fold it one after another in a crisscross pattern to form the desired design and then again secure the ends with glue and repeat the same steps to make one more like this.
- Take a dish washing sponge cut a rectangle of dimension 3*9 cm and we will use the rest bigger rectangular part as the body.
- Use a color paper to wrap the bigger sponge for the body, for wrapping fold thin rectangular strips all around the paper and cut out tiny triangular structures on the edges s shown this will help in wrapping, now place the sponge and wrap it with the help of the color paper and glue.
- Take a rectangular strip another color of width same as the washing sponge and wrap the same with glue as shown.
- Wrap the sponge piece cut for making the hand in similar fashion as that of the body and wrap another colored strip all around it.
- Take two 5*13 cm color paper strips, apply glue on the tip of one and stick the other strip and fold it one after another in a crisscross pattern to form the desired design and then again secure the ends with glue.
- Using a glue gun paste the head with the 5*13 cm zig-zag and then again, the 5*13 cm zig-zag to the body and now paste the arms and the legs.
- Cut the left-out sponge in two equal pieces to design the feet and paste the same using the glue gun.
- Cut two small rectangular bits of paper to cover the feet portion.
- Stick the two eye-shaped beads with glue gun.
- Cut two thin strips and a heart shape from a glitter paper, stick the thin rectangular strips as antennas and the heart in the body.
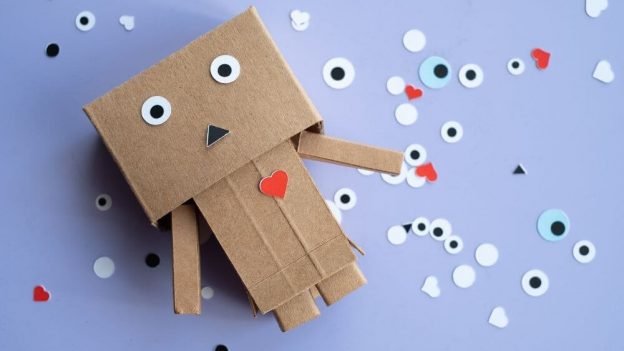
- For the final touch add a smile with a black marker pen.
Your moving robot in ready!! Kids will definitely enjoy making as well as playing with the same. You can exhibit this craft in any exhibition also. You may also improvise the same and make it quirkier by adding more hands or detailing the antennas as you wish. So, hurry up and get your hands on your personalized robot and enjoy.
Leave a Reply