We are all yet confused about the fact that did egg come first or did the chick!! So today we will be learning about some paper folding techniques to create some really cute chicks. Children always show a lot of interest in the field of art and craft and so this tutorial is constructed in a simplified manner so that even kids can follow them. All you need are some basic stationaries and some creativity of hand. So, without any more delay let’s get started.
How to Make a Paper Chick
Materials Required:
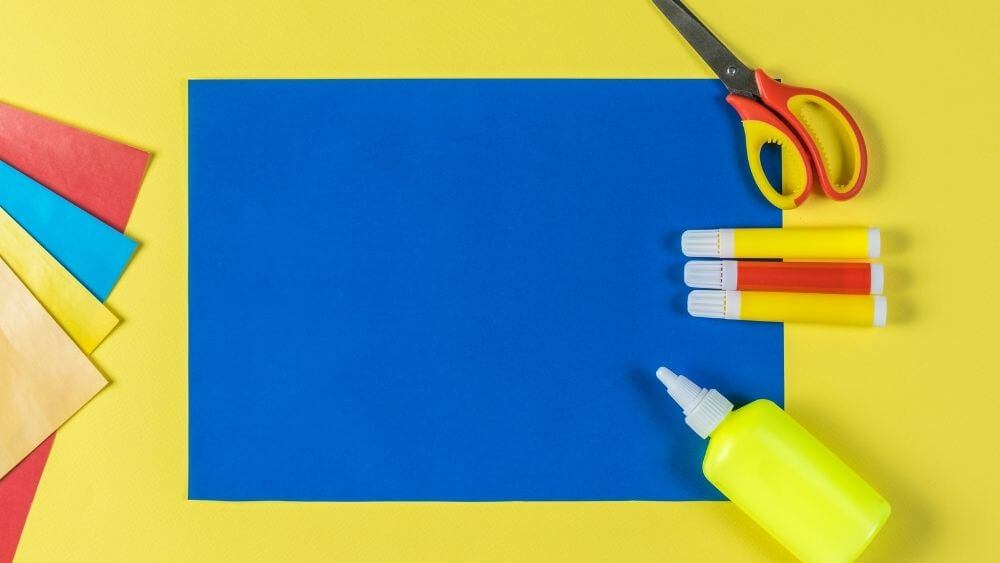
- White paper
- Yellow colored paper of dimension 7*8 cm
- Orange colored paper of dimension 3*9 cm
- Orange colored paper of dimension 3*4.5 cm
- Orange colored paper of dimension 1*3 cm
- A pencil
- A black marker
- A pair of scissors
- A glue-stick
Procedure:
- Take a white sheet of paper and with the help of a pencil draw a circle of diameter 9cm and cut it out using a pair of scissors.
- Fold it into half and draw some uneven zig-zag pattern in the middle using a pencil and cut it out, now open the fold and again fold it backwards.
- Take a yellow-colored paper of dimension 7*8 cm, draw a U- shaped structure roughly with your pencil and cut it out.
- Using a glue stick the U-shaped structure in the middle of the zig-zag cut.
- Now take an orange-colored paper of dimension 3*9 cm and fold it into half horizontally, draw the hands of the chick as shown using a pencil.
- Now using a pair of scissors cut it out to yield the two hands also paste them to the chick’s body using a glue-stick.
- Take another orange-colored paper of dimension 3*4.5 cm and draw as shown to shape the chick’s head.
- Cut it out using a pair of scissors and using a glue-stick paste it.
- Take another Orange colored paper of dimension 1*3 cm fold it into half and cut it into a triangular shape to yield the beak of the chick and paste the same using a glue-stick.
- Now take a white sheet of paper and with the help of a stencil and a black marker draw two small circles, inside them draw one smaller circle each and fill it with the marker.
- For the finishing touch use a pair of scissors to cut the pair of eyes paste these eyes on the chick.
Your rolling cute paper chick is ready!! The rolling effect makes it more attractive to kids and is an ideal toy for them. Paper crafts engage children in a very good way the only thing to be taken care of is that they use the pair of scissors with safety. Create your own paper chick right now, you can even use the same to decorate your craft book or any part of your room. You may also improvise this craft with other decorative items. So, hurry up and get your hands on them!
Leave a Reply