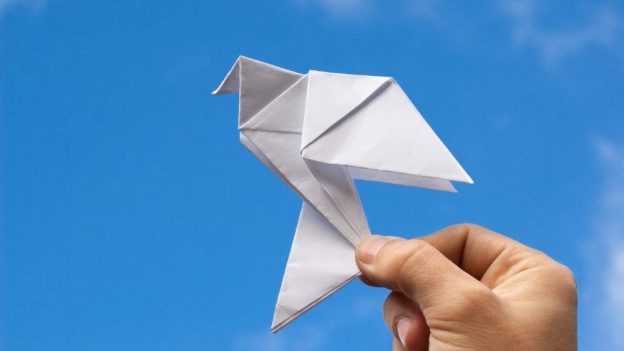
Birds are one of the most charming creatures ever, gifted with one of the greatest gifts from God that is their ability to fly. Origami the ancient art of paper folding technique is extremely famous in Japan and Chinese also over the entire world to create numerous craft items. Today we are going to learn some paper folding techniques to create some absolutely stunning birds. Without any delay let’s pick up the required minimum stationary and use your crafty hands and begin creating some absolute wonders. Let’s get started!
Materials Required:
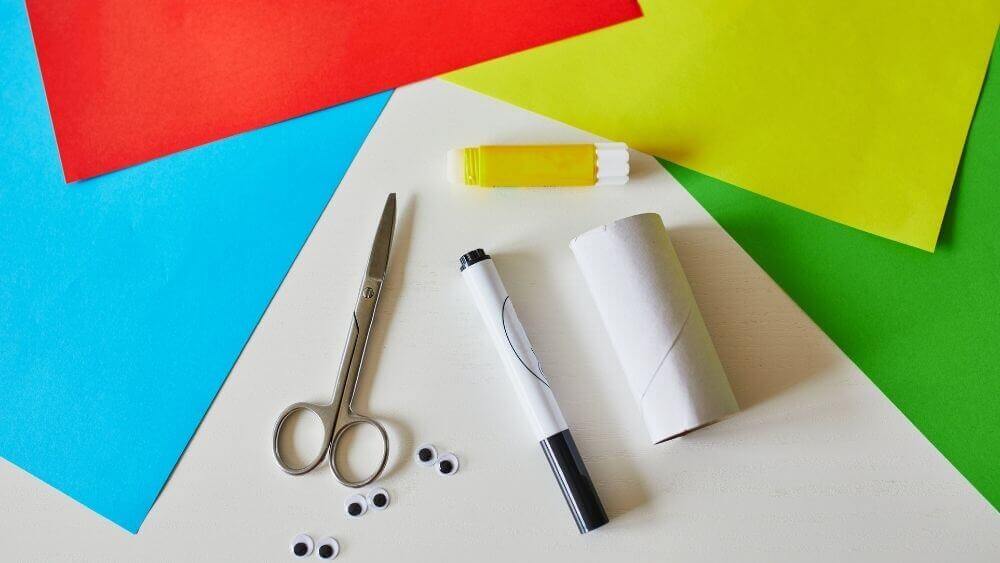
- Color paper of dimension 20*20 cm
- A black marker
Procedure:
- Take a paper of dimension 20*20cm of any color you prefer your paper bird to be and fold it along both the diagonals and then unfold to develop the diagonal creases.
- Fold the bottommost vertex in such a way that its tip touches the center of the square sheet and unfold it to develop the crease.
- Fold the upper triangular part of the paper along the diagonal now keeping a parallel gap fold the paper backward making a triangular fold.
- Fold the whole figure along the vertical crease in the kite shaped part to form a triangular shape with an extension.
- Take a vertex along the base of the triangle and fold it in a small triangular shape, put your finger in the fold and spread the paper and press it to form a small kite shape.
- In this small kite along the diagonal fold its both sides in the lower part in triangular pattern and then fold the entire small kite into half along the diagonal.
- Now fold the other vertex along the base as shown once in forward and then in backward direction.
- Unfold the bigger fold as shown then with your fingers push along the triangular creases so that the flap goes in.
- Now come down and pick up the upper triangular flap and fold it backwards as a wing.
- Then turn the structure backwards and fold the remaining triangular flap in a backward move so that it coincides with the first triangular tip on the other side.
- To shape the birds body come down to the bottommost triangular tip fold it in a triangular fold outward and then push in inner wards along the crease repeat the same with the other side.
- For the final touch use a black marker to draw the eyes of the bird.
Your paper bird is ready!! Make a couple of these each of a variant popping color. You can even use paint to decorate these birds and make them more attractive. This easy paper craft can also be performed by kids following the step-by-step tutorial and have fun. Use them to decorate your scrap book or the favorite corner of your room, your table or any place you want to. Only remember to make the folds neatly with perfection and rock on with your crafty skills.
Leave a Reply