Everyone should agree on the point that butterflies are the most beautiful creature from the insect family prevalent on Earth. Their colorful wings each of a different pattern consisting of a plethora of colors really amuses us all. Kids also gets fascinated to see all those colorful creatures flying in the sky, at times they get so much amused that they even run after them.
Today we will learn how to make paper butterflies of vibrant color to decorate walls, craft book, one can even use them to decorate work space and curtains. They can also be used by kids to play and get amused, so without any further delay lets use of stationaries and crafty hands to create some stunning butterflies. Let’s begin!!
How to Make a Paper Butterfly
Materials Required:
- Color Paper of dimension 8*16 cm
- A Glue stick

Procedure:
- Take an 8*16 cm paper of any color you like and then fold it vertically from the middle to yield a square shape.
- Again, give a vertical fold to this square shape and unfold it to develop a crease line.
- Hold a vertex of this square and fold it in a triangular shape to its center and do the same thing with the adjacent vertex; perform the exact same folds on the opposite side and then unfold the same to yield the crease lines.
- When the whole paper is unfolded, we get all the required creases.
- Now push back the triangular creases inside with your fingers as shown to yield the house like structure as shown.
- Now fold the upper flap in half in a way that it hides the triangular part and turn the whole structure.
- Again, fold the other flap in half to hide the triangular part and this time yield a rectangle.
- Now fold the upper flap vertically in half from the middle and follow the same step in the opposite side.
- Now carefully open the doubly folded rectangular strips.
- With the help of your fingers turn over half of the flap on one side and repeat the exact same step on the other side, this fold will generate a cut in the doubly folded rectangle.
- On either side of the generated cut put your fingers in are spread the flap followed by pressing it to secure the wings of the butterfly.
- Take thin strips of the same-colored paper, fold it into half and roll its tips.
- For the final touch using a glue stick attach this to the butterfly as shown.
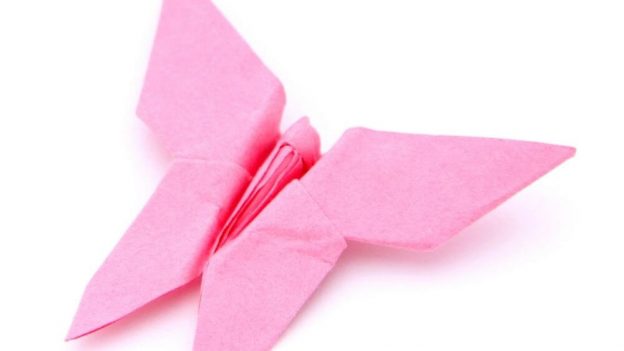
Your paper butterfly is ready!! You can even use your artistic skills to create design in the wings of these colorful butterflies with paint, further you can also use decorative such as glitters or stones to create your own version. Create a bunch of them using vibrant color papers and witness the beauty they create. This craft is an easy one and as a result even children can try making their own dreamy butterflies using these easy steps.
Leave a Reply